What is Direct Light?
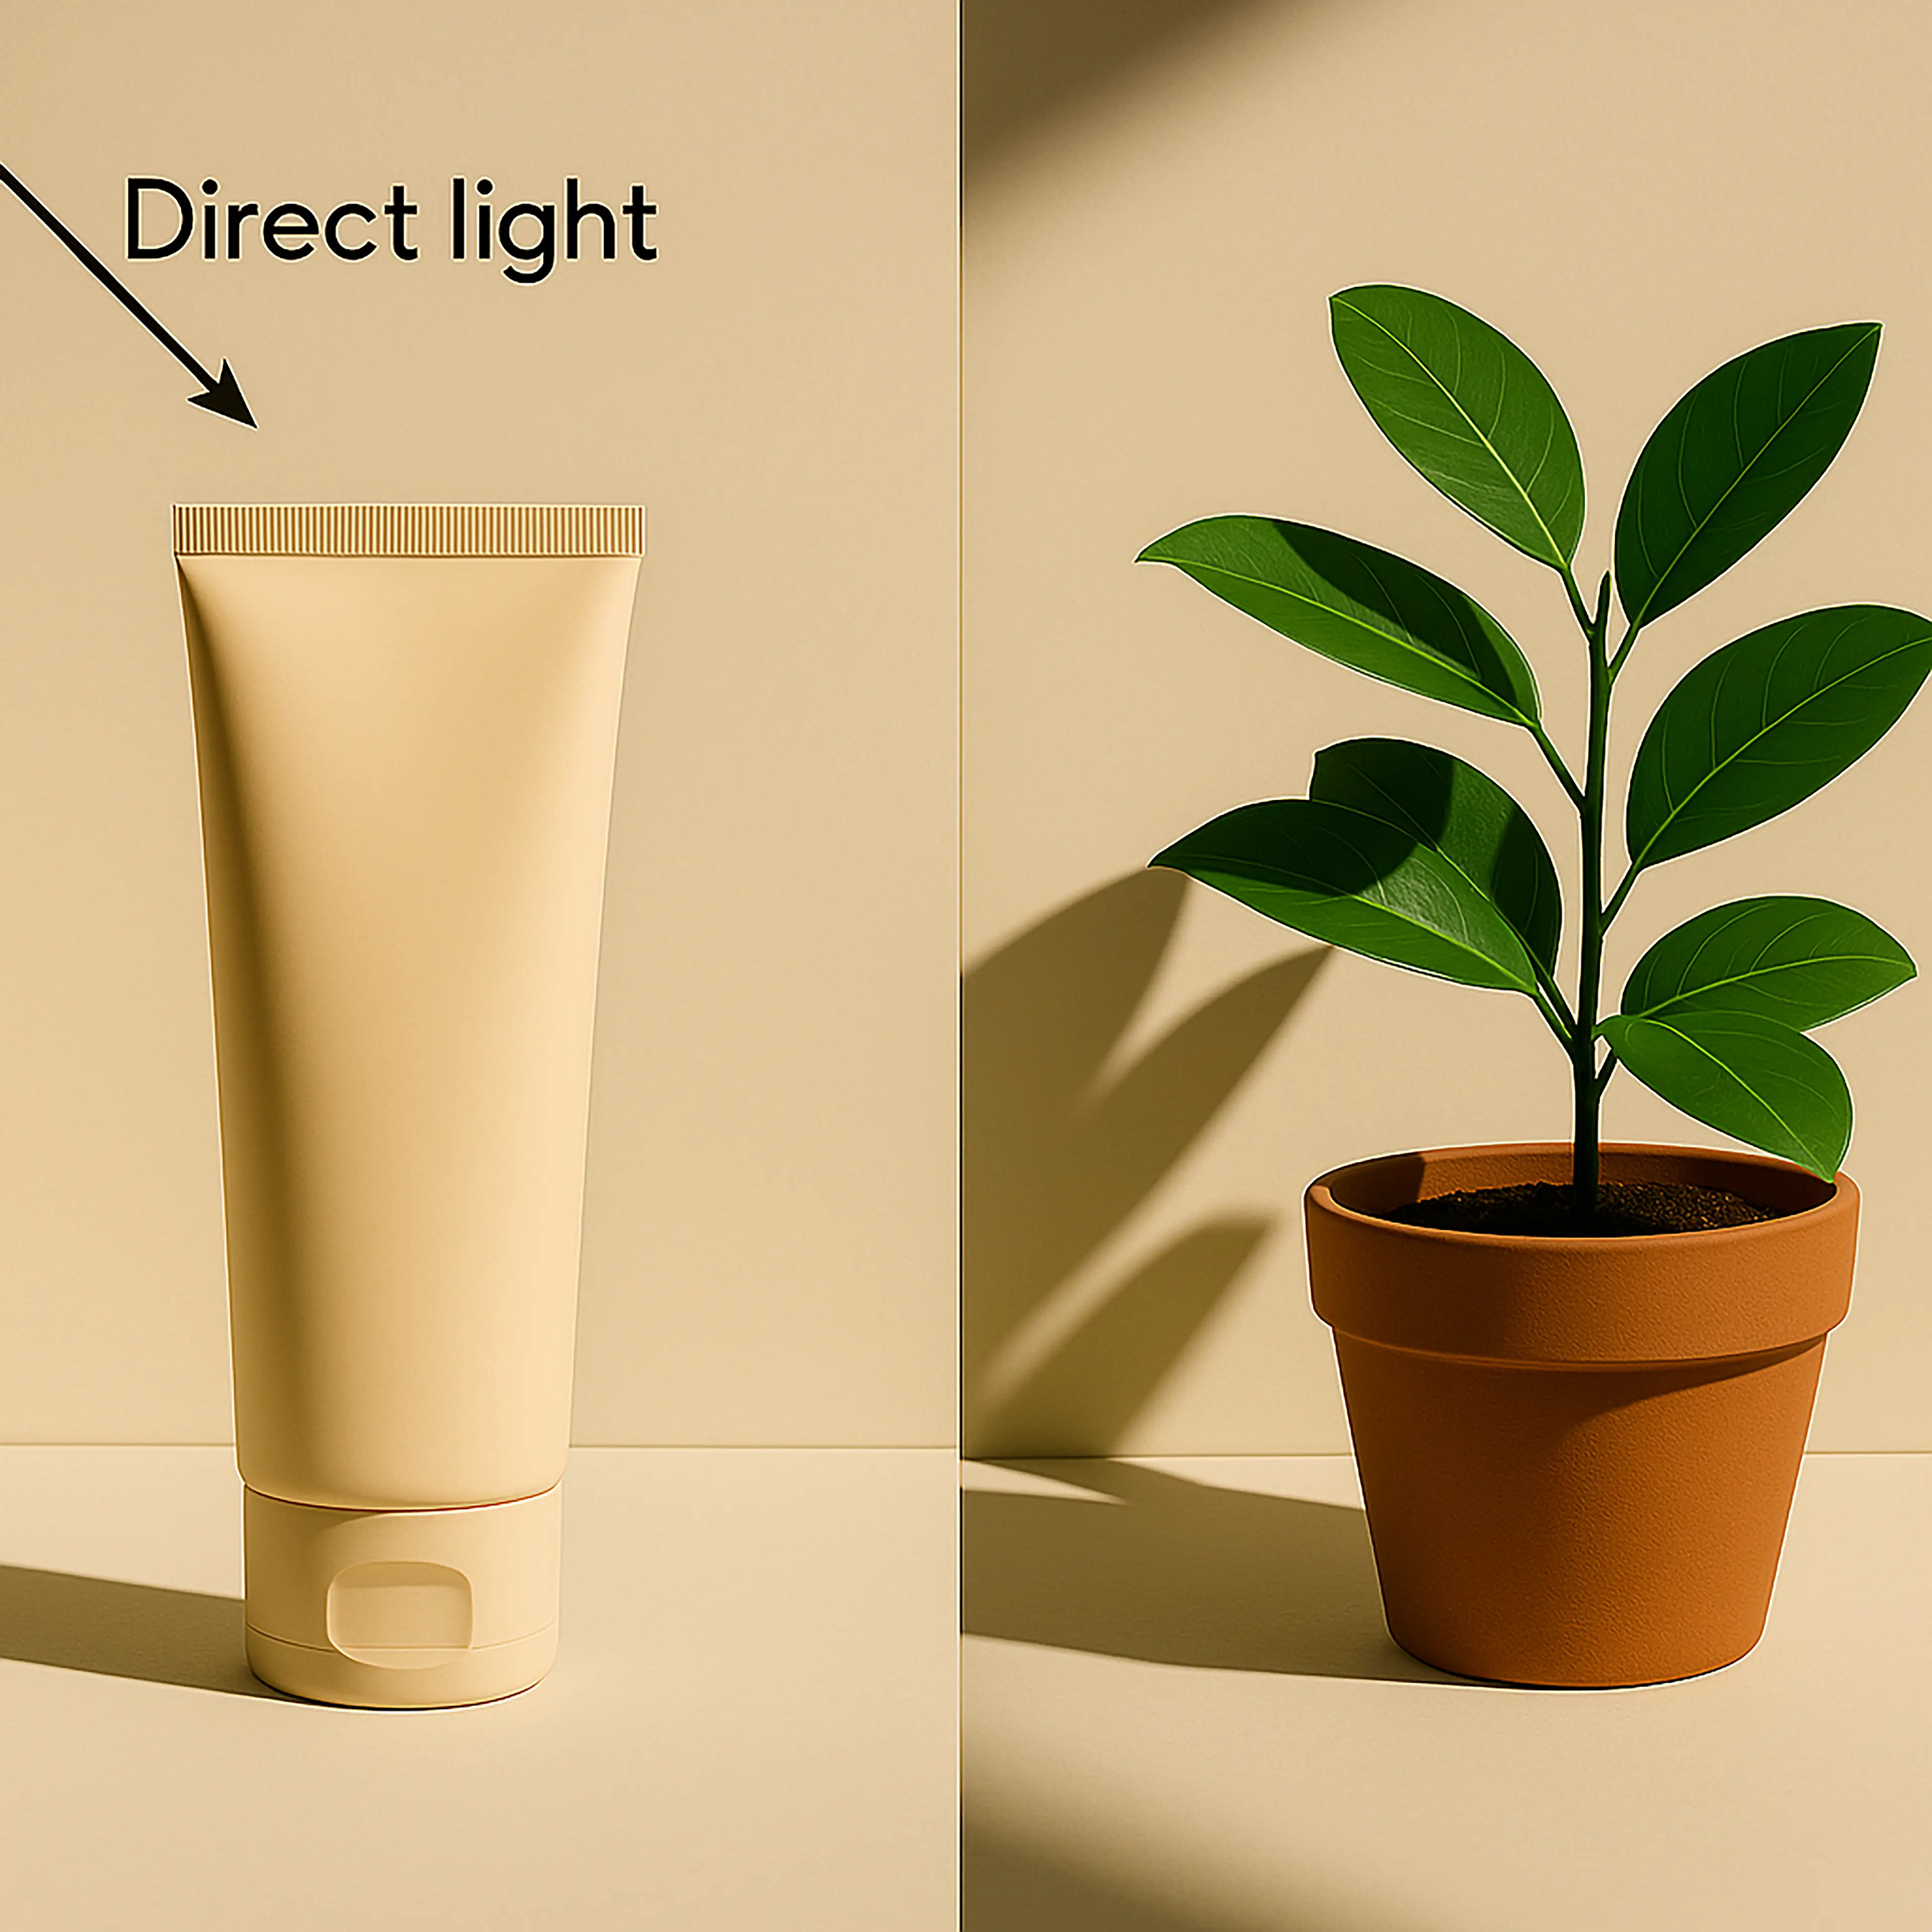
Direct light comes from a single focused source such as the sun on a clear day or a bright spotlight. It shines directly on an object, creating shadows with sharp, well-defined edges. These distinct shadows help show the shape and position of the object. When editing a picture, understanding how direct light works is important for creating image shadows that look natural and believable. This effect also helps generate digital shadows, which are the same as image shadows, that feel lifelike.
Direct light creates a strong contrast between bright areas and dark, shadowed regions. This clear separation makes it easy to tell the direction of the light. You can build these image shadows by using dark, solid shapes with clear outlines. A well-placed shadow makes an object appear grounded and real, especially when it matches the angle and strength of the light.
Shadows cast by direct light have firm, well-defined edges instead of soft, fuzzy transitions. This quality is useful for conveying the precise direction of the light and for accentuating texture and form. Using tools like the brush or gradient tool lets you create digital shadows that behave much like natural image shadows.
Direct light not only produces strong shadows but also reveals the texture of a surface. It defines curves, edges, and raised details by casting clear shadows that add depth. Whether working on portraits, products, or backgrounds, understanding how direct light interacts with surfaces lets you create digital shadows, which are also known as image shadows, that look realistic and professional.
How Does the Angle of Light Affect the Shadow?

The angle at which light hits an object plays a big role in how its shadows appear. When the light is high above, such as the midday sun, it casts a short, concentrated shadow directly under the object. On the other hand, if the light comes from a low angle, as during sunrise or sunset, the shadow stretches longer away from the object. These differences hint at the time of day and affect the overall look of the shadows you create.
The direction of a shadow changes based on the light's position. For example, light from the left causes the shadow to fall to the right, while light from the front makes the shadow fall behind the object. When the light is behind, the shadow stretches forward into the foreground and becomes more noticeable. Keeping the direction of your digital shadows, which are also known as image shadows, consistent with the light source is key to a believable scene.
The light's angle also determines whether a shadow appears sharp or soft. Light from directly overhead tends to produce shadows with clear, strong edges, whereas lower or diffused light creates shadows that are softer and more spread out. Adjusting the opacity and adding a slight blur can fine-tune your digital shadows so they blend naturally with the rest of the picture.
It is important that each shadow aligns perfectly with the overall direction of the light. A shadow that points the wrong way or does not match the other elements can disrupt the sense of depth and make the scene look off. By using visual cues from other shadows, reflections, or highlights, you can ensure that your digital shadows, which are also known as image shadows, enhance the scene and feel intentional and natural.
How Do We Display Direct Light on an Image?
To display direct light on an image, you need to simulate the effect of a focused, strong light source that creates clear, crisp shadows. Start by envisioning how light naturally falls on your subject. When you set out to add this effect, consider using tools such as the Pen Tool or Lasso Tool to outline the exact shape of the shadow. By carefully drawing a clean line that marks where the dark area should begin, you ensure that the digital shadows, which are the same as image shadows, accurately reflect the concentrated nature of direct light.
Once the desired shadow shape is outlined, the next step is to establish a sharp boundary between the illuminated and dark areas of your image. Use precise selections to isolate the region where the shadow will fall. After creating a clean selection, fill that area with a dark, solid color. This method guarantees that the shadow appears distinct and does not blend into the lighter parts of the image prematurely. Keeping the fill consistent lays the foundation for creating digital shadows that look both intentional and realistic. By following these steps, you begin to construct image shadows that mimic the properties of natural direct light.
After the shadow shape has been defined and filled, it is important to fine-tune its appearance so that it looks natural. Adjust the opacity of the filled shadow to control its intensity, and consider applying a slight gradient only if a subtle transition is needed around the edges. In many cases, direct light calls for a more abrupt change rather than a soft blend. This process helps achieve digital shadows that maintain the clarity expected from a direct light source. By carefully balancing the fill and any minor gradient, you produce image shadows that effectively communicate the focused impact of light on the subject.
The final aspect to consider is the placement and transformation of the shadow to match the light source's direction. Use Photopea's transform tools, such as Scale, Distort, or Skew, to adjust the shadow so that it extends clearly away from the object in the expected direction. Studying the highlights on your subject provides clues about the light's angle, which in turn guides the proper orientation of the shadow. Consistency is crucial; digital shadows must align with both the intensity and direction of the light across the entire image. When this alignment is accurate, the resulting image shadows appear natural, realistic, and cohesive with the overall composition.
What Is the Halftone of a Shadowed Image?
Halftone refers to the gradual change in darkness you see in a shadow. In a natural scene, the darkest part of a shadow is found near the object, and as the shadow extends outward, it gradually lightens. This smooth transition gives the shadow a sense of depth and makes the object feel three-dimensional. When editing a picture, creating digital shadows that look like real image shadows means replicating this gentle gradient.
Many artists achieve this effect by blending different tones using soft brushes or gradient tools. By carefully layering subtle changes in brightness, you can mimic the way light fades in a real shadow. This approach is essential when you want your shadows to feel natural and not appear as one flat block of darkness.
A well-crafted halftone helps tie all the elements of a picture together. Even small variations in tone can boost the overall clarity and mood of the scene. In your work, attention to halftone details makes digital shadows come to life and ensures that your image shadows have a realistic, dynamic quality.
What are the Types of Object Shadows?
Object shadows are an important part of giving an image a three-dimensional feel. One of the most important elements is the core shadow.

Core Shadow: The core shadow is the darkest area on the object where light is completely blocked. It defines the basic shape and volume by marking the parts that receive no light.

Middle Dark Tone: Close behind the core shadow is the middle dark tone. This area serves as a transition between the deepest part of the shadow and the parts that are lit. The middle dark tone provides a gradual change in brightness that hints at the curvature or angle of the object. Paying attention to these shifts helps create digital shadows that look more natural.
Cast Shadow: The cast shadow is the shadow that an object projects onto another surface. It shows where the object meets the ground or background and helps to anchor the object in its environment. Cast shadows often have clear outlines, which reinforces the realistic quality of your image shadows.
Contact Shadow: The contact shadow is the very dark spot where the object touches a surface. This small detail adds weight and grounding to the object, making the scene feel more integrated.
When combining a strong core shadow with a smooth middle dark tone, a clear cast shadow, and a persuasive contact shadow, the digital shadows creating both detailed and believable shadows becomes a reality.
What Is Reflection?
Reflection is when light bounces off a surface instead of being completely absorbed. This happens with smooth surfaces like water or glass, where a faint copy of nearby objects can be seen. Often, the reflected image is a bit softer and less detailed than the original. Reflection adds extra light to a scene and helps make the overall image look more real. It can also gently brighten areas that would normally be dark, helping to create digital shadows, also known as image shadows, that naturally match the rest of the scene.

How Do I Use Reflection?
A simple way to use reflection in an image is to duplicate part of the scene and flip it so it appears as a mirror image of the original. For example, in a dining room with a window that casts light on a table, a copy of the scene around the table can be flipped and placed where the reflected light would normally appear. Lowering the brightness of this duplicate and adding a small blur makes the reflection look soft and natural. This method not only creates a convincing reflection but also helps balance the digital shadows, also known as image shadows, so that they look gentle and realistic.

What Other Types of Shadows Can be Added to Images?
Additional subtle shading effects can bring more depth and realism to an image. One such effect is ambient occlusion, which creates a gentle darkening in the tight corners or where objects closely meet. Another useful effect is soft shadows that form under diffused light; these shadows transition gradually from dark to light rather than having harsh edges. Combining these extra forms of shading with the main shadow effect rendered through digital editing produces a layered look that feels as natural as shadows observed in real environments.