Ethics
The very first rule in photo editing or when reading any photo editing tutorials is learning about Ethics. Let's talk in detail about this subject and the journey for which you've decided to embark upon. There is a lot to learn about digital photography. It is not as easy as just sitting down and pushing some buttons and making a nice image. There are so many directions to go as a digital editor, there aren't any single photo editing tutorials, for which we are aware, that will take you through all of the possible steps that photo editing has to offer, although we will go through a lot and allow you to make the best decision for you, as the photo editor. By the time you have finished these tutorials, you will have enough skills to go start learning on your own as we take you through the basics to advanced skill levels.

During this journey of learning and deciding which direction and what kind of photo editor you want to be, you will come across tons of images on tons of webpages. While these are easy to grab, snippet, right click and save, please think to yourself "Would I want someone stealing my hard work?". The correct answer is no. Think about all the time for which you will spend learning from these and many other photo editing tutorials. Think about how much time it took someone to write these tutorials and the others and to make these images. Think about how you would feel if someone blatantly stole your work without asking for permission or providing any credit. Just because you take someone's image and make a few changes does not mean you own the image. There is a certain amount of ethics and respect amongst the digital editing community.
Where can I obtain free for commercial use images?
There are a lot of places to obtain free for commercial use images but not every place. One of the biggest repositories is www.pixabay.com. As long as you upload 10 images that you created or captured and authorize other people to use them royalty free, then you can download an unlimited amount of images that are free for commercial use. In the description of the following video, there are several places listed to obtain free for commercial use images. These are places to download and practice your images without stealing someone else's hard work. Keep in mind that this relies upon the honor system that someone else's uploaded image is not stolen from someone else's work.
AI Image Creation
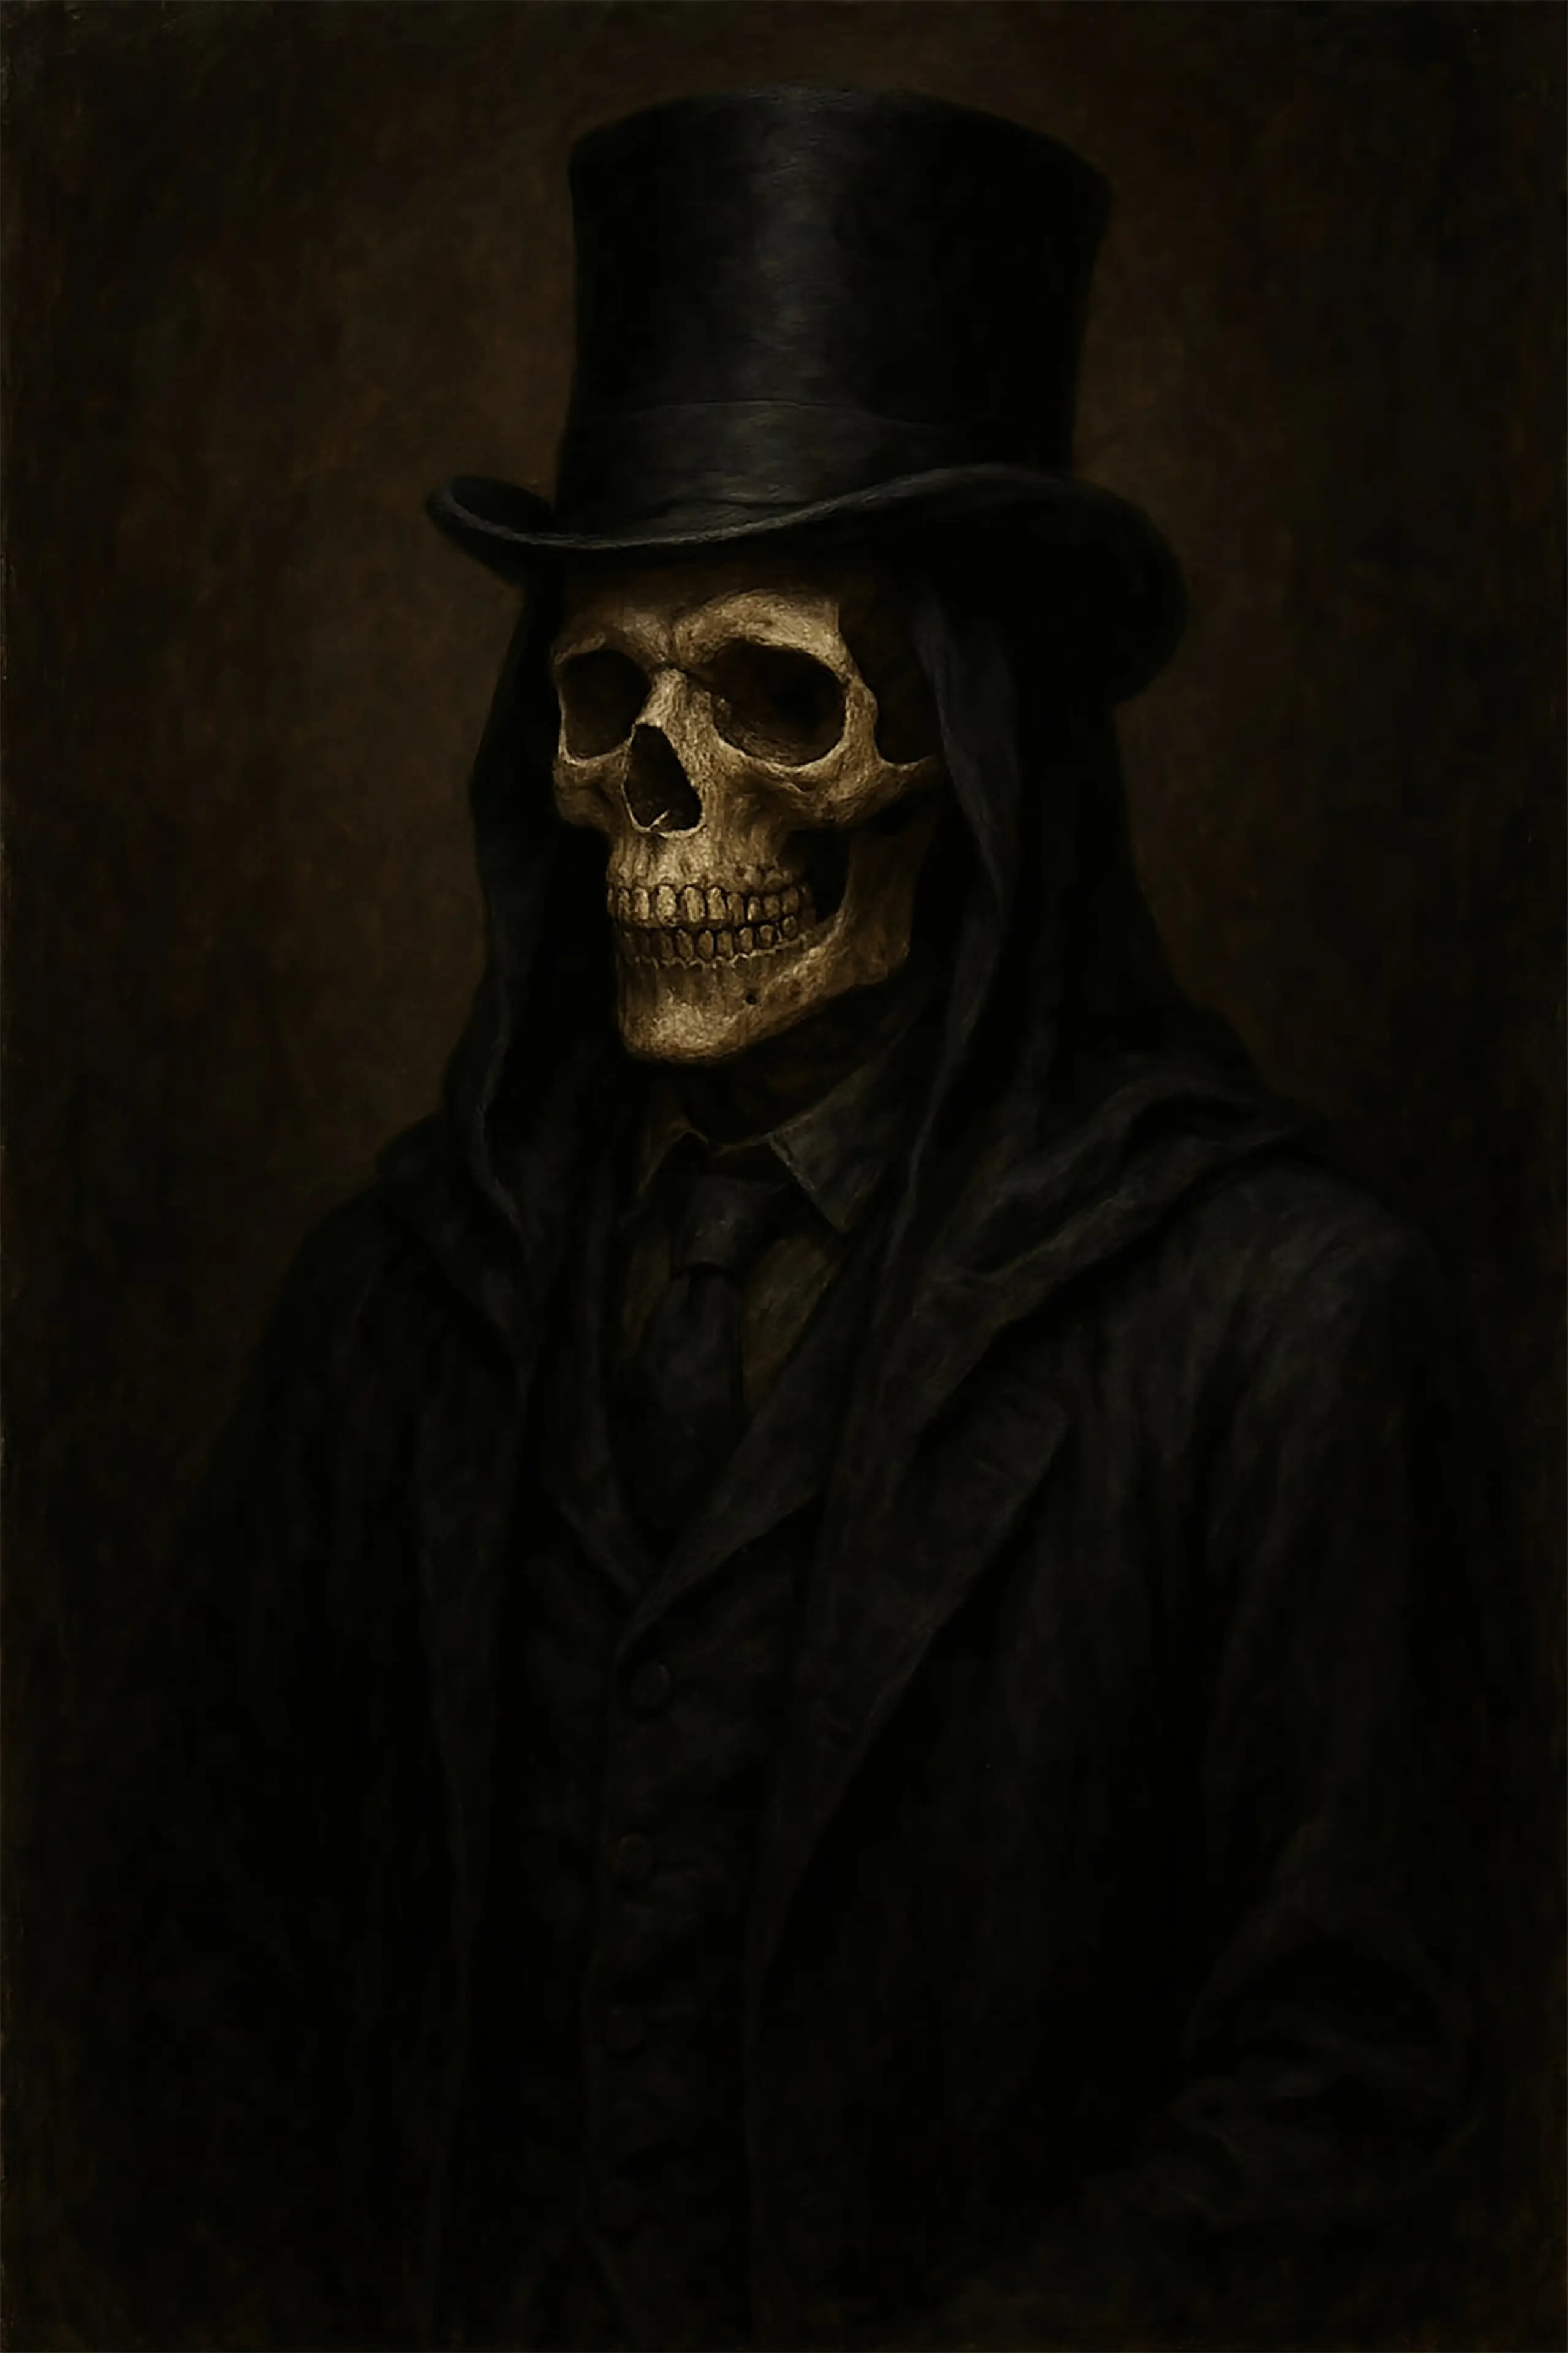
AI image creation is another source, but only if you do not care about exact detail. AI will generally create an image that sometimes resembles what you type, but other times not so much. Here is an example of testing AI image creation.
Copilot Image Prompt
Create a photorealistic side by side image with kids building a snowman on the left side in a snowy environment with a frozen lake on the left side. On the right side are kids playing and swimming in the lake in the sun. Demonstrate the transition between the two images using the smudge tool. The sun is in the middle in the background shining on both images. I am looking for it to be the same background such as trees, but on the left side the lake is frozen with people skating on the lake. On the right side, the lake is not frozen because it is summer time and they are swimming. Kids are building a snowman on the left side. The sun is shining in the middle down the split.
Sometimes, AI generates wonderful images and sometimes AI does not generate anything close to the prompt.
Terminology
There are several terms that will be used throughout these photo editing tutorials. It is extremely important to become familiar with these terms and understand what they mean. We will talk about the differences between photo manipulation and photo editing below but let's get familiar with some other terminology.
-
Composite / Digital Image / Digital Photo / Image / Online Photo / Picture:
For the purposes of these photo editing tutorials, these terms are synonymous. There are differences between them but those differences are beyond the scope of photo editing tutorials. These terms refer to a scanned photograph, image or digital creation stored on an electronic device such as a computer or mobile phone.
-
Image Editor / Picture Editor / Photo Editor:
This refers to the software in which we use to create or alter a digital image.
-
Tools:
Refers to the features or items used within a photo editor to alter or create the digital image.
-
2D / 3D:
The D stands for dimensional and refers to the perspective of the objects shown in the digital image.
-
Canvas:
Refers to the complete area in which contains the full digital image within the photo editor.
-
Pixel:
A unit of measurement commonly used to measure the size of certain types of image formats. There are other measurements like picas, points and inches that can be used but the most widely accepted for beginners is pixels. Pixels do not apply to certain types of images such as the Vector format that do not use pixels to display the image on the screen. Learning about the Vector format is outside the scope of these photo editing tutorials.
-
Actual Size:
The real size of an image commonly displayed in pixels.
-
Viewable Size:
The size of the image in the viewable space within the canvas shown on the monitor. We might have an image, for example, that is 4,096 pixels by 2,048 pixels actual size but our monitor only shows 1,920 pixels by 1,080 pixels. Therefore the entire image won't fit on our monitor. In order to view the image, we can tell our photo editor to decrease the viewable size to a percentage of the actual size so we can see it and work with it on our monitors easily.
-
Stretching / Skewing:
Stretching means increasing the length or height of a digital image but not both at the same time.
-
Resizing:
Proportionally increasing or decreasing the actual size of an image. Proportionally means adjusting all the sides of a digital image the same amount.
-
Skewing:
Refers to changing the angle of the image.
-
Cropping:
Reducing the height or width by cutting off some of the image on one side.
-
Shadows:
Dark areas of a digital image that still maintain some detail.
-
Highlights:
Light areas of a digital image that still maintain some detail.
-
Midtones:
Colors that do not qualify for a shadow nor a highlight but are somewhere in between.
-
Layer:
A layer is a section within a digital image that can be edited without affecting other portions (layers) of that same digital image. Imagine stacks of clear sheets of thin plastic laying on top of one another. You can draw on each one individually without affecting the other. When you lay them on top of each other, they make an entire image or composite.
-
Blur:
Refers to creating a fuzzy object within a digital image. Blur can be applied to any object, text or layer within a digital image.
-
Stroke:
A non-blurred color displayed on the outer edge of an object within a digital image.
-
Opaque/Opacity:
A percentage measurement to define how clear or see-through an object is on the canvas. 0% opacity would be a hidden object and means the object is fully opaque. 100% opacity would be a fully seen object without the ability to see through it and the object is not opaque. A window, for example, would have a minimal percentage of opacity.
-
Glow:
An opaque blurred outer or inner color that gives the appearance of a light around the object.
-
Bevel:
Providing an effect to give the appearance the object is raised. This effect is commonly used on text or for special effects.
-
Emboss:
Providing each pixel of an object with a shadow effect. Emboss typically works hand in hand with bevel. So we will usually see Bevel and Emboss when working with layers.
-
Text:
While this might appear as common sense, the text within a photo editor is different from the text within a word editor. Text within a photo editor has a lot of individual settings that should be mastered. Text within a photo editor is not as clean or as smooth as a word editor. The smaller the text is within any non-vector photo editors, the more difficult it becomes to read for the viewer.
-
Linking:
Making it so each layer when one layer is moved, the software moves all the layers at once. An example would be creating an apple. We have the stem as one layer, the leaves, the apple outline and color and the shine on the apple and some water droplets all in different layers. When we move or resize the apple, we don't want to move or resize each layer individually so we can link them together so what happens to one of the layers directly affects the rest.
-
Groups:
Some photo editors like Adobe Photoshop or Photopea have the ability to create folders. These folders can be named and individual layers can be stored in these folders. This is called grouping. While this may appear similar to linking, grouping layers is different from linking layers together. Selecting the folder or group will allow for moving of all layers at once, each layer can still be individually moved and resized by opening the group unlike linking them together