Understanding the tools for removing an object from a digital image
The first thing to understand is that not every tool that is provided will work for every situation. There are several trillion digital photos on the Internet with new ones added every day. These digital images have different types of shading, shadows, gradients, blurring effects. The objects desired to be removed vary in size and shape and the surrounding backgrounds vary greatly with smooth to rough.
This digital image object removal tutorial is designed to teach about the current tools available in the Photopea software to help make object removal in a digital image much easier. There is still work that must be accomplished on the part of the editor in order for the tools to work properly and there is a learning curve that goes along with these tools. Do not be discouraged if the results are less than perfect when attempting to use these tools for the first time.
The more complex the image, the more difficult the removal and the greater need for the full understanding of what the tools do within the software. Here are some examples. More complex images may need a combination of tools to come out with the desired result as one tool may not produce accurate results.
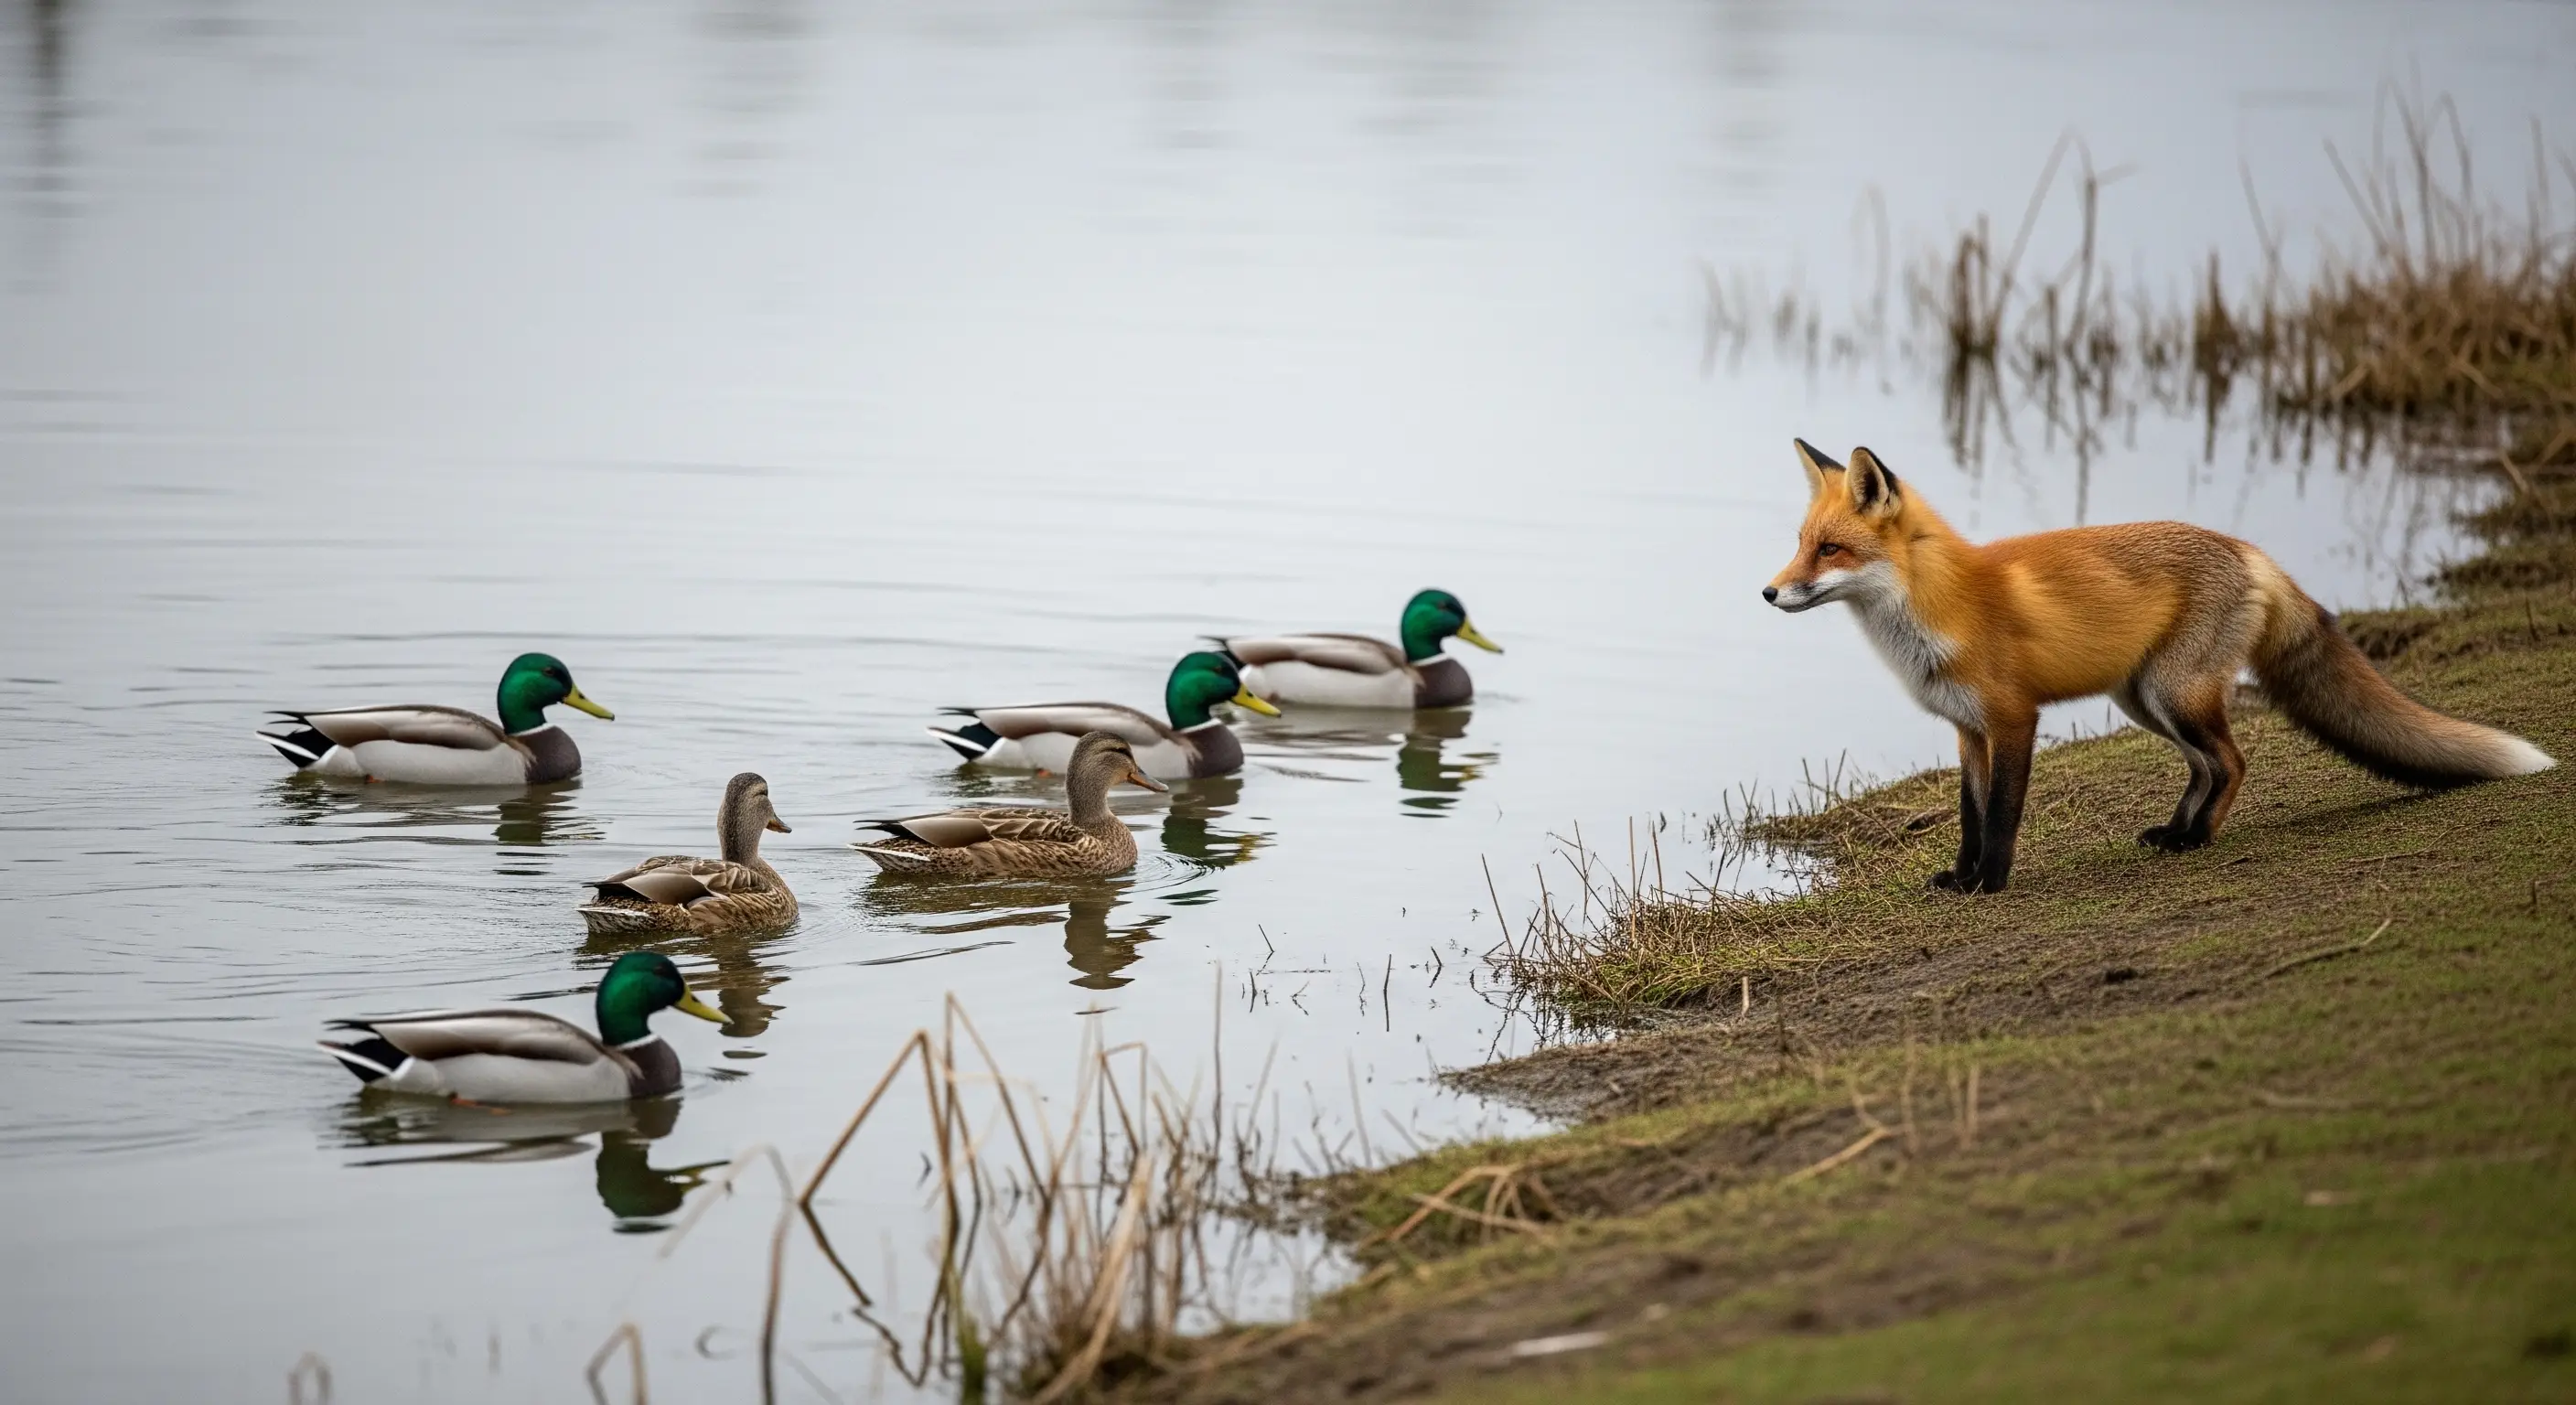
Final Outcome

What happens when we remove an object?
Since there are several methods to remove or replace objects in digital images whether we are using Photopea or another photo editing software, like Photoshop, there are several answers. Let's look at the different methods used to replace an object in a digital photo and we can review what happens in each of them.
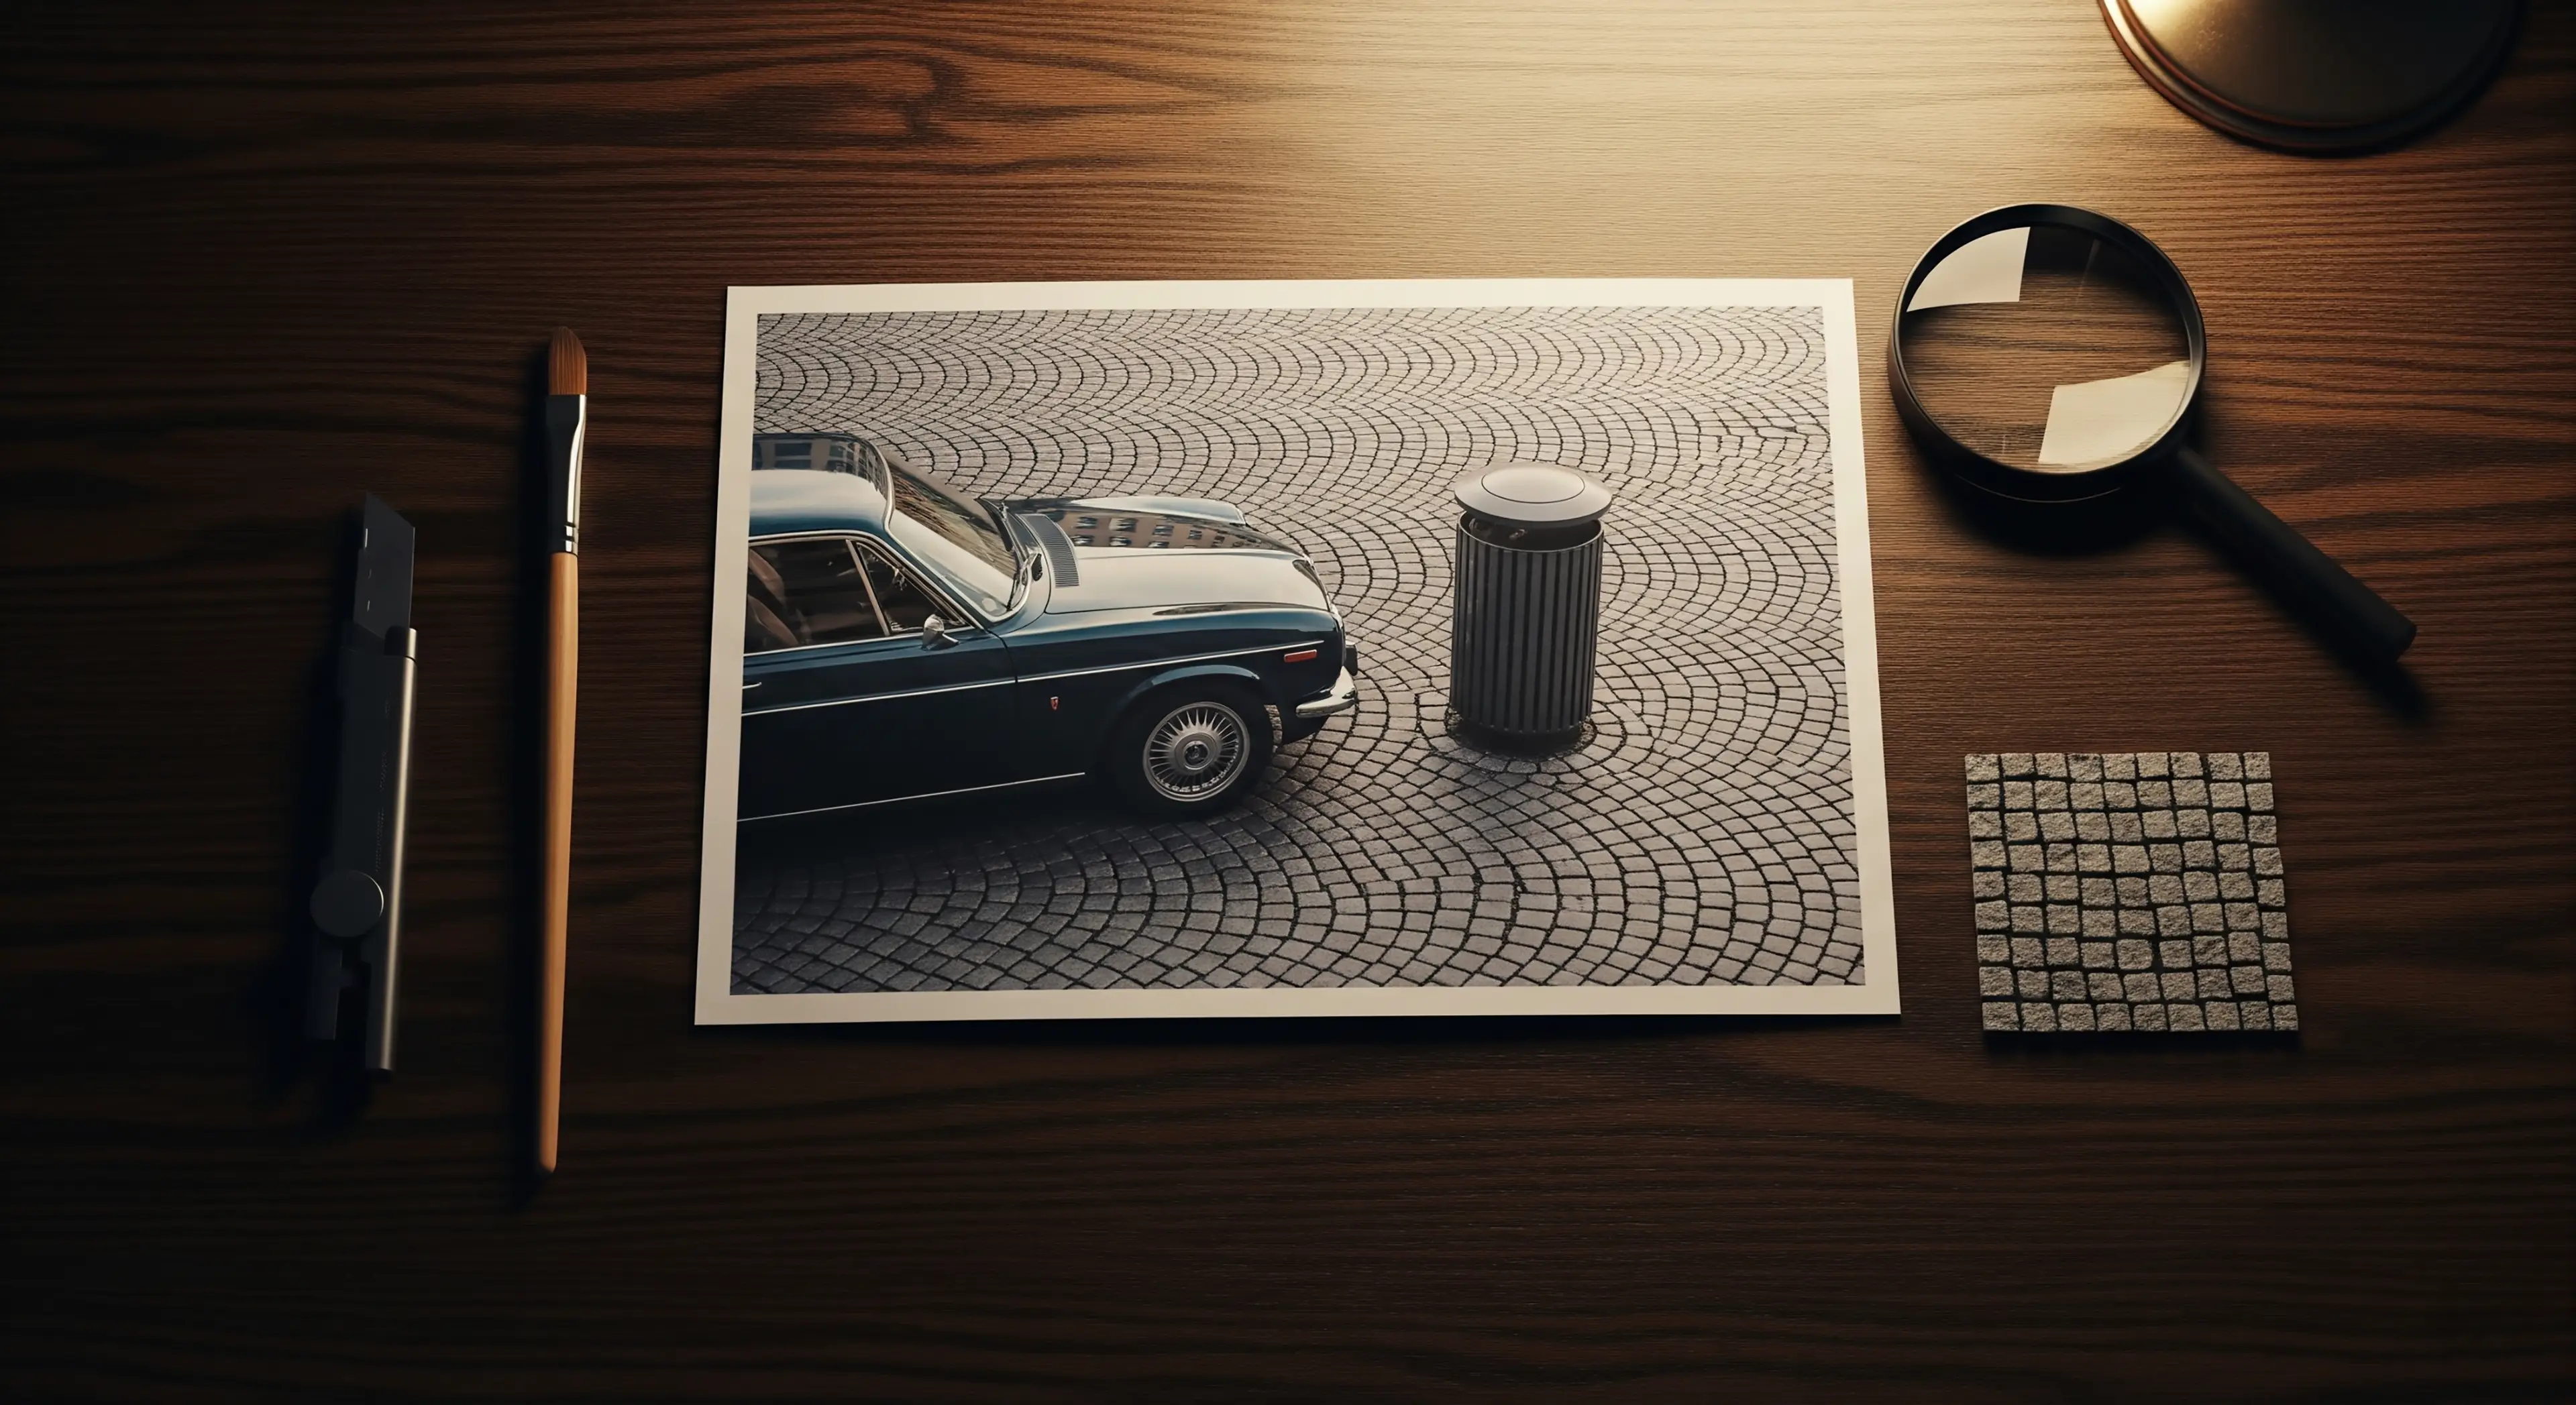
The images shown below are not intended to dazzle with the amazing effect of the tool. They have been included to show that not all tools work as advertised or as expected and there may not be 1 tool that completes the desired outcome. The intention is to remove the fox from the image.
-
Cropping
We are simply cutting off a portion of the image to remove an object. Sometimes the simplest method is the easiest method. This method involves cutting off the portion of the image for which is desired to be removed from the digital photo. While the easiest tool is not always the best tool sometimes, the simplest answer is the answer. If we don't mind removing the other portion of the image then crop the image to remove the object. This would be good for a banner at the bottom of an image. Instead of removing the banner and trying to fill it in, it is just easier and better to crop the image and cut the banner out of there instead of wasting our time using the other tools.
Crop the image when we want to:
- Remove entire sections of a digital image.
- Remove banners or words that are close to the edge.
- Resize the digital image while removing unwanted content.
-
Fill and Content Aware
This is a very easy to learn, advanced skill level, method in which we allow the program to automatically review and gather the pixels around the image for which we want to remove from the digital photo and use its best judgment to replace those pixels. This is an excellent method to use for either very smooth colored backgrounds or very rough textured areas like sand or lots of rocks in which changes to the surrounding area will not be easily noticed.
-
Clone Tool
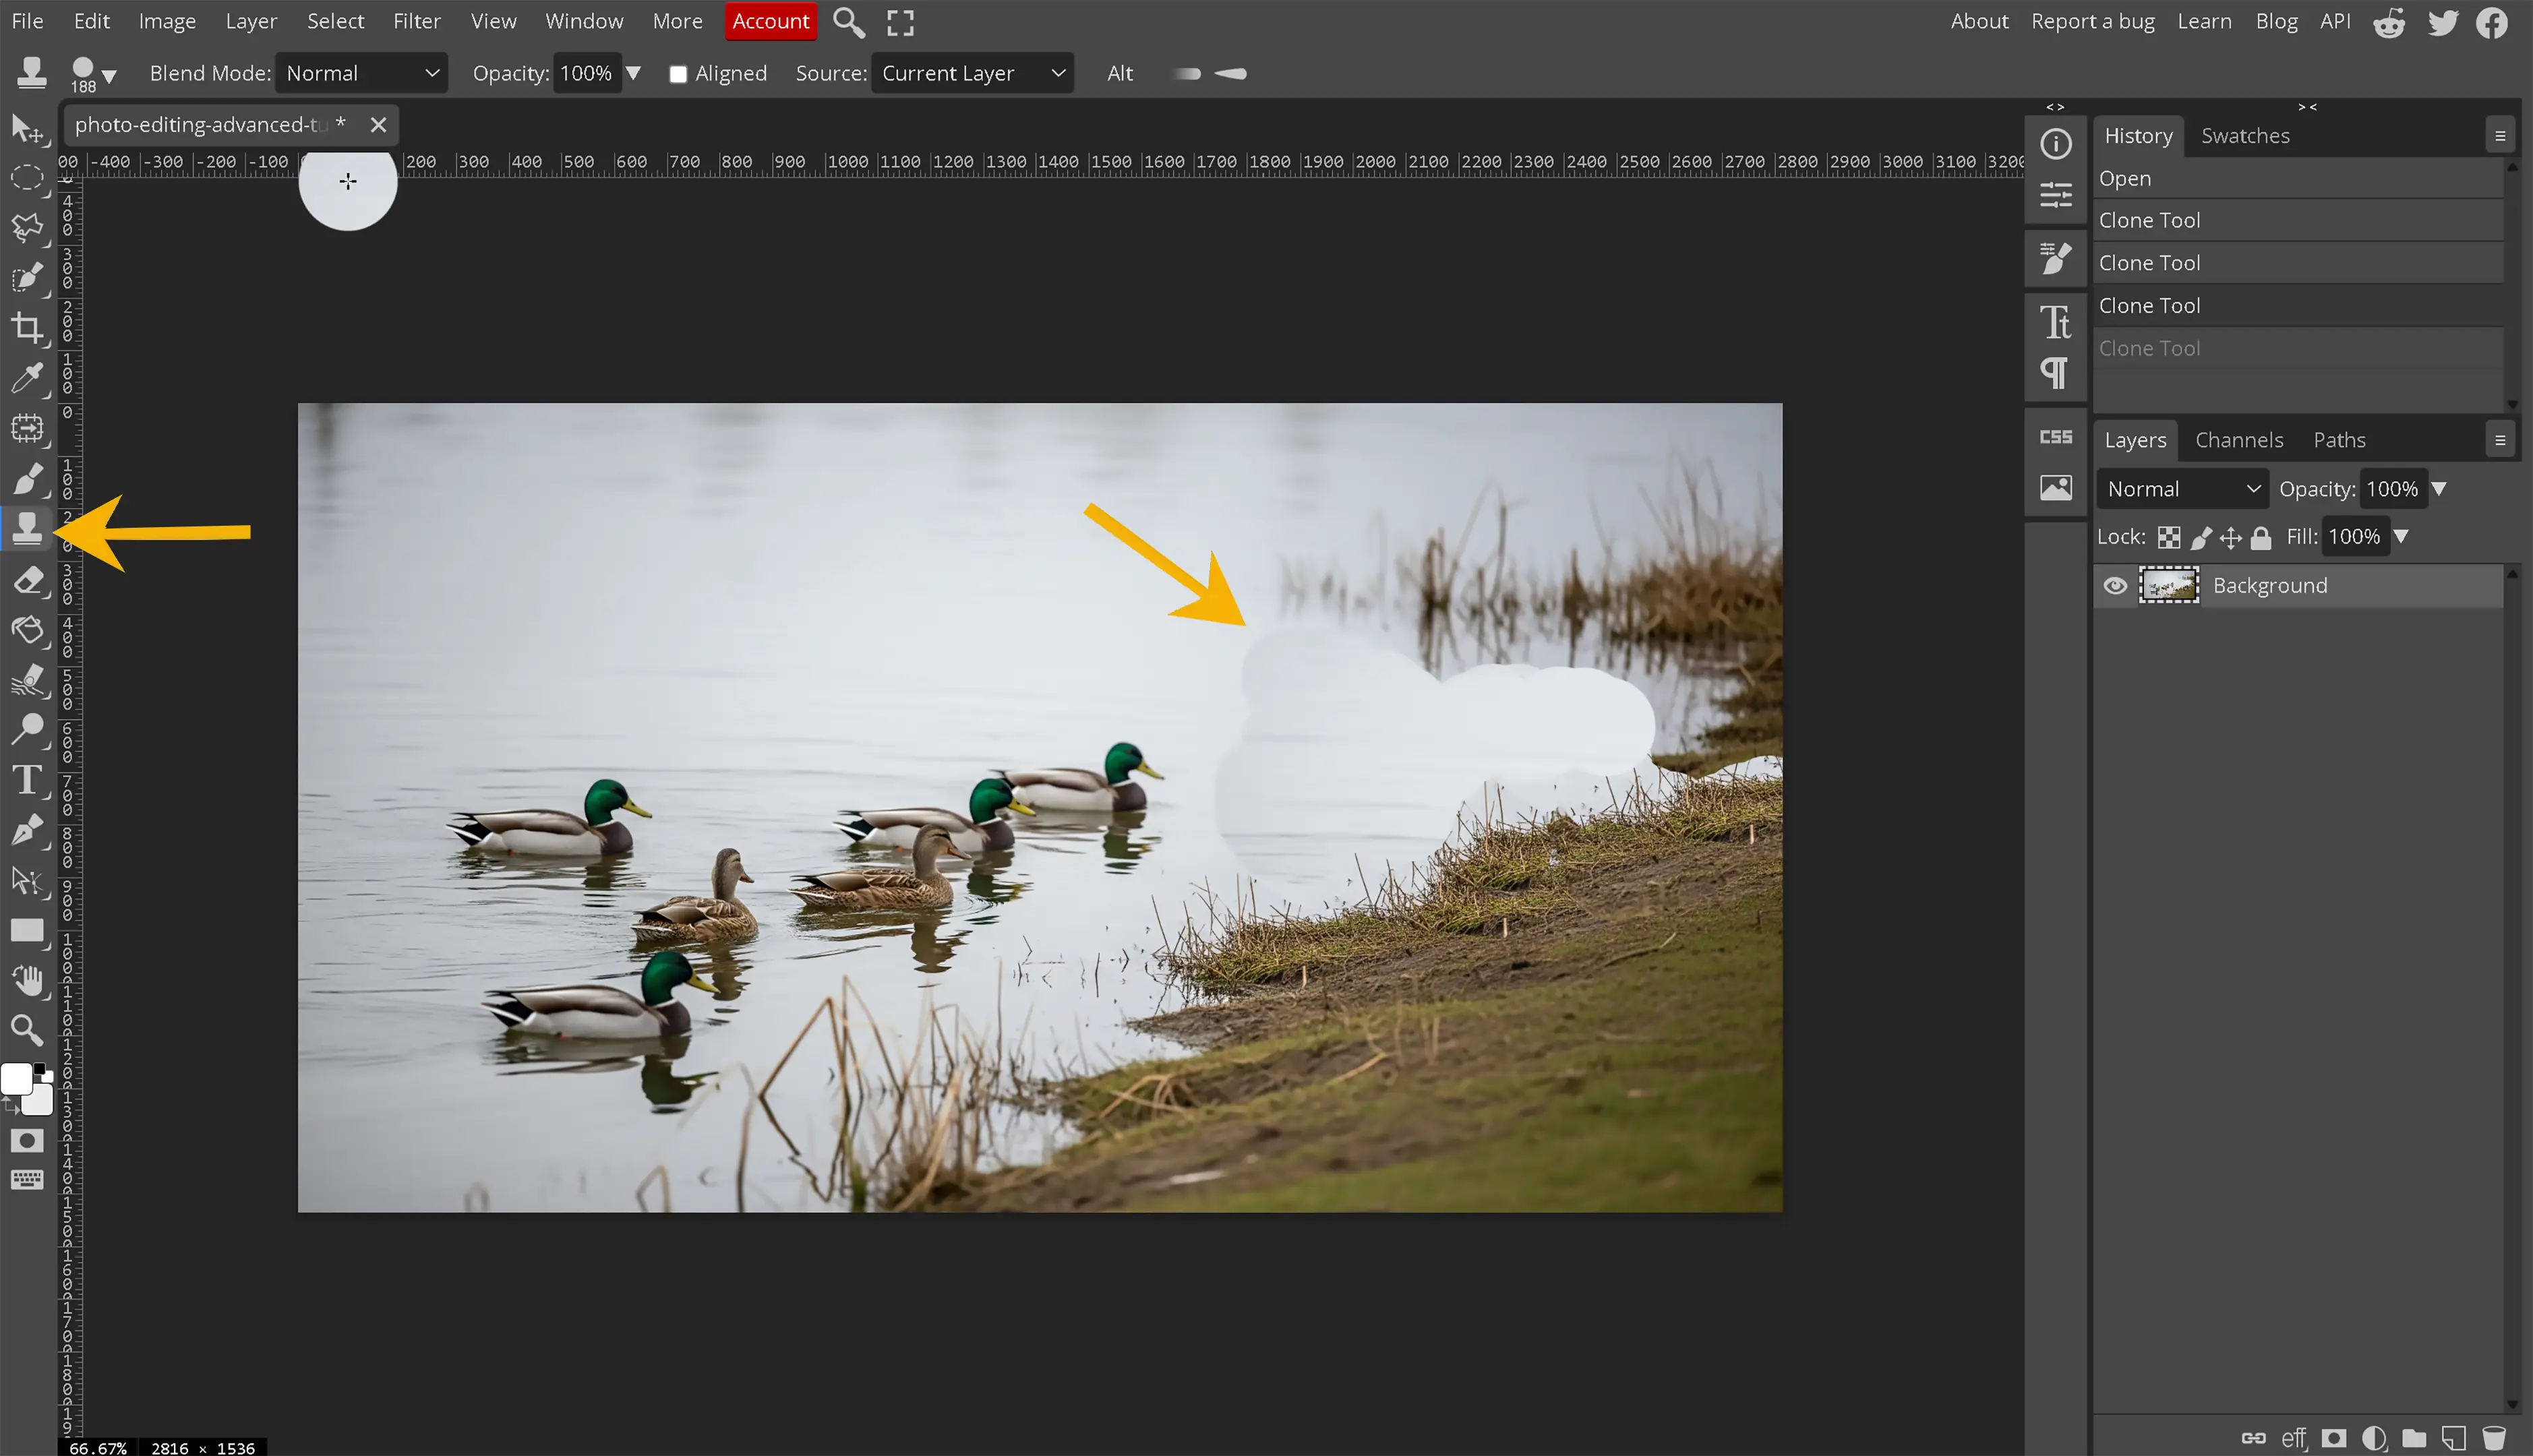
In this method, we use our own judgment and tell the photo editing software to replace the portion of the digital image with another portion of the image for which we select. This very powerful tool samples different areas of the digital image and replaces the sections that are brushed with the tool with where the tool was sampled. This is the perfect tool for removing objects from a digital image with very complex surroundings around that object.
-
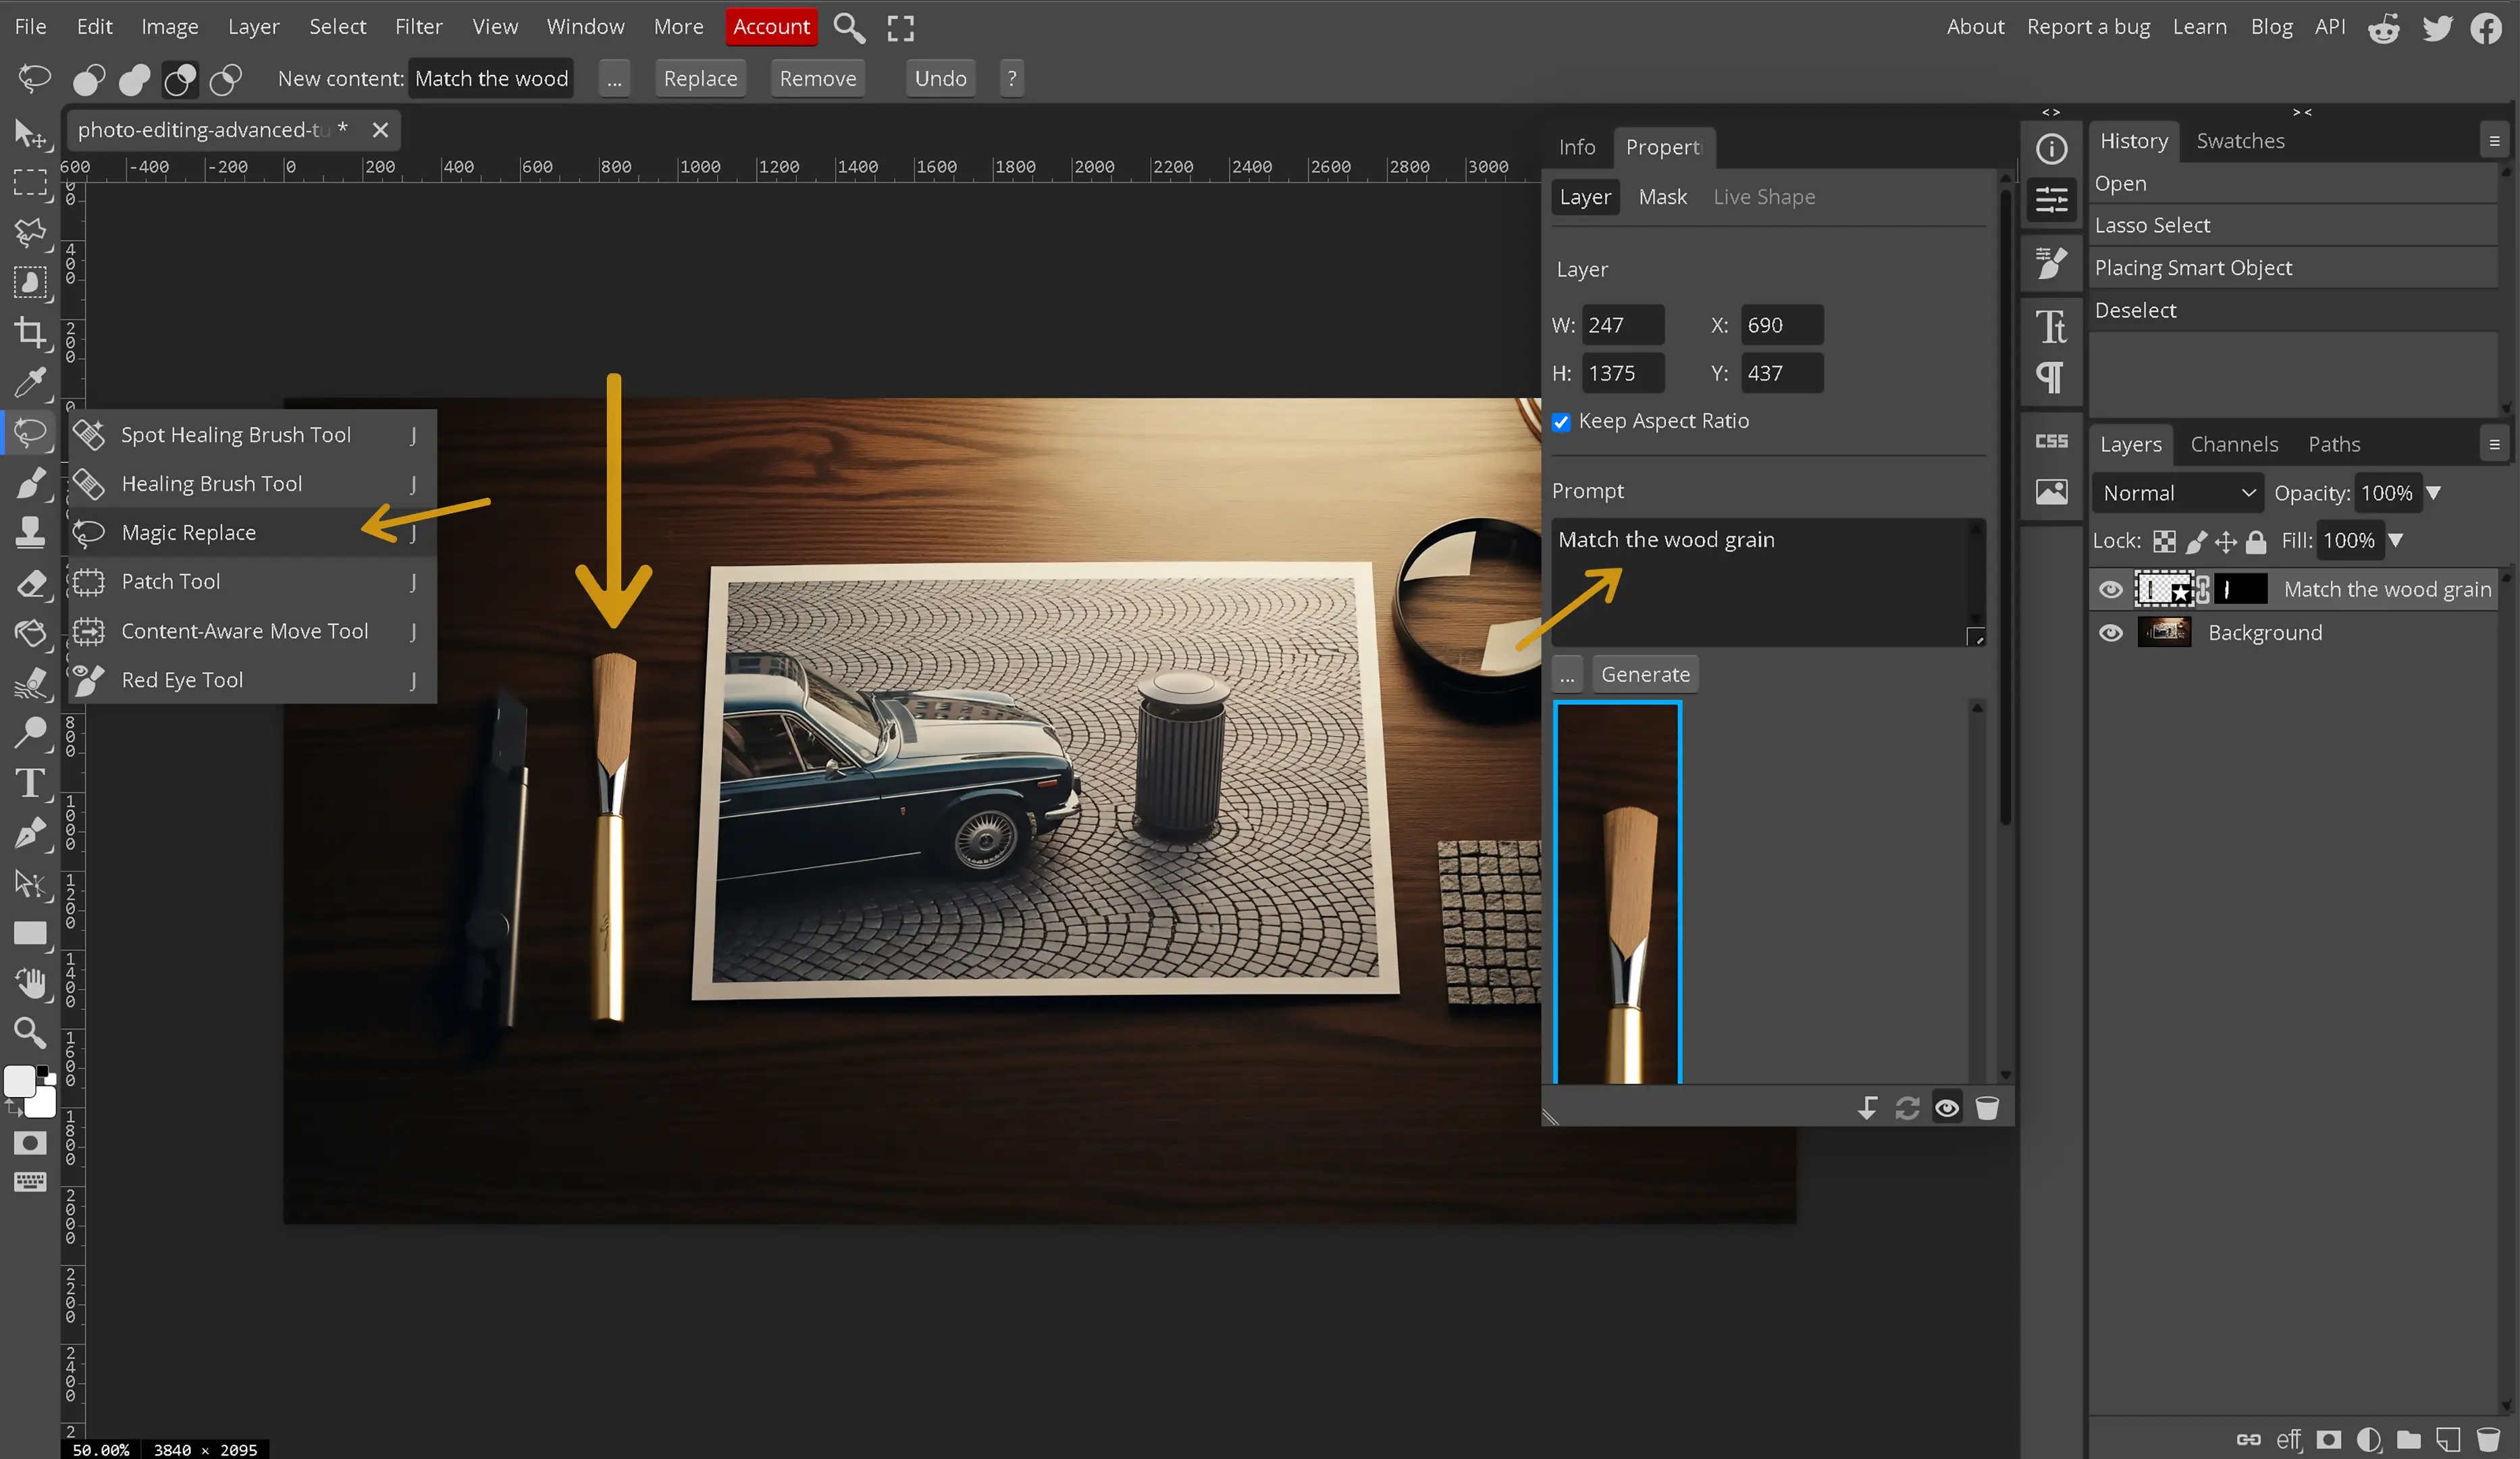
Magic Replace
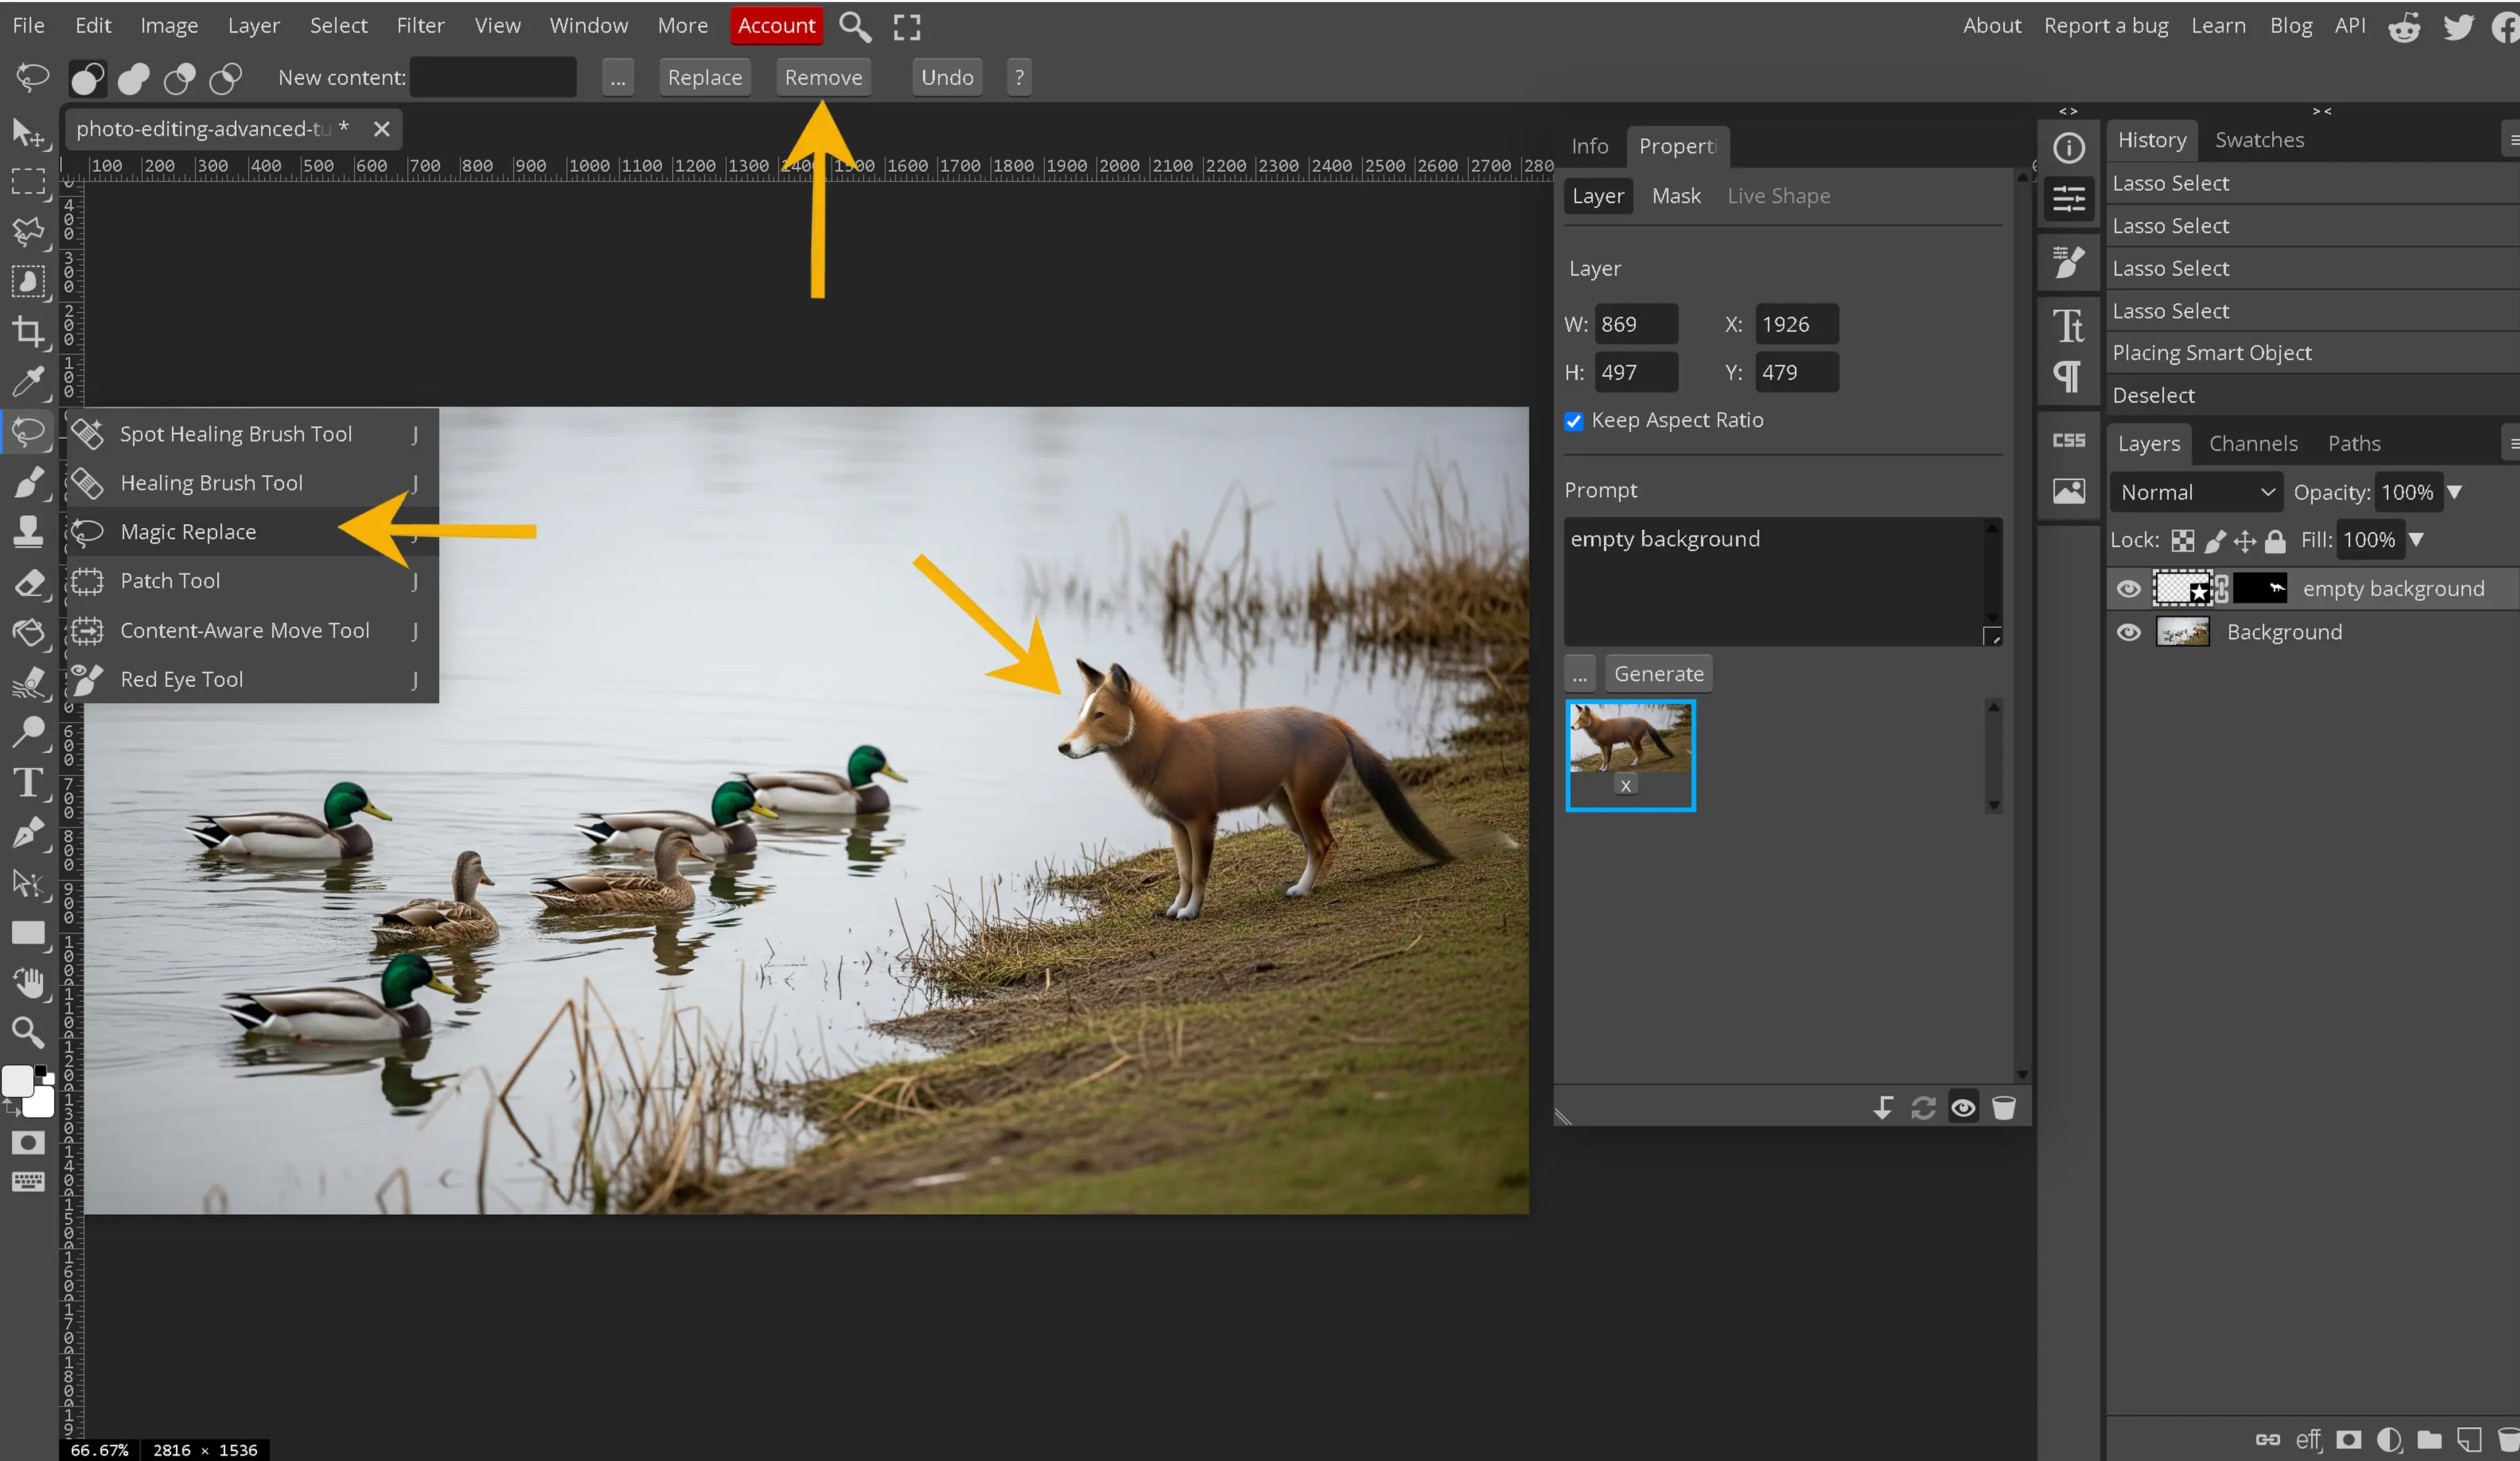
This tool is a premium tool and either requires a subscription or to watch short videos. It will attempt to use AI to replace the object which is surrounded with various results.
-
Patch Tool
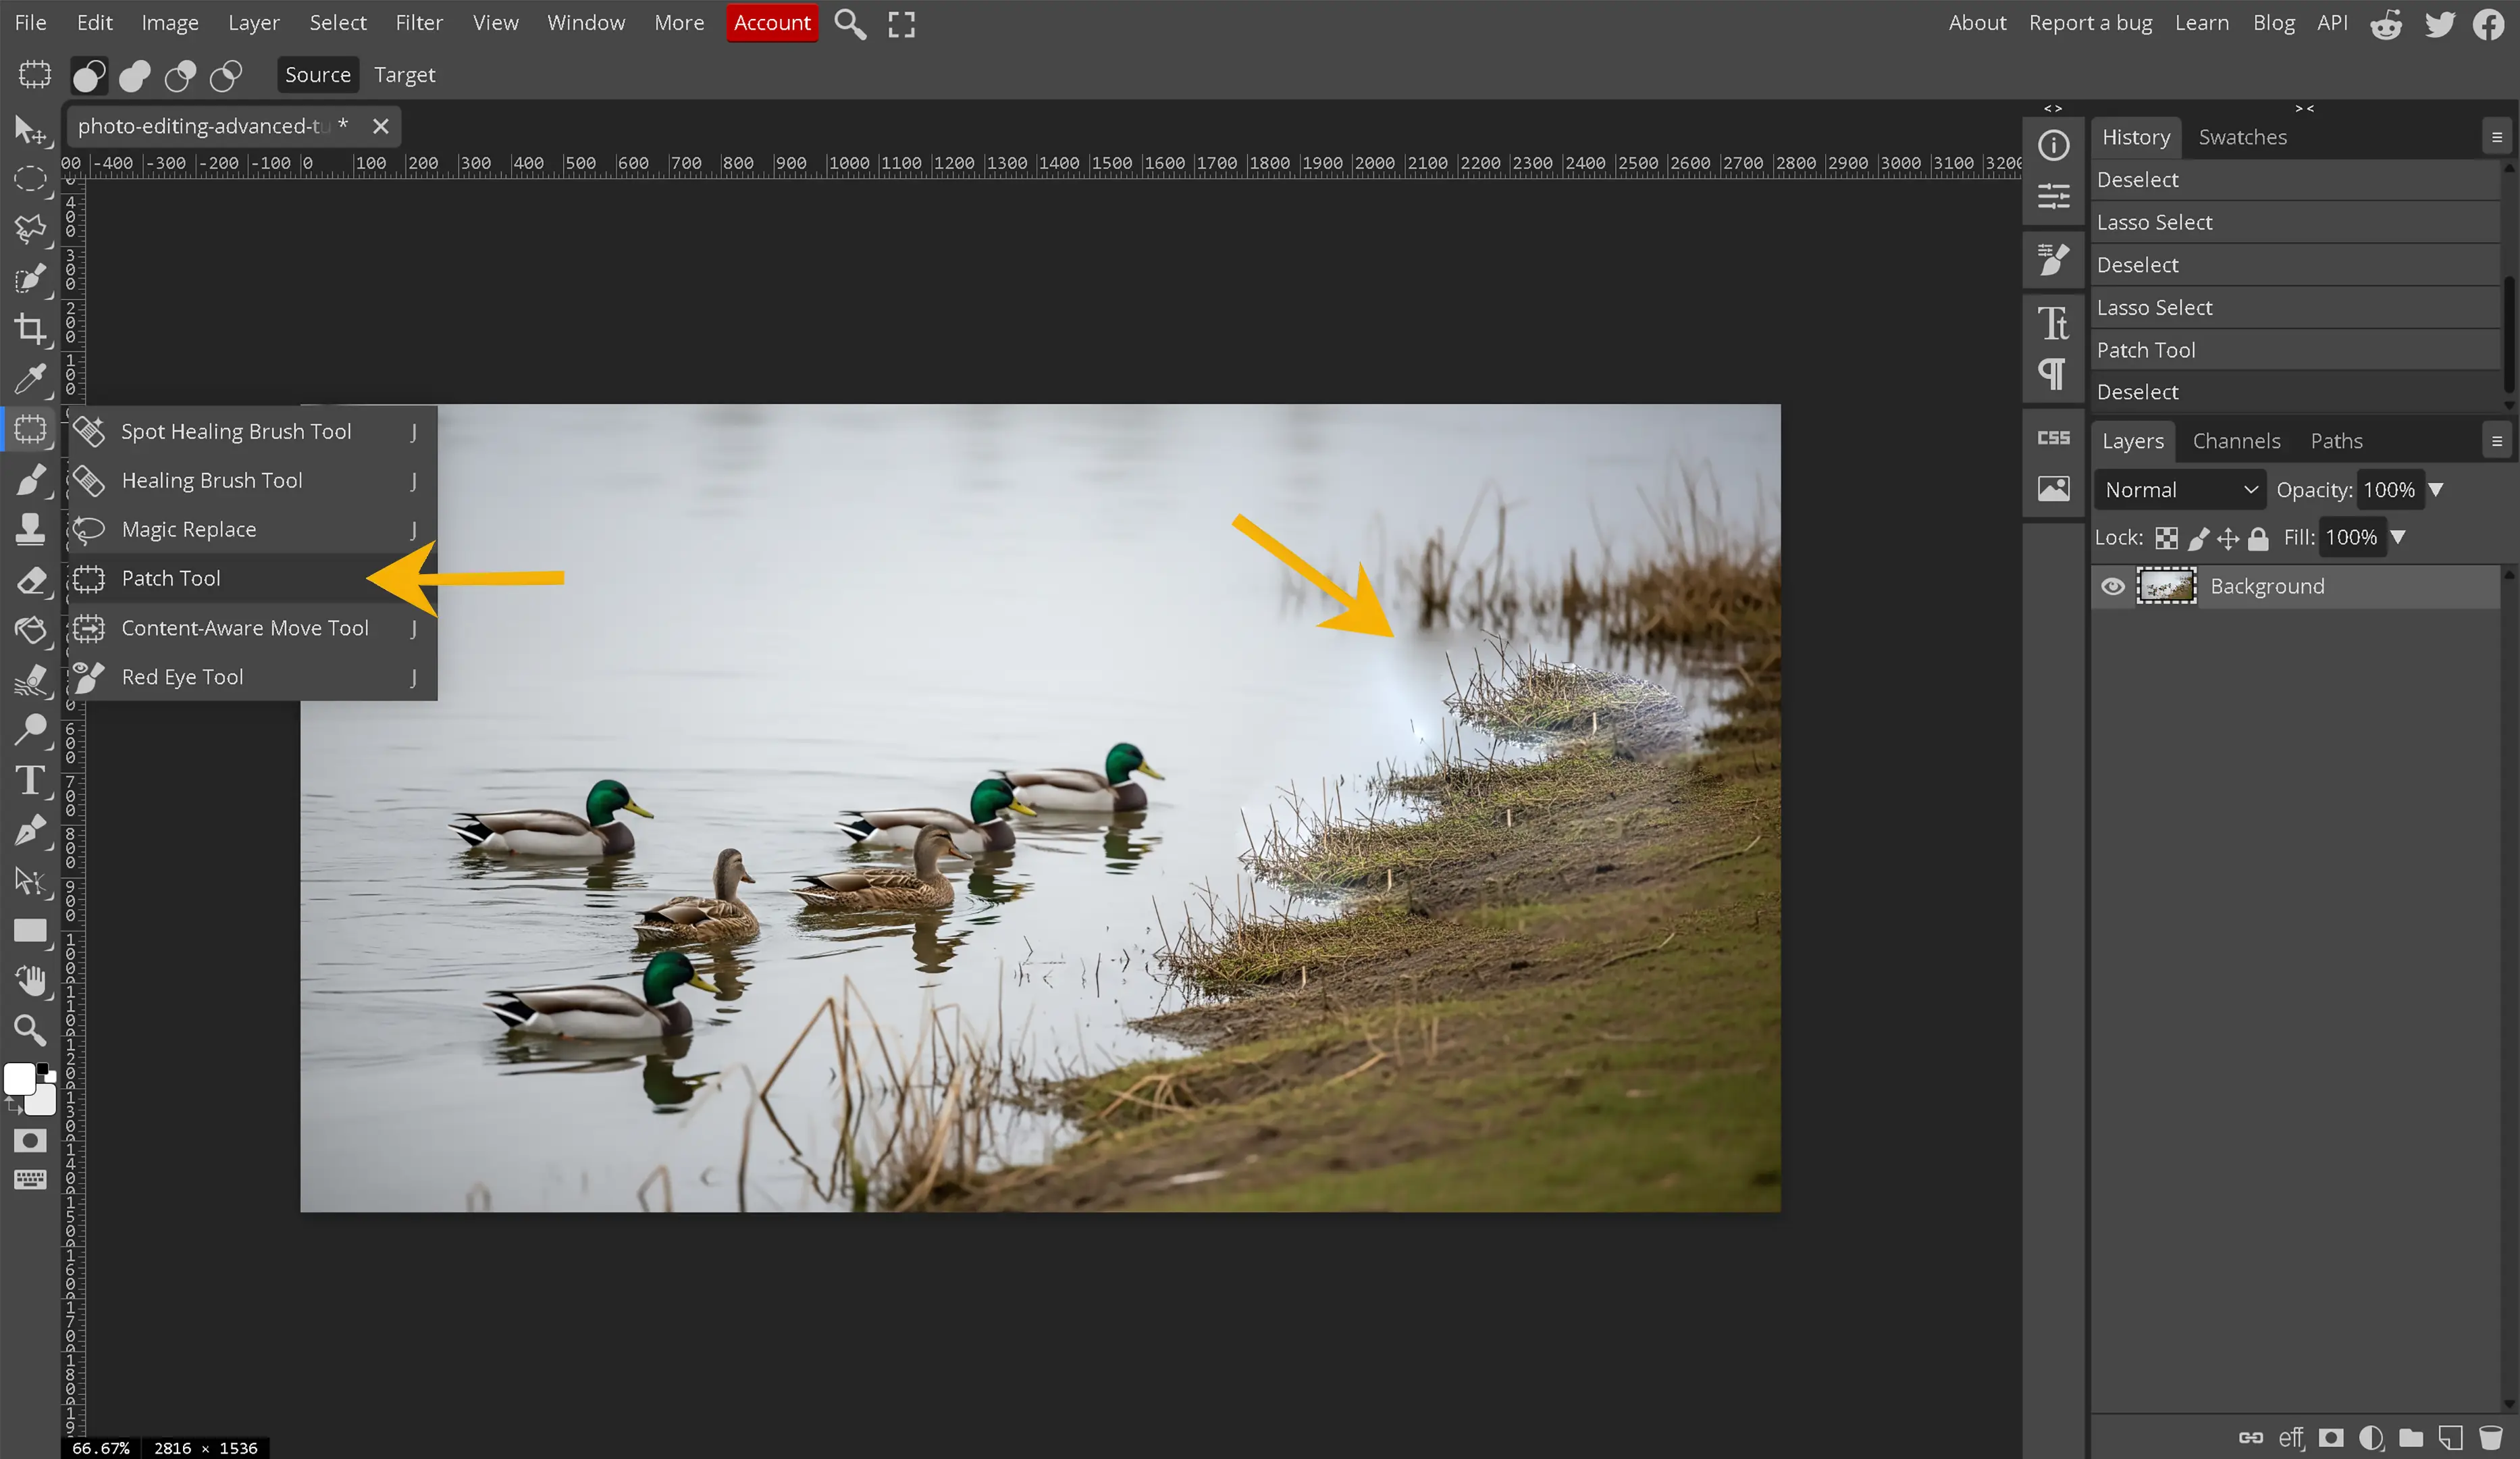
This tool is fantastic when we have a fence or wood grain surrounding the object for which is desired to be removed. When we have more complex surrounding areas, this method allows us to easily copy the area near the object for which we want to remove or replace in the digital image. This tool may not work well if the lighting is not even in the image.
-
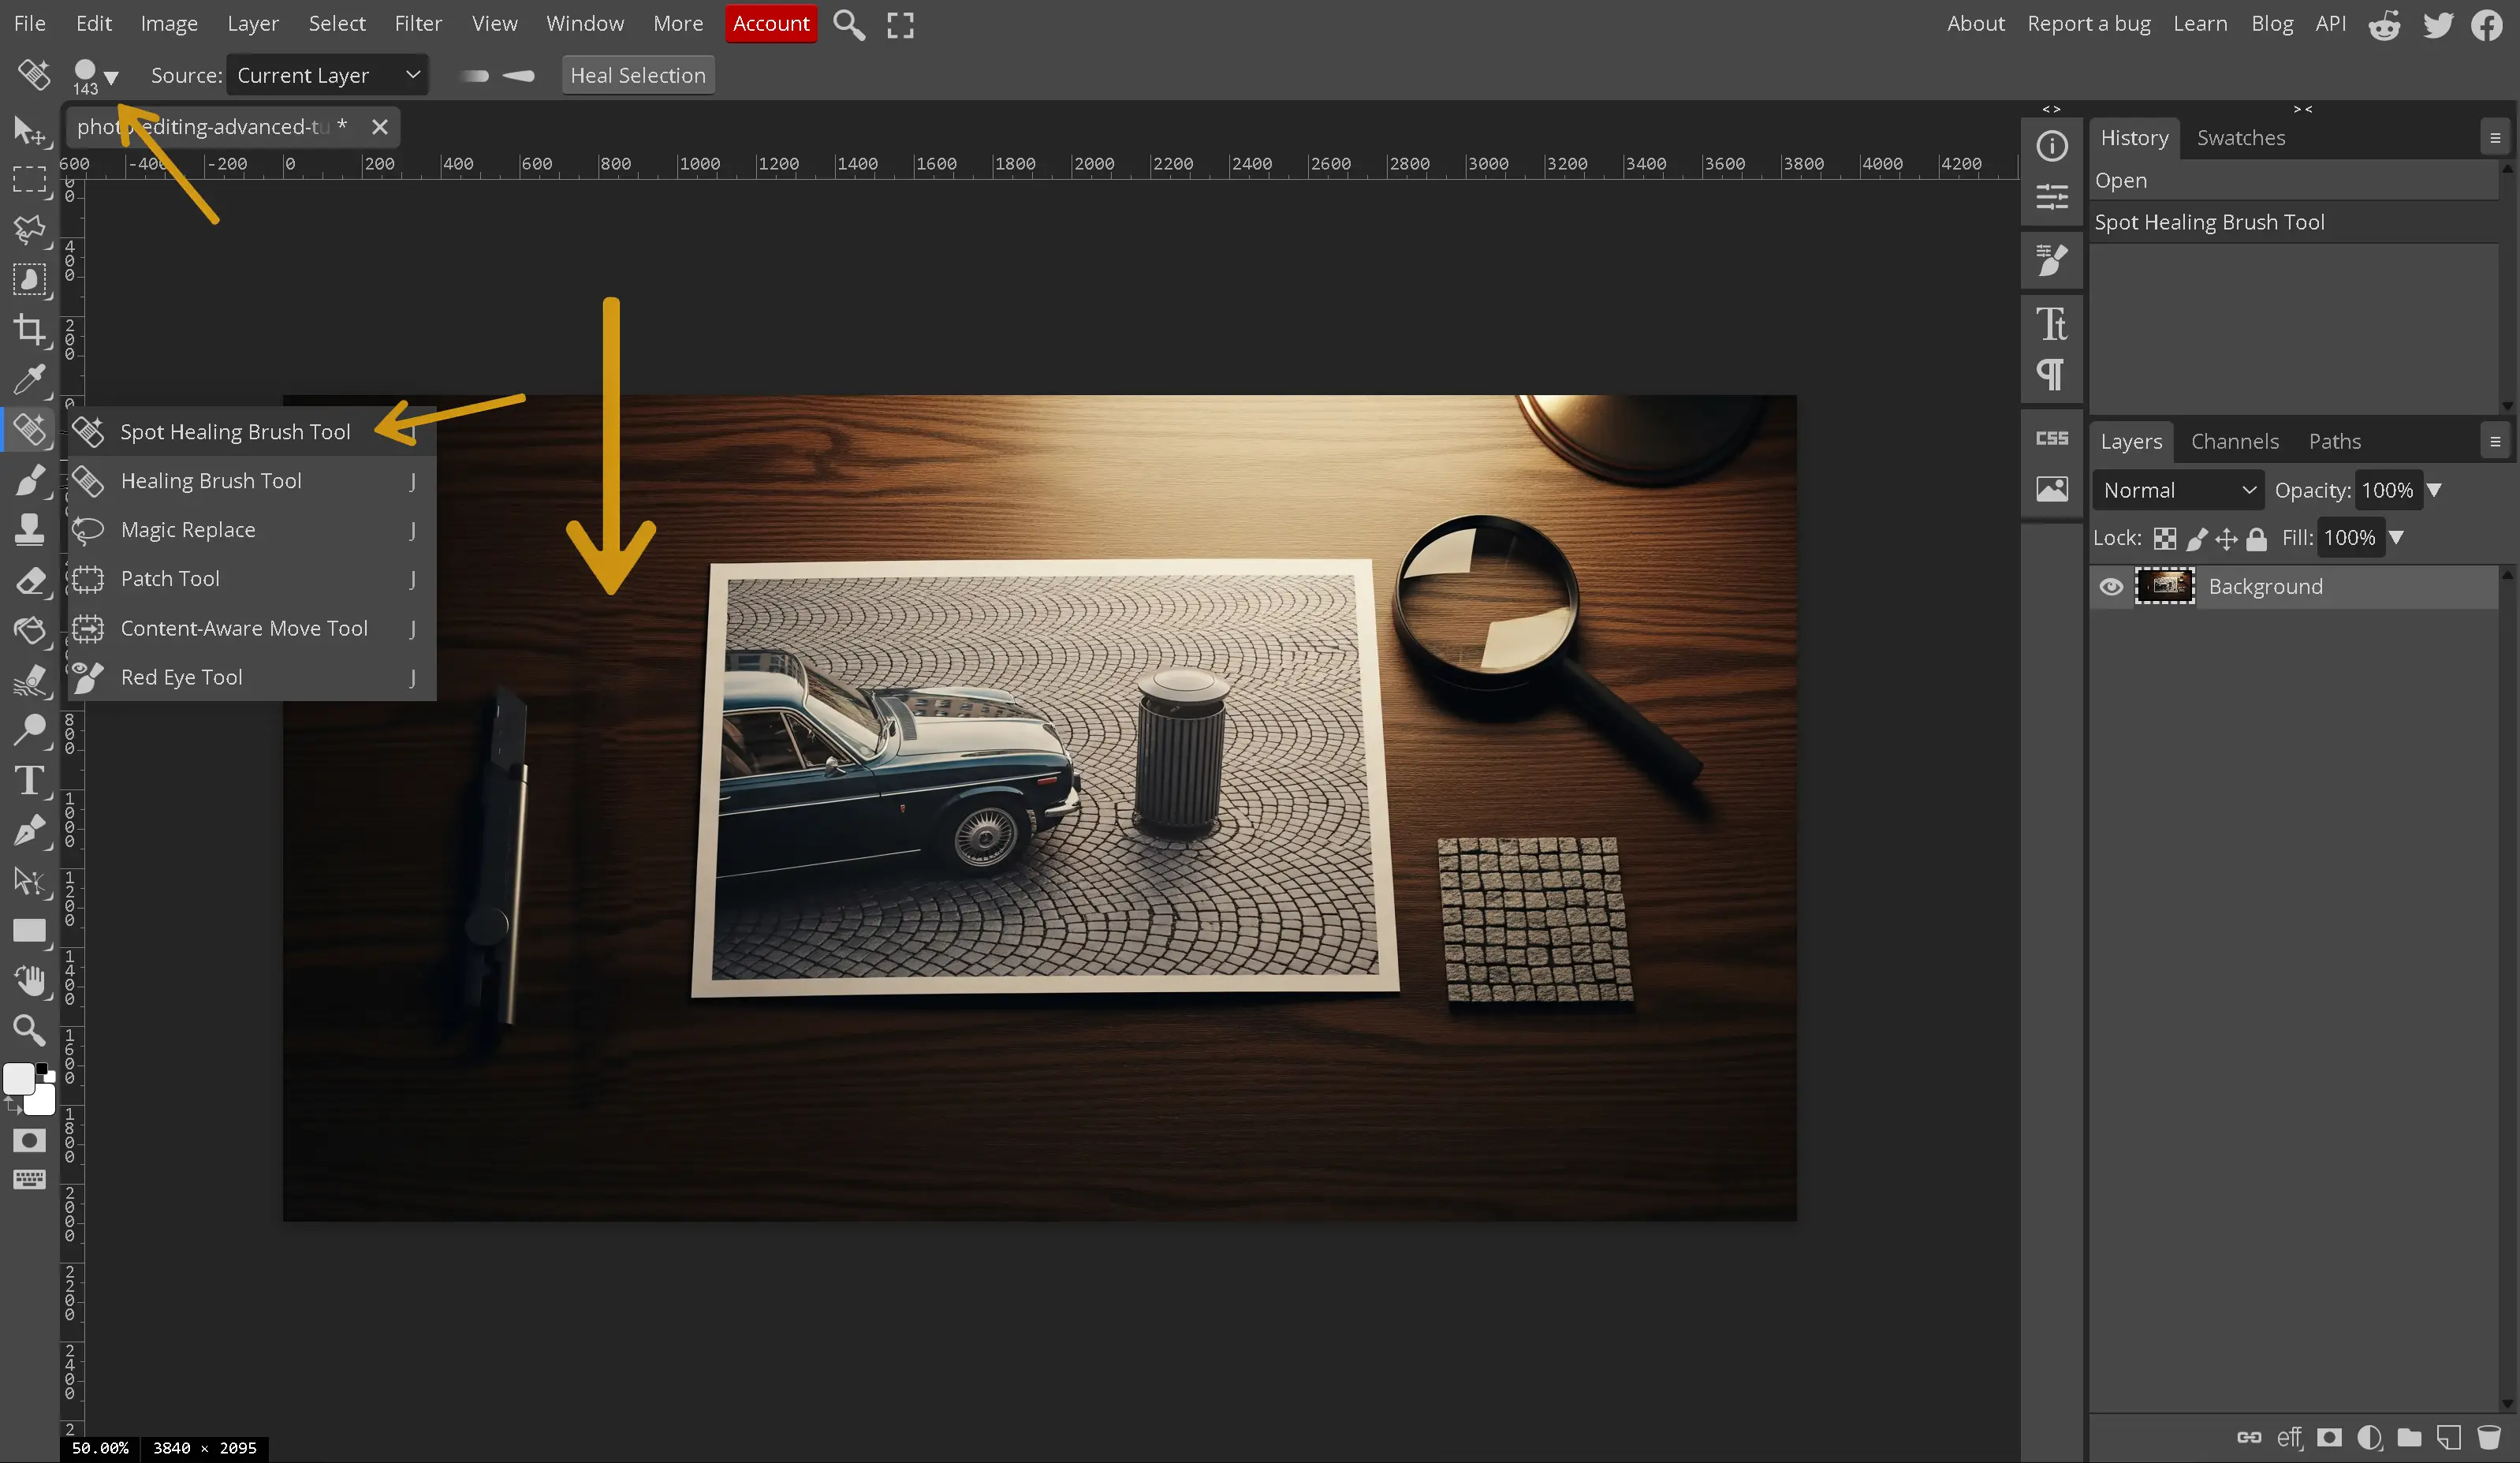
Spot Healing Brush
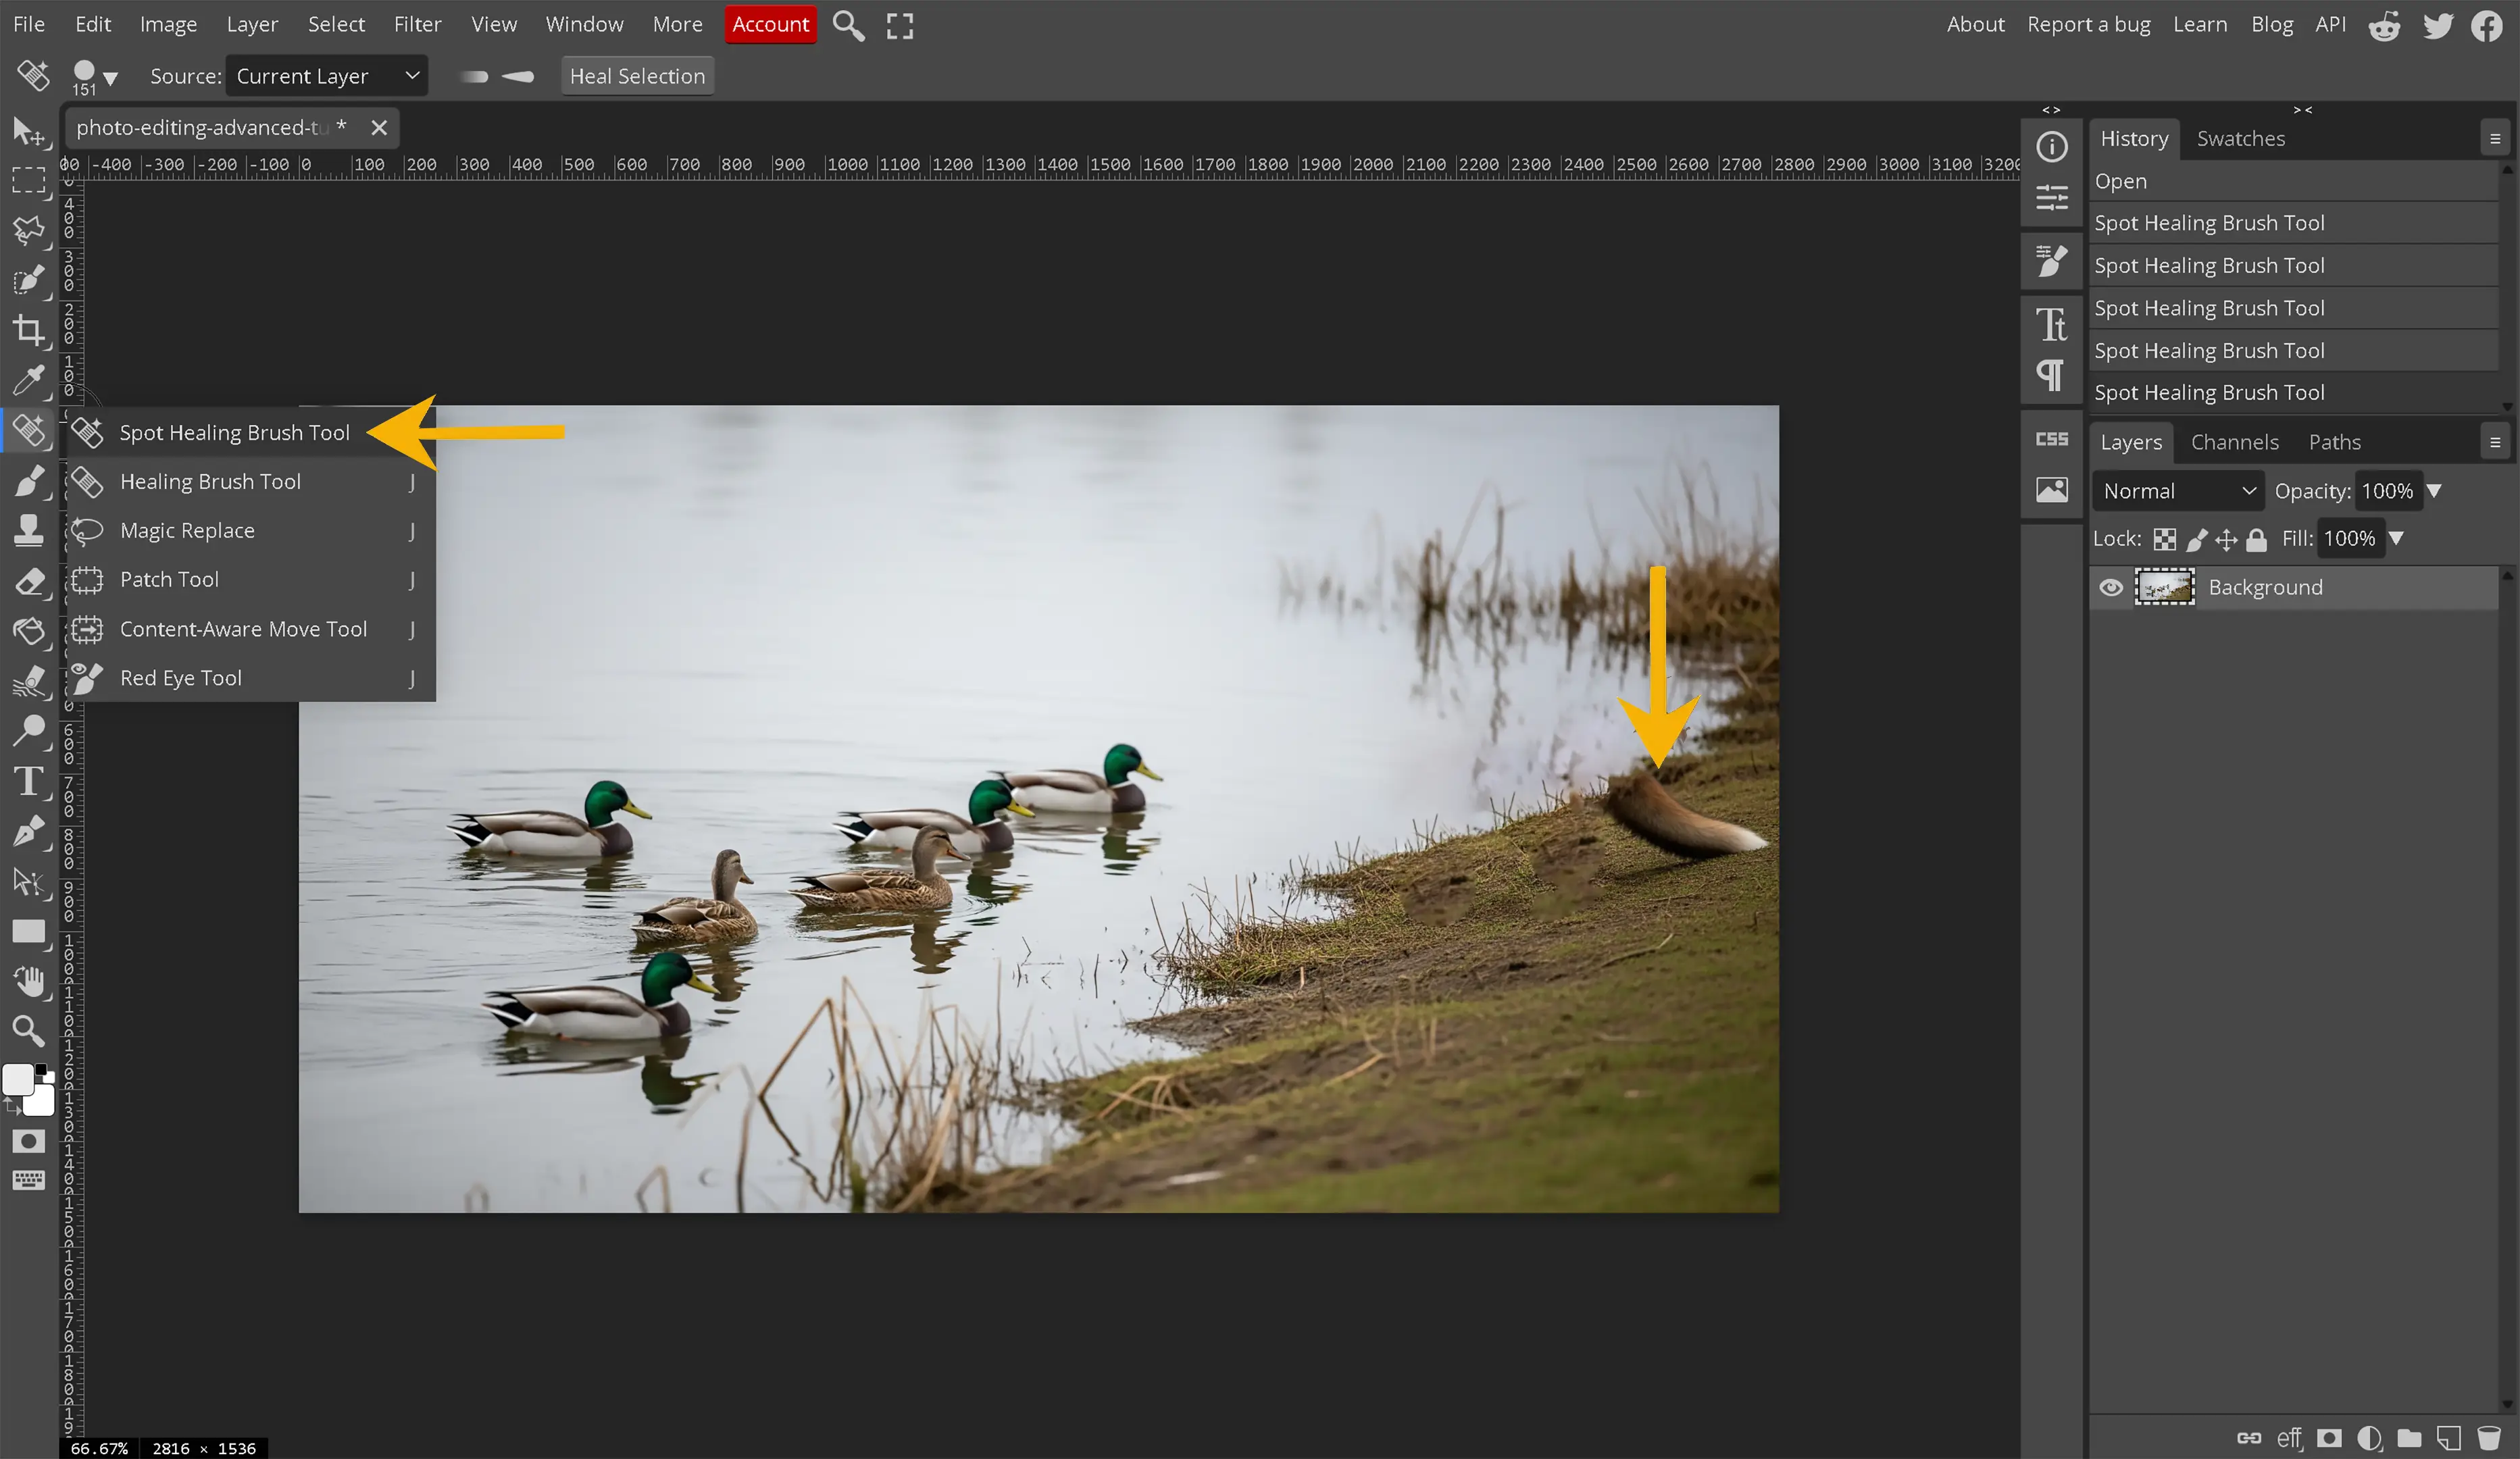
This tool will be great for smaller objects within an image. Photopea takes a bit longer to remove the objects with the Spot Healing Brush but the algorithm used within this brush provides an amazing output. This tool allows the software to automatically choose a starting point based upon the content around the selection. The object within the image will be replaced with the surrounding areas. This tool does a great job with very dark and light contrasting images.
-
Healing Brush
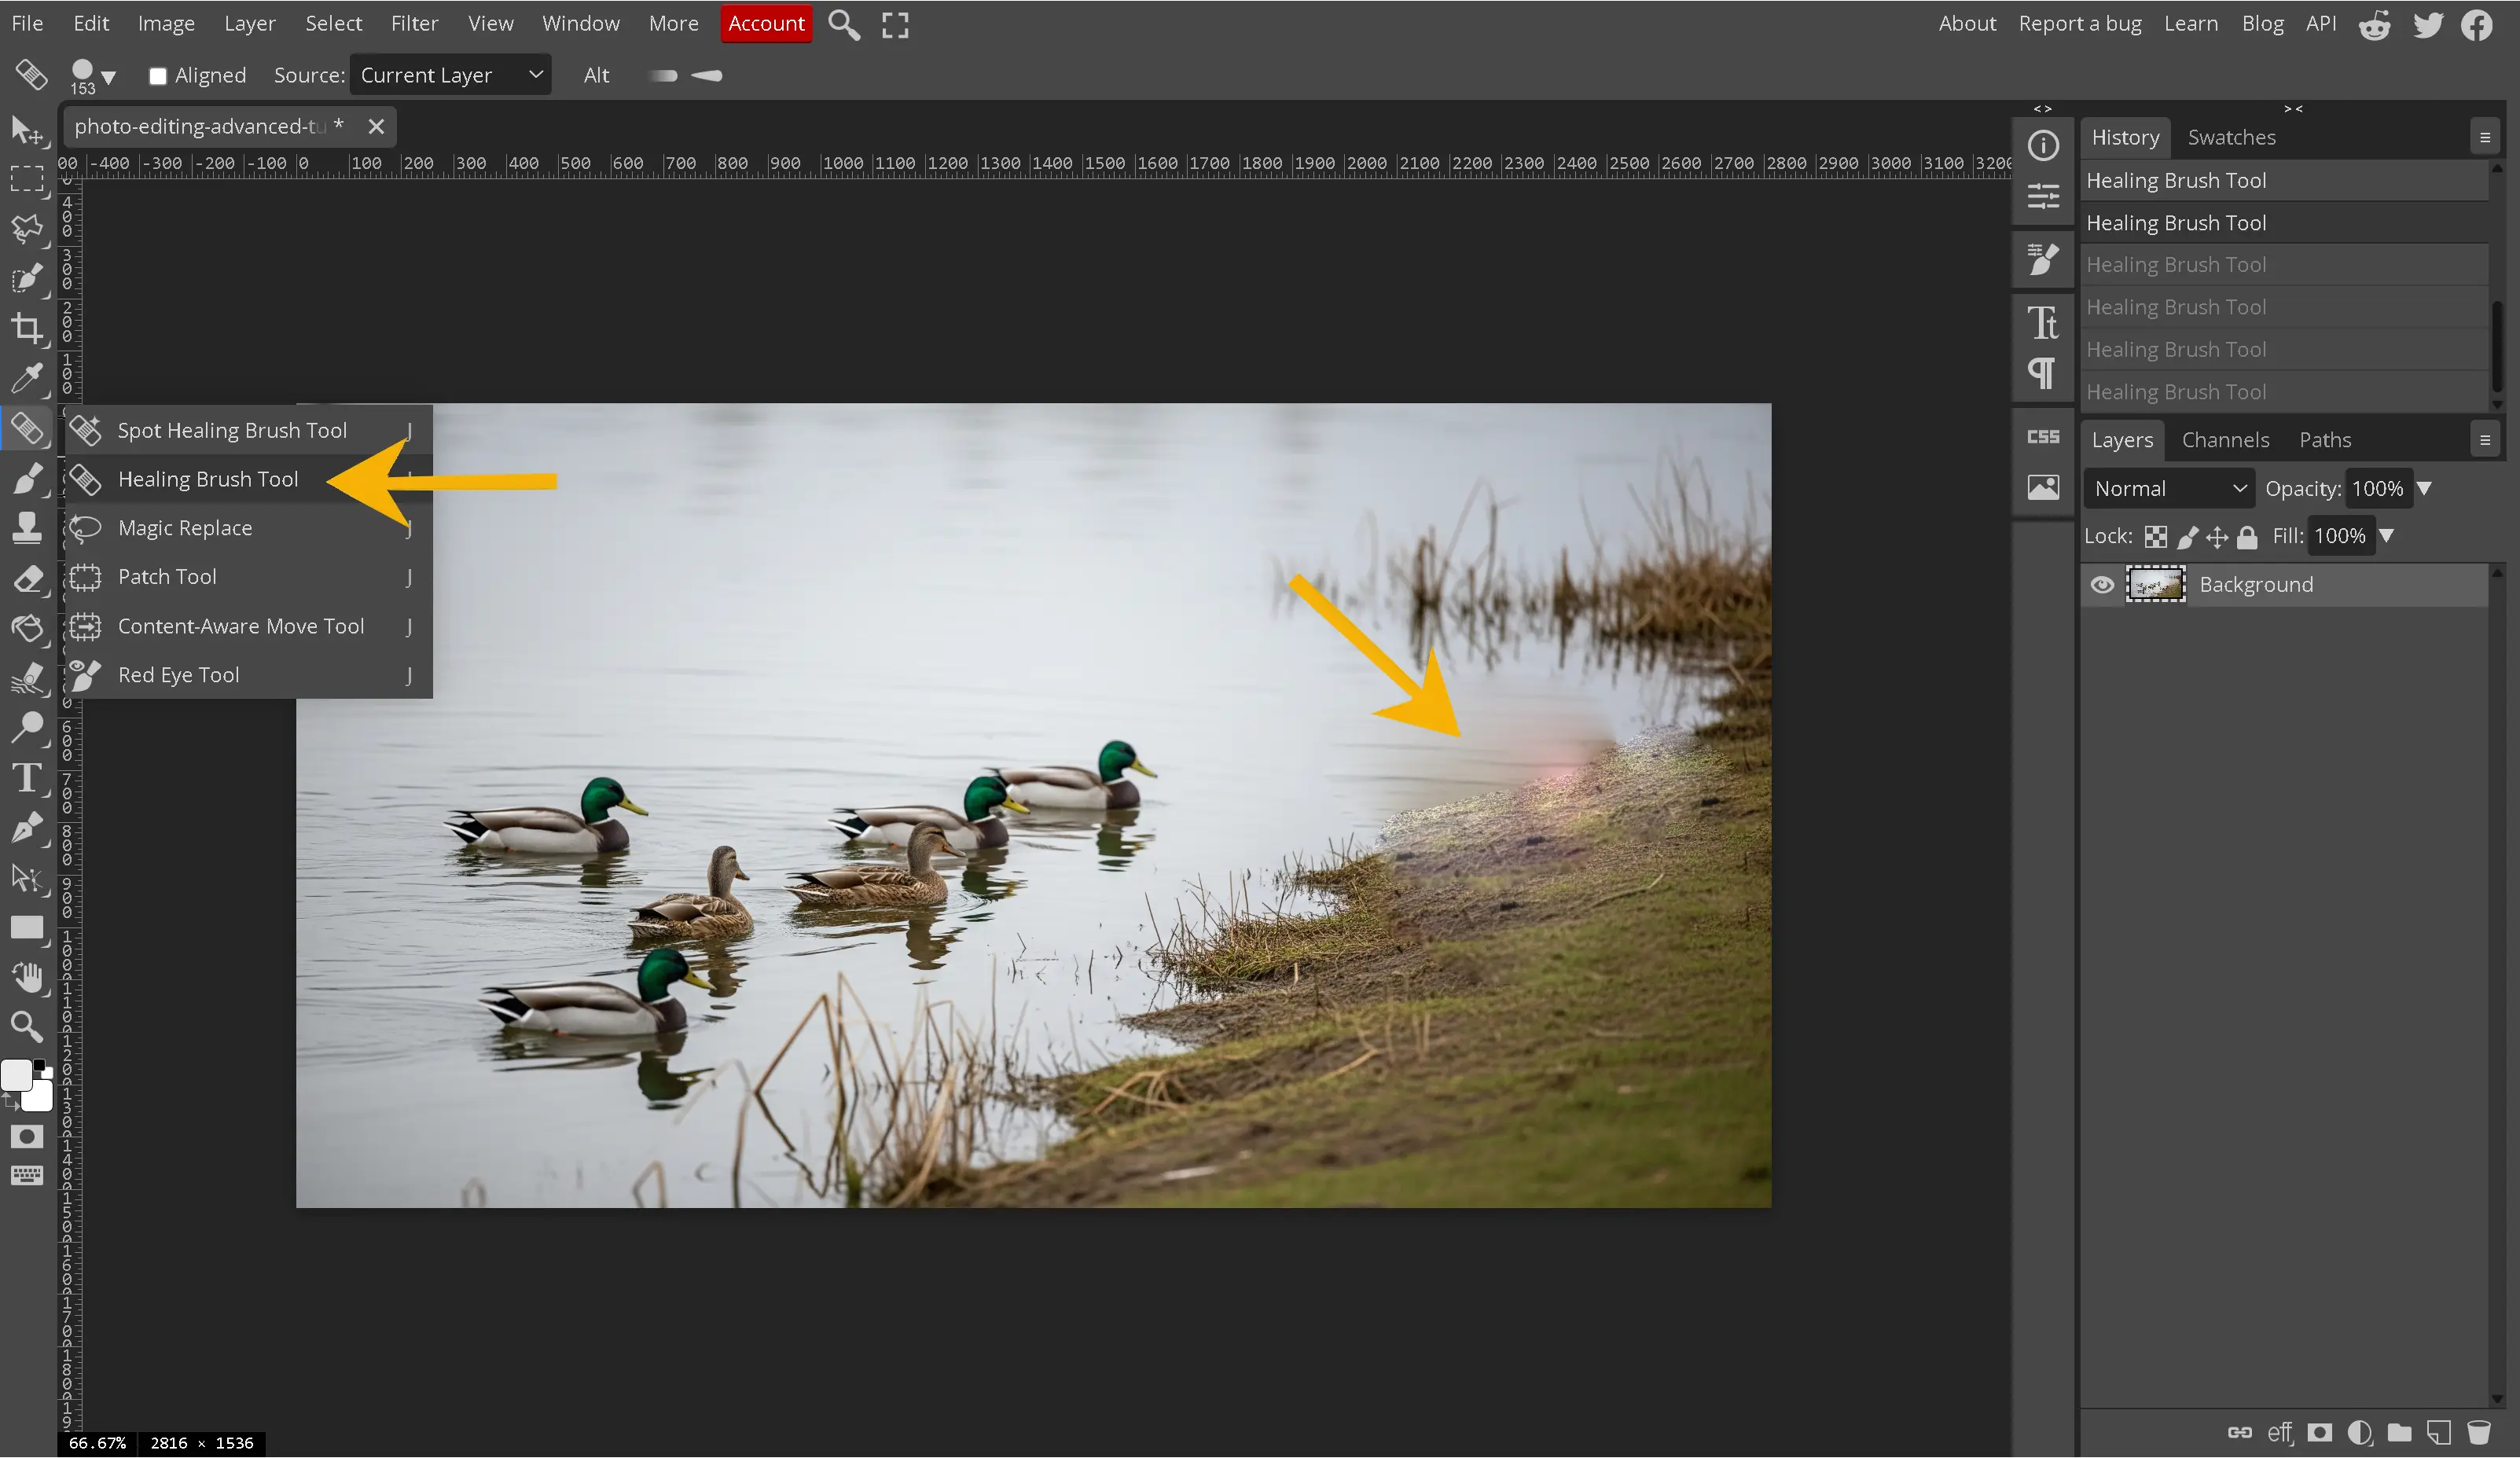
While the name of this tool is closer to the Spot healing Brush, the functionality is more closely related to the clone tool. The Healing brush requires a sample to be chosen and then drawn over the area for which we desire to be removed. The difference between the healing brush and the clone tool is the healing brush will take into account the lighting and shading in the area which is being drawn over. This tool allows the program to automatically detect the lighting and shading in the area and match the content being drawn to that shade or lightness around the area. This results in the content being drawn matching the surrounding area within the digital image.
-
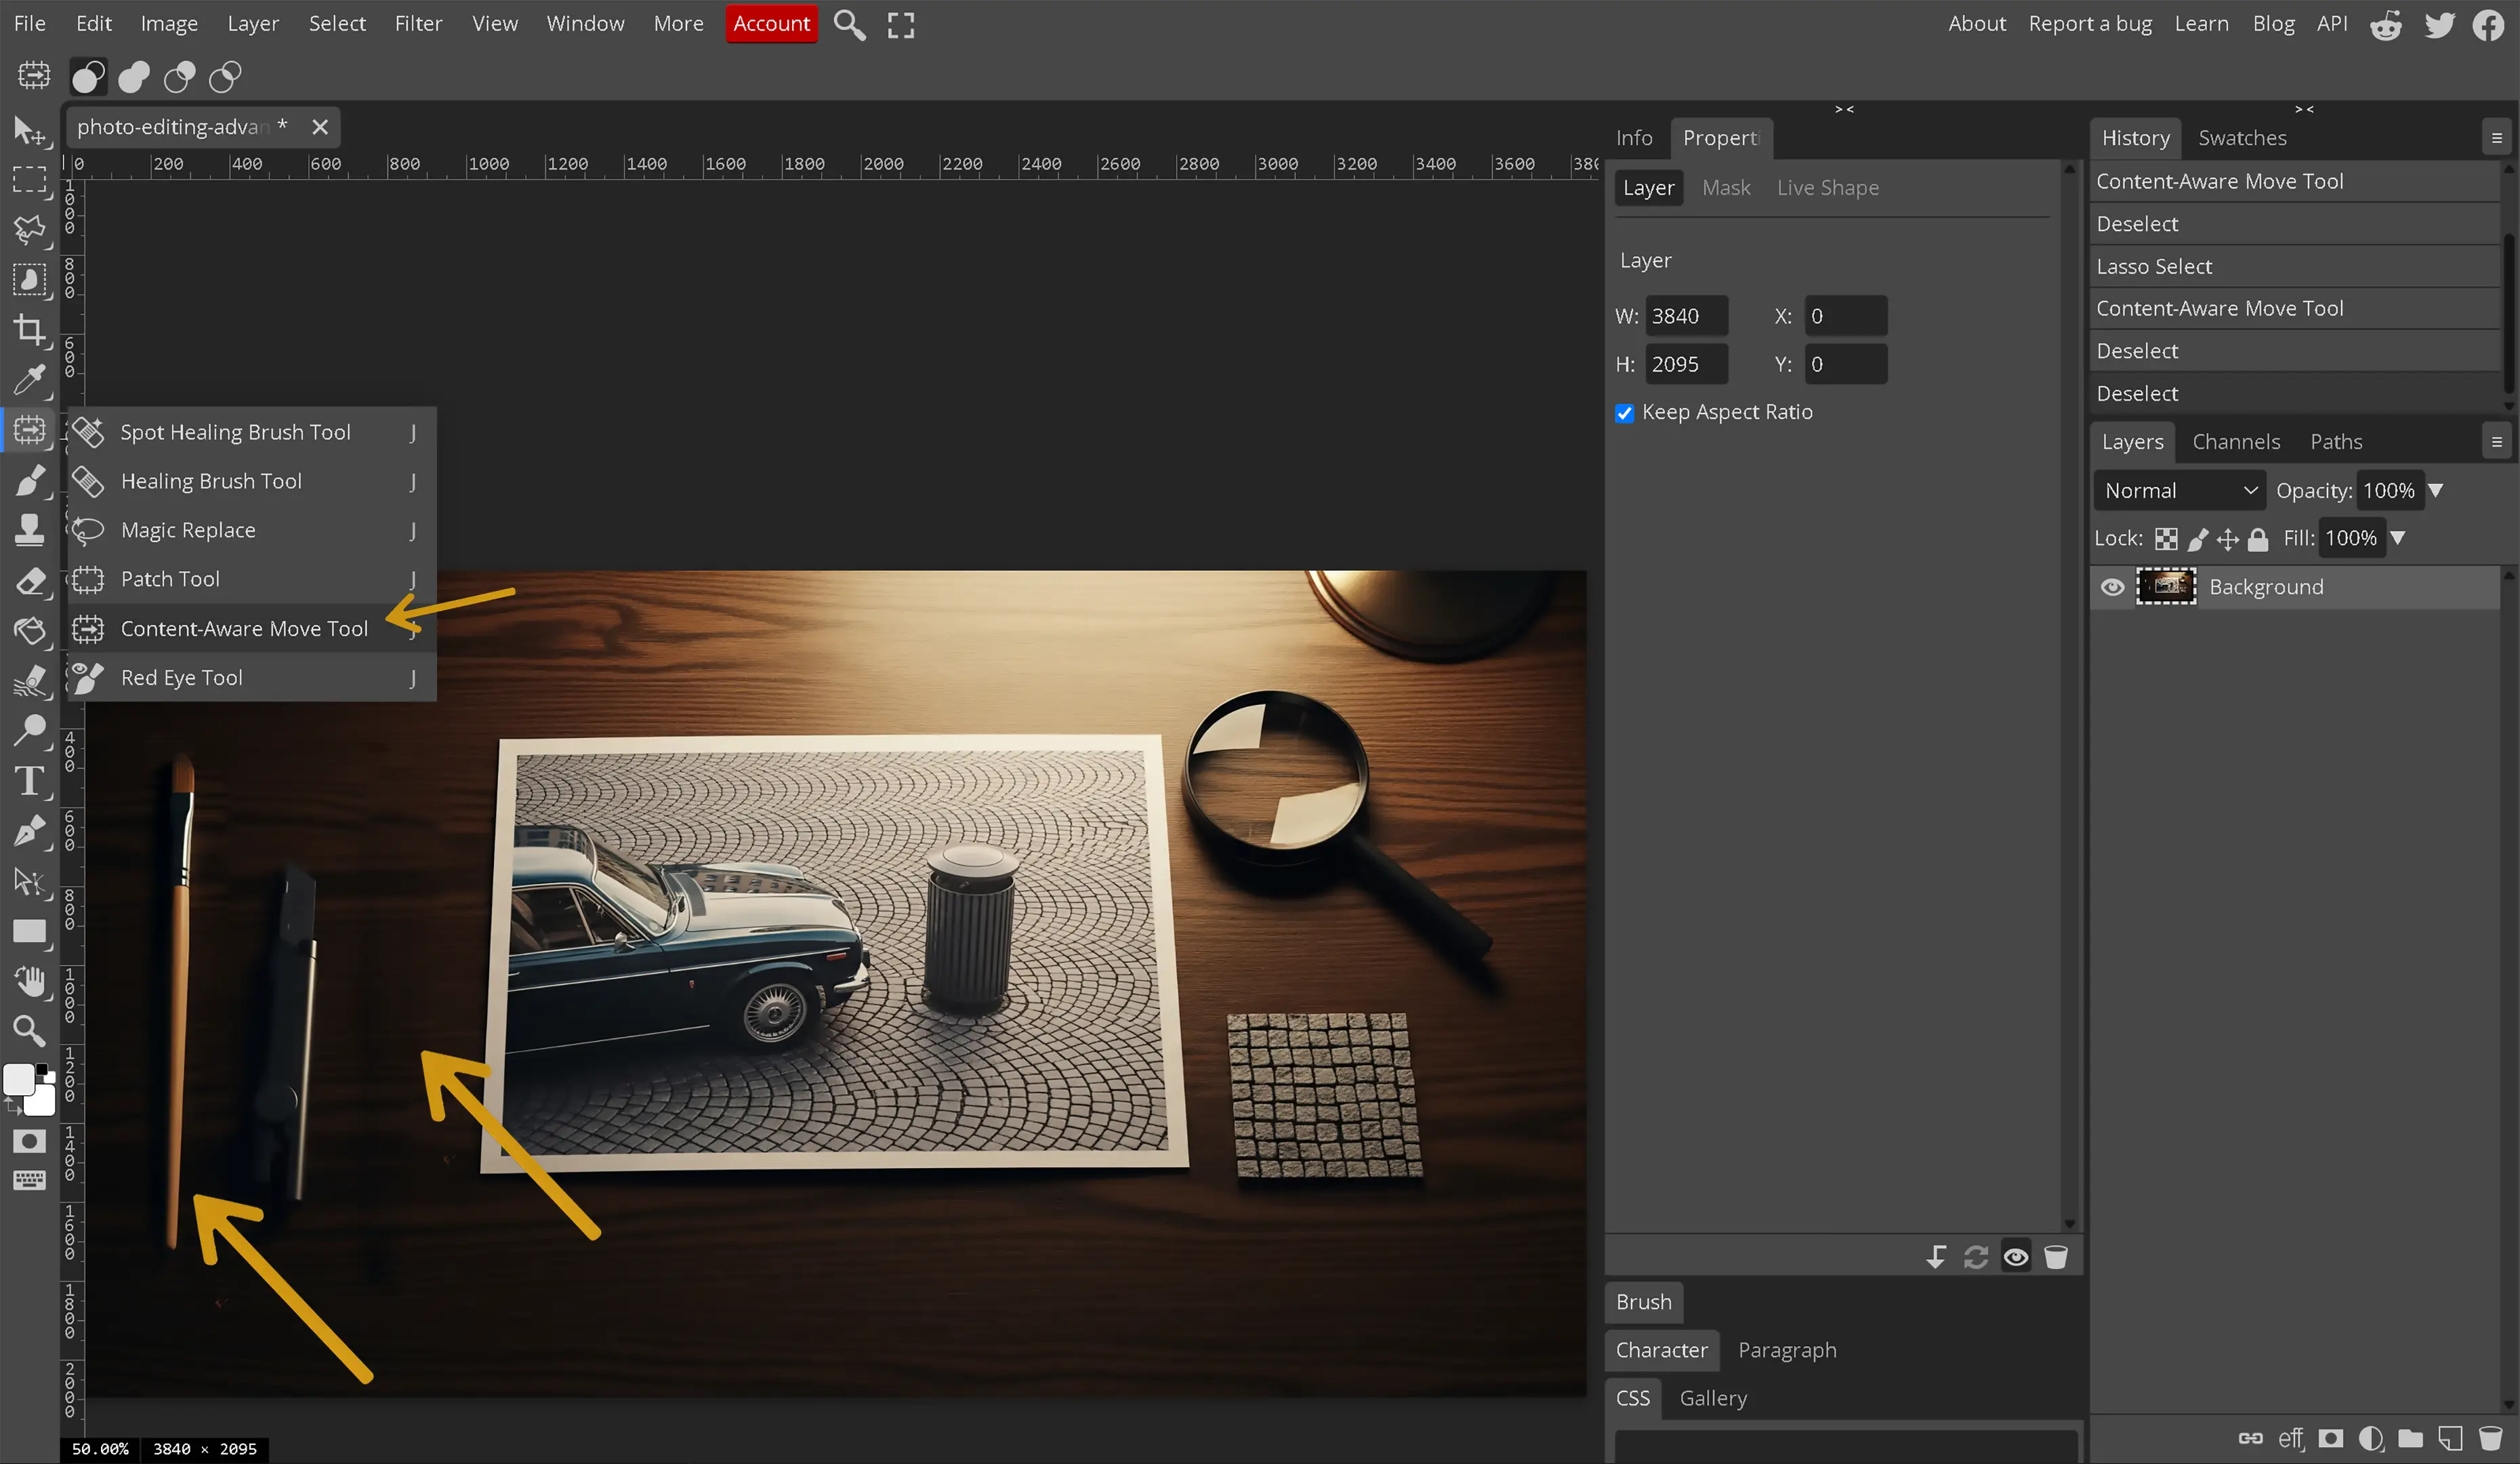
Content Aware Move Tool
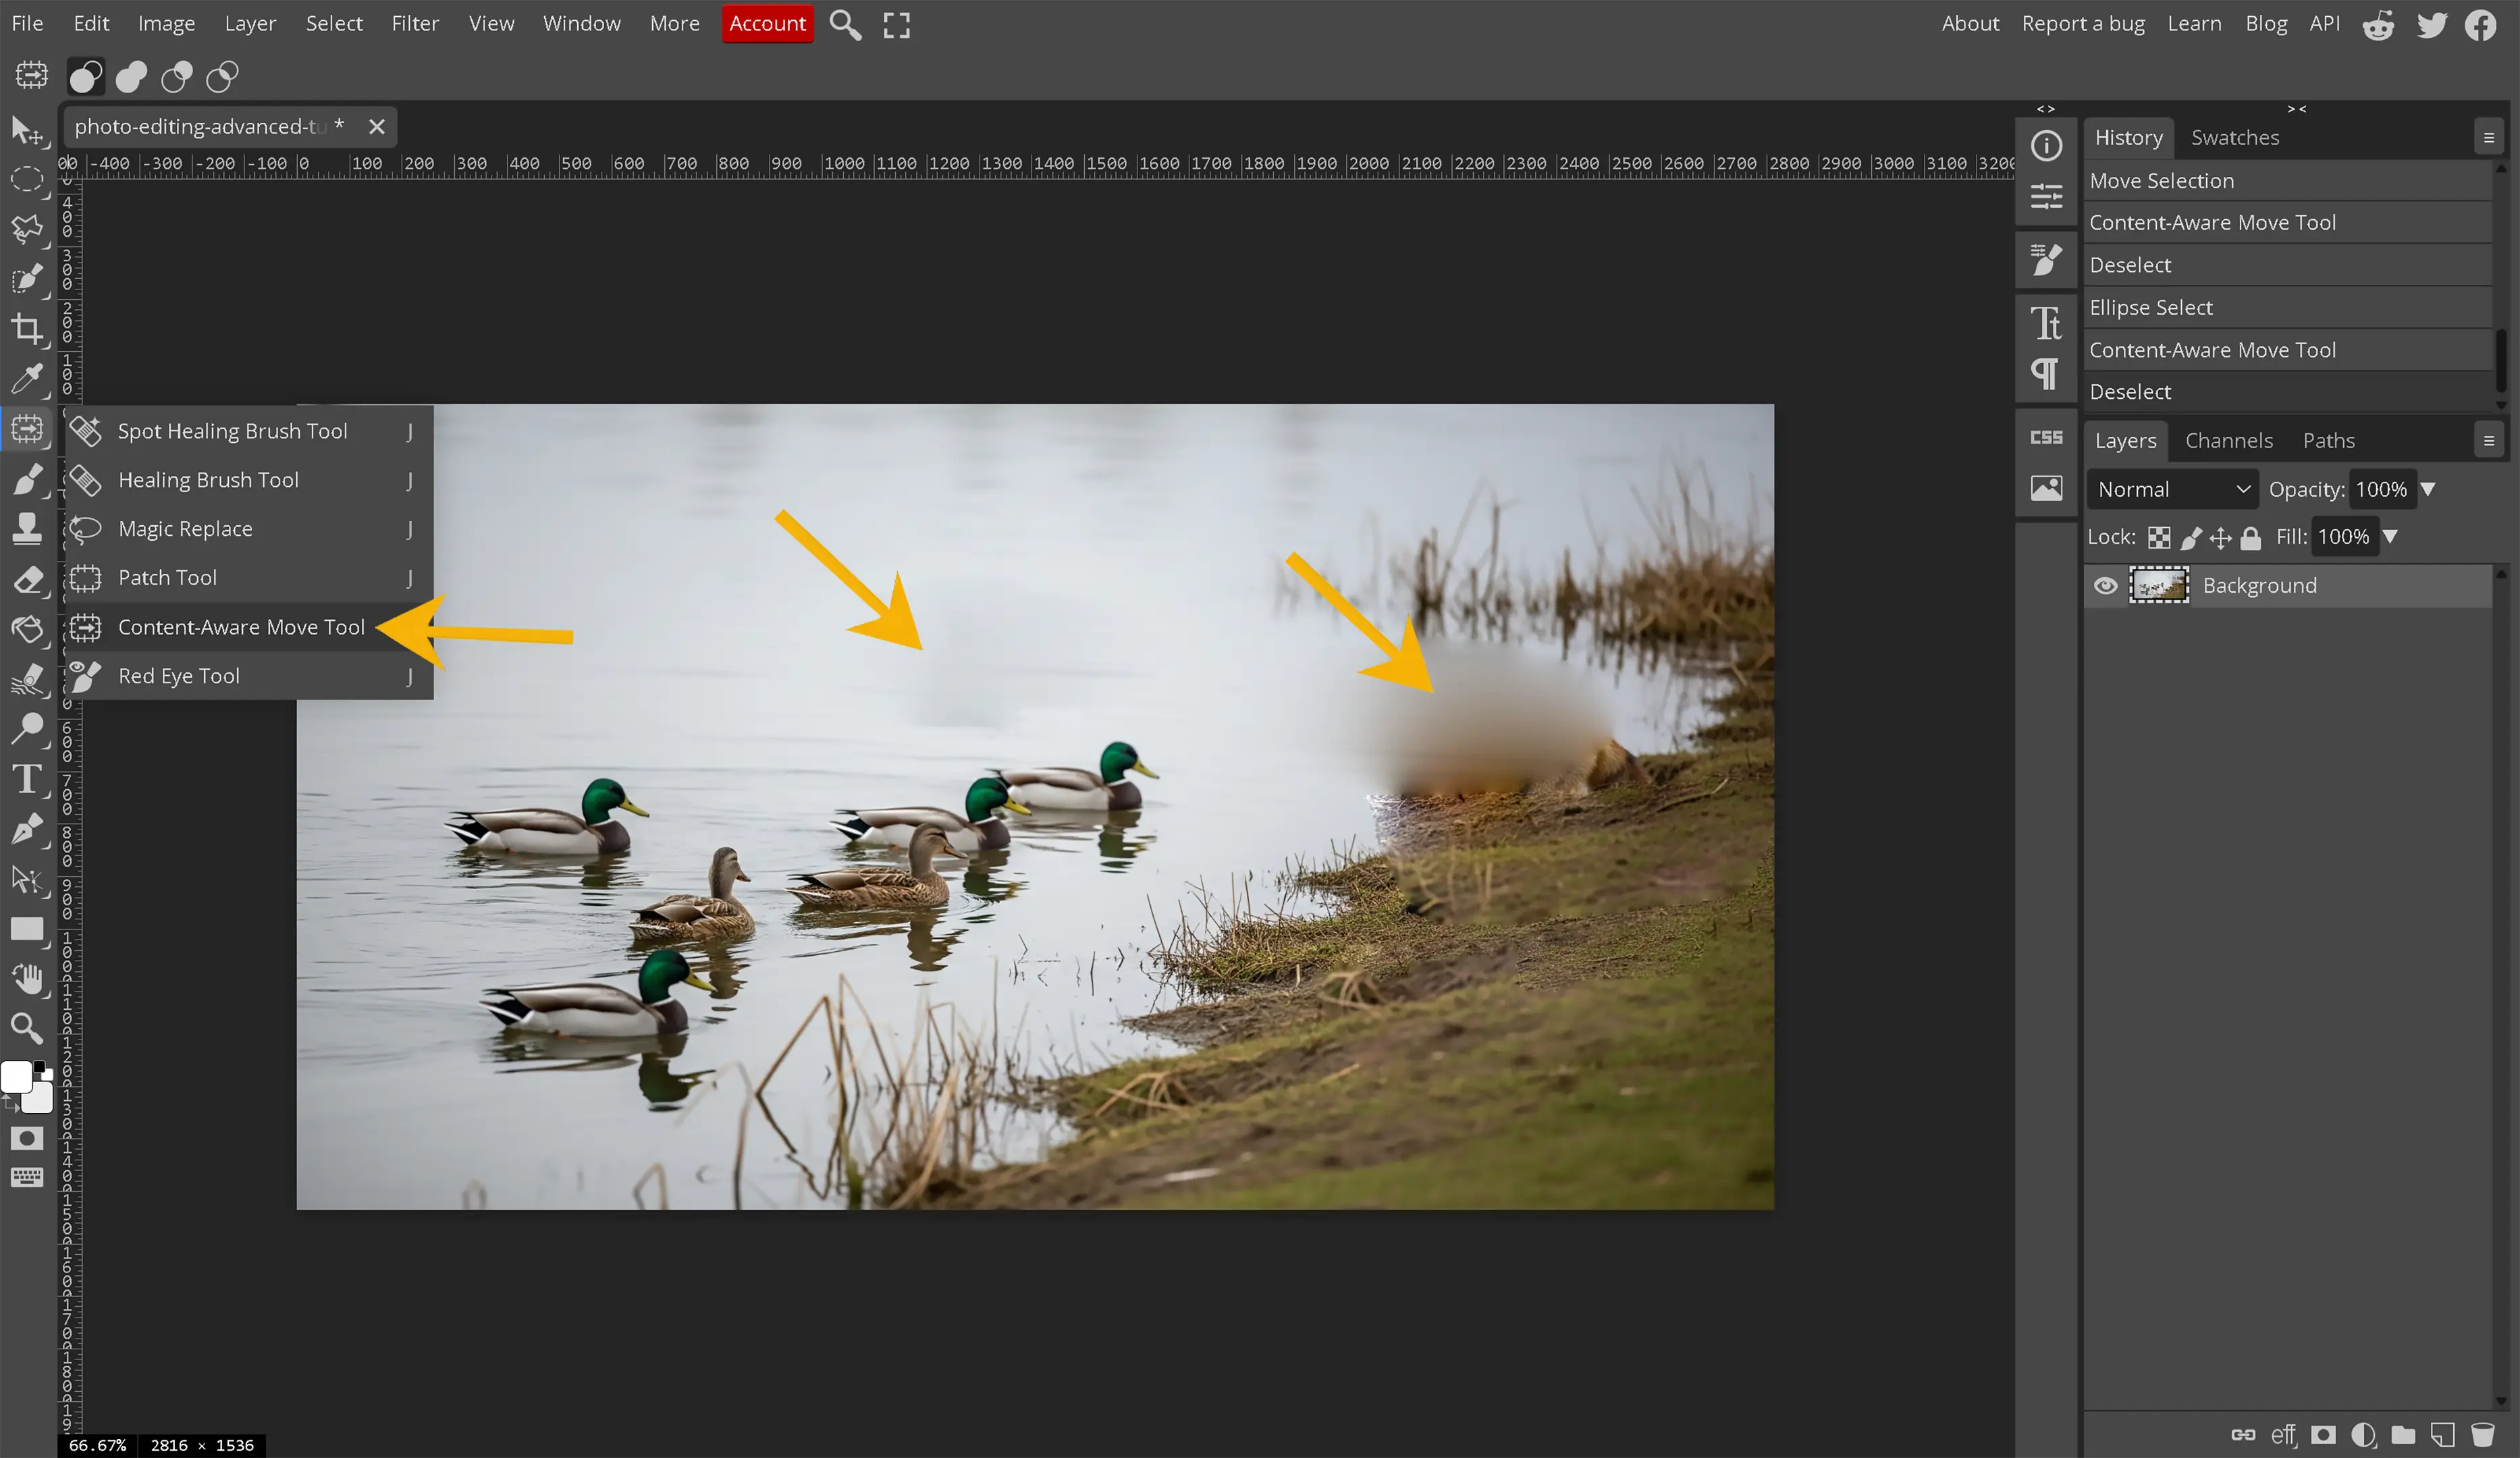
While this tool is not used to directly remove an object from the digital image, it is noteworthy to mention that this tool is used to move objects within the image itself. This tool allows the editor to draw around an object within the image and move that object to a different location within the digital image. The photo editing program, like Photopea, automatically moves the object to that location and then attempts to automatically fill in the area using content aware techniques.
The person that initially created this awesome tool deserves an award. Stop for a moment and think about this concept and feature. Repeating the above, “The content aware move tool allows us, as digital image editors, to surround an object and move it to another location in the digital image”. While I am quite sure, we are all aware that this normally leaves a black spot within the image when we are moving an object from one place to another within a digital image, unless we are using a smart object or we have duplicated the background. The content aware move tool uses content aware techniques to analyze the background and fill the black spot in for us closely matching the surrounding area. Additionally, the content aware move tool uses the same techniques as the healing brush to automatically adjust the object we are moving to match the lighting in the new area for which we have moved that object.
What tools do we use to replace an object in Photopea?
This depends on the complexity of the image, the object being removed and the importance of attention to detail. Some of the tools are better than others for removing objects.
Let's take a deeper look into each tool and the best practices for each of the tools provided to us.
-
Fill and Content Aware
This is excellent for those open area images that have lots of grainy texture for which to to grab and mix into the image. This makes it much easier for the program to decipher what is around the image to replace the missing background of the removed object. This works really well with smooth single color backgrounds as well.
-
Clone Tool
Excellent for the complex image backgrounds for which the content aware and spot healing brush tools may have difficulty replacing easily. Removing people from a sidewalk with a brick wall or an airplane at an airport are excellent examples of where the clone tool may be the best choice. If we need to remove a tree blocking a painted house and driveway, the clone tool may be the best tool for a project like that. An important note to remember about the clone tool is that, unlike the Healing Brush, it provides the exact lighting, blurriness and midtones of the sampled area. It is an exact clone so we want to ensure we are sampling a close enough area to the place where we want to remove, otherwise we will need to start working with curves and lighting for which is out of the scope of this tutorial.
-
Patch Tool
This tool is fantastic for areas within a digital image which are the same type of area, blurring, midtones and shadows such as gravel, sand, water, grass. The patch tool may be amazing when editing images that contain something similar to the side of a cliff, a hillside, grassy plains or even perhaps a bathtub full of water. Anywhere the digital image is the same to the left or right and can mix into the image then the patch tool will work well.
-
Spot Healing Brush
Excellent for smaller items. The bigger the item, the worse this tool performs. This tool is the saving grace when attempting to remove smaller objects. The automatic content-aware performance on this tool is fantastic in Photopea. The algorithm that controls this does an amazing job for removing smaller objects such as rocks, people that are not the main focus in the image being edited. An ideal use for this tool is for items that are smaller and surrounded by other items that can easily be mixed in together. Perhaps removing a mailbox surrounded by grass or even a car on the road. An important note for this tool is to keep your edges tight and cover the entire object. The tool works better, in my opinion, when covering the entire object instead of just a portion of the object. The exception to this coverage area is if we are splitting the object up into smaller objects to make them more manageable.
-
Healing Brush
The healing brush is an amazing tool. This allows for sampling from other areas within the digital image with different lighting, blurriness, graininess, midtones or even shadows. This tool will automatically detect the color and lighting around the area being covered. This tool is fantastic for a lot of situations where the lighting, texture and overall contents of the digital image is different throughout. When the clone tool will not work, the healing brush is our tool of choice to remove an object. Sometimes, we do not want that automatic lighting adjustment and that is where we use the clone tool. This tool is wonderful for mountains, nature scenery, extremely complex images, darkened images with the night sky, fire, smoke, touch up on cars, trucks or other vehicles or any images where there are a lot of complex colors mixed together.
-
Content Aware Move Tool
This works quite well in all the same situations as the Fill/Content Aware and Healing Brush tools for which we have already spoken about in detail. A great example of this would be to move the moon in a cloudy sky. The moon has a glow around it that shines through or around the clouds. There are stars around the moon. We simply circle the moon and move it to a different location and the tool does the rest. The content aware move tool works well in semi-complex images where items do not need to be aligned. For example, if there is a wooden fence that is being blocked by an object, the tool will do its best to align that wooden fence but will likely fail and we should expect to still need to perform some additional work with the clone tool. The tool will get us most of the way there. Just like the healing brush tool, the content aware move tool will work wonders with images similar to a sky, clouds, fire, smoke, digital image touch up, cars, trucks, vans, trains or other vehicles. Any digital images where there are a lot of complex colors mixed together and this tool works very well.
-
Magic Replace
Analyzes the user-defined selection around the object within an image. Once the object is identified and isolated, the AI engine processes this information and generates a replacement, taking into account factors such as lighting, perspective, texture, and overall visual consistency.