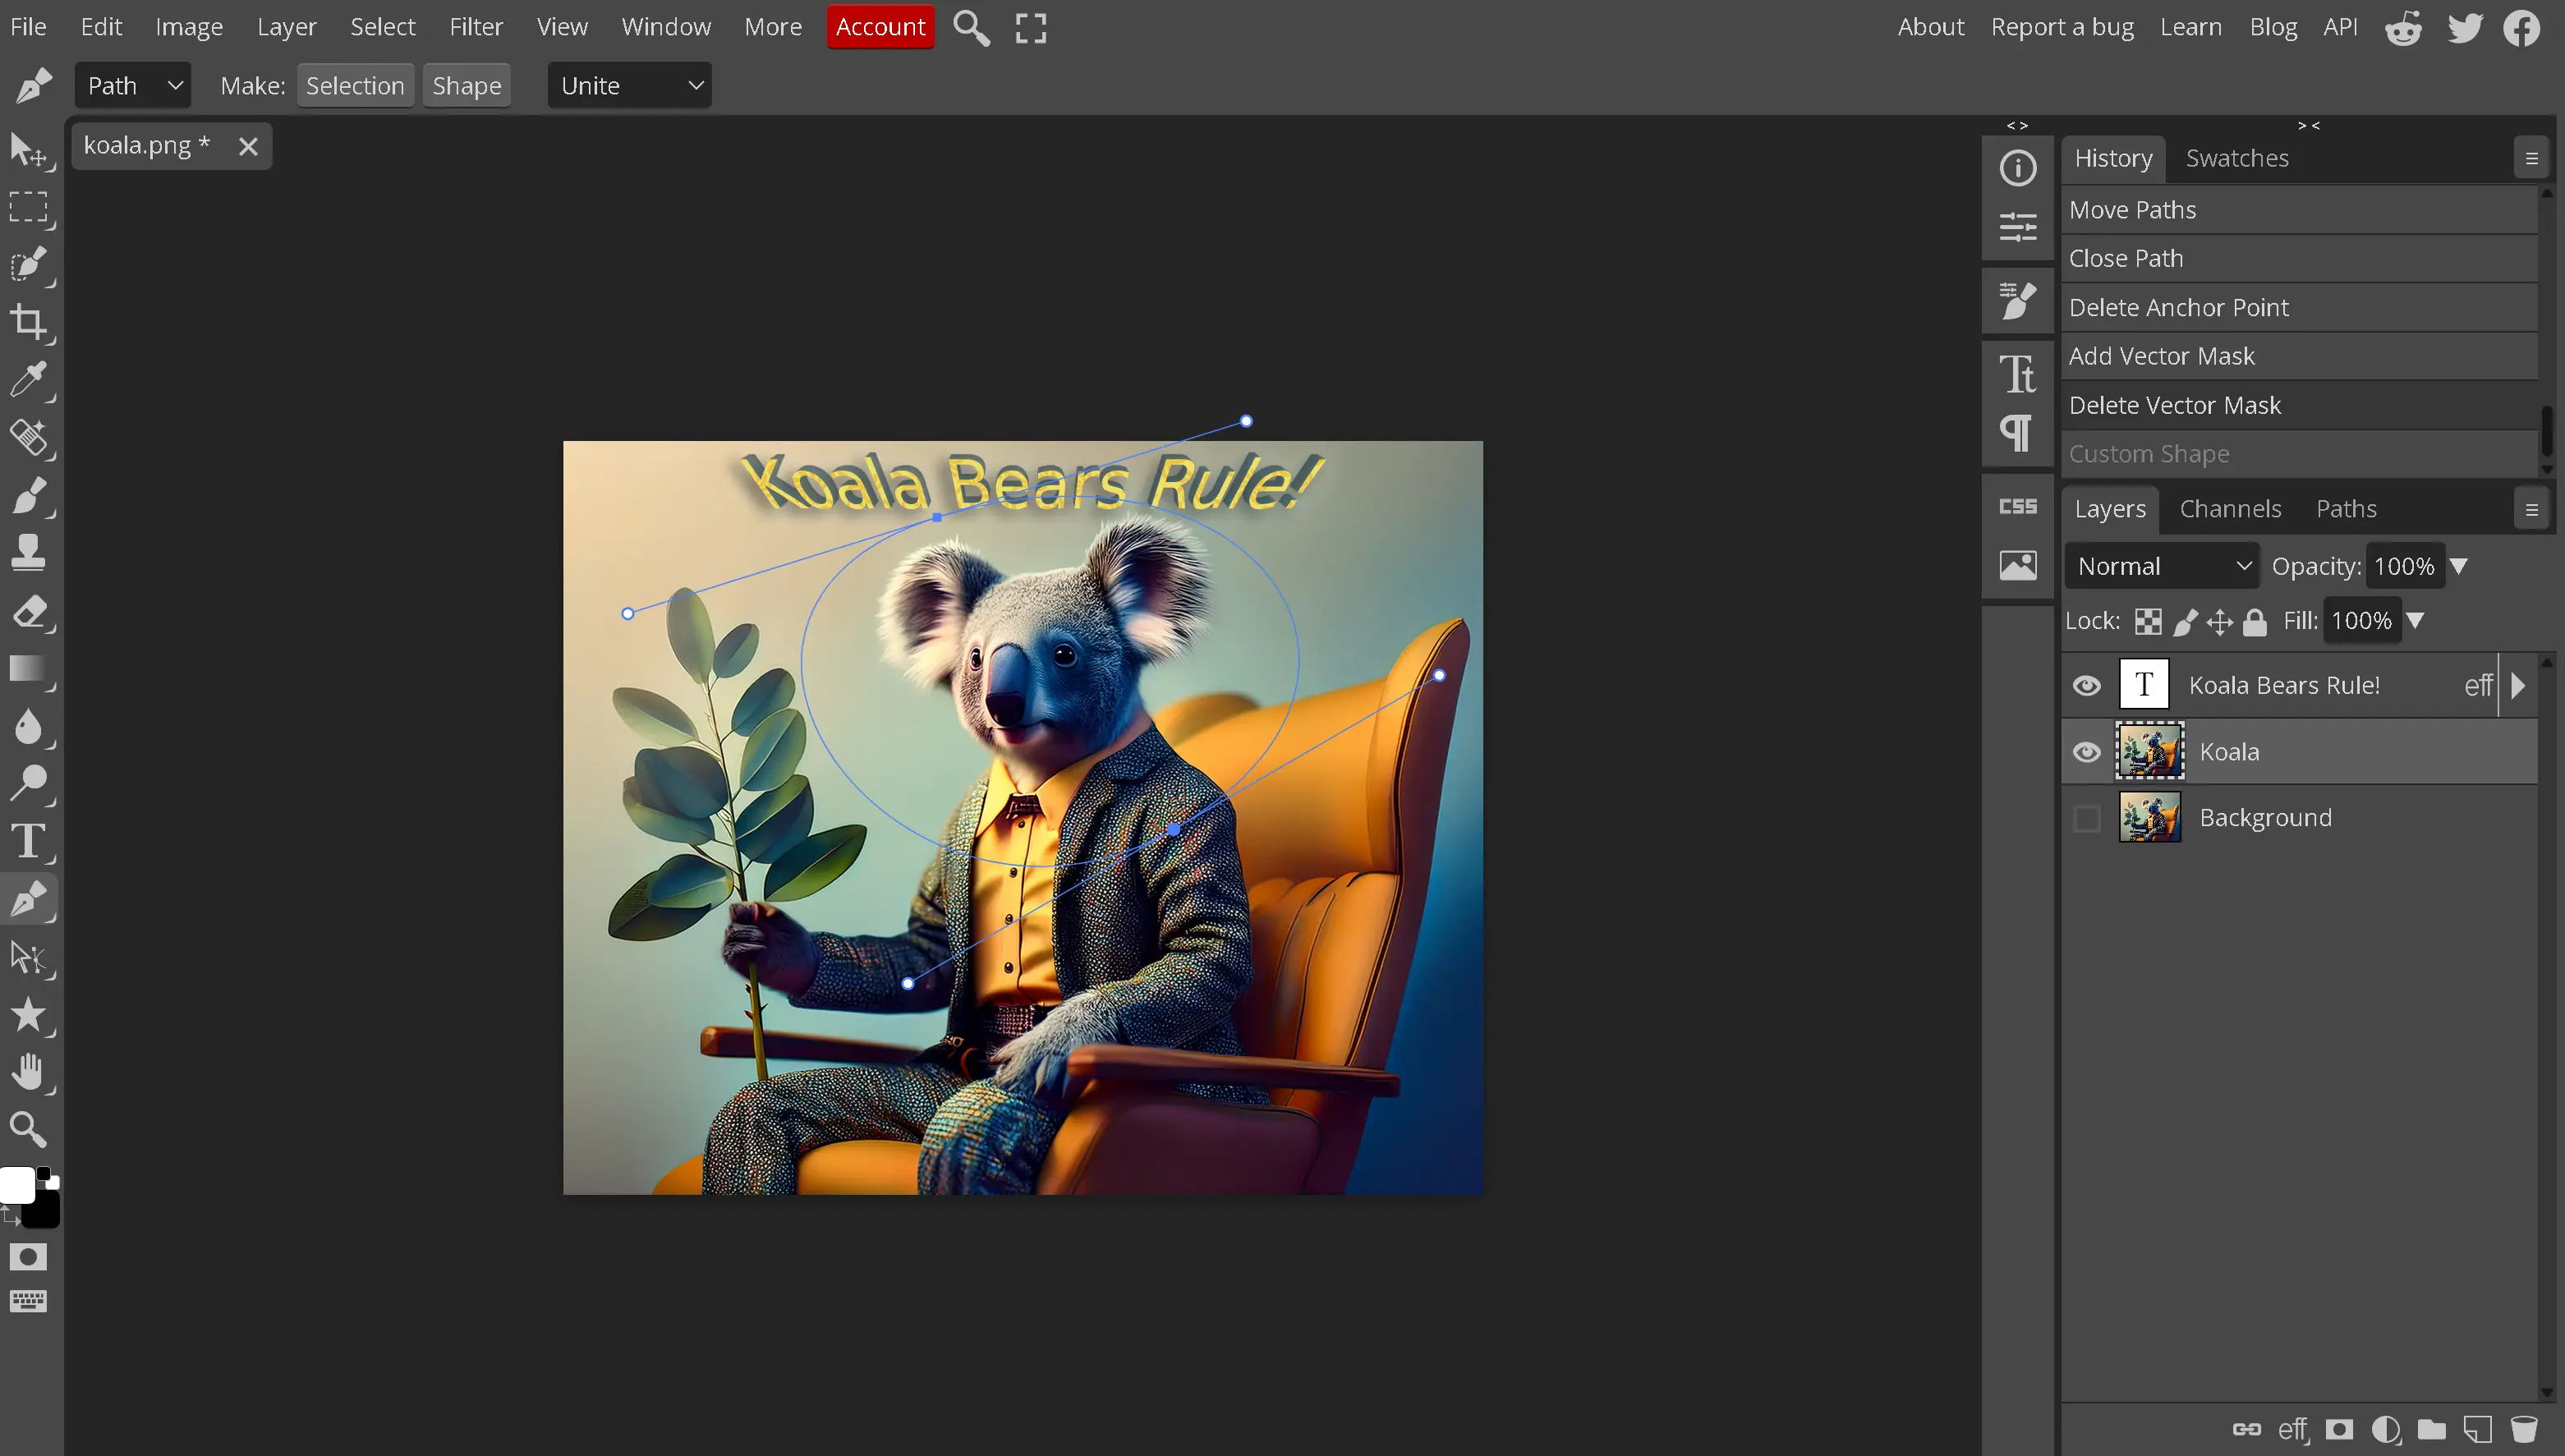
Introduction

Photo masking, also known as image masking, is an essential tool for non-destructive image editing in Photopea. It allows you to control the visibility of specific parts of a layer without permanently altering the original image. Instead of erasing pixels, masking provides a flexible and reversible way to hide or reveal elements, making it an indispensable feature for professional and creative workflows.
Image masking ensures precision in editing, making it easy to refine selections, blend objects seamlessly, or isolate specific details within a composition. Whether adjusting backgrounds, merging images, or applying selective effects, mastering this technique enhances both the quality and efficiency of design projects.
This tutorial will guide you through the different types of image masks available in Photopea, their unique functions, and how to choose the best approach based on your project's needs. By understanding the power of masking, you can take full advantage of non-destructive editing techniques while maintaining complete control over your images.
What is Photo Masking?
Photo masking, also known as image masking, is a powerful tool in Photopea that lets you control which parts of an image remain visible without making permanent changes. Instead of erasing sections, it uses a linked mask that determines visibility.
Unlike cutting or deleting parts of an image, image masking is entirely non-destructive. You can refine or restore hidden areas at any time, giving you flexibility when working on detailed edits. Whether you need to blend images, remove objects, or make selective adjustments, masks allow for precision without compromising the original content.
Mastering photo masking ensures smoother edits and cleaner image compositions. It helps with complex selections, seamless transitions between elements on the canvas, and isolating subjects from backgrounds. Whether you're creating artistic designs or enhancing photographs, image masking is essential for professional-quality results.
Why Would I Use an Image Mask?
Image masking is one of the most valuable techniques in Photopea for selectively controlling visibility while maintaining flexibility in your edits. Instead of permanently deleting parts of an image, masks allow you to hide or reveal areas non-destructively, making them ideal for refining compositions, blending images, and adjusting individual elements without losing original data.
One of the biggest advantages of image masking is its ability to create seamless composites. By carefully masking specific portions of different images, you can merge them naturally, ensuring smooth transitions that avoid harsh cutouts. This technique is widely used in professional graphic design and photography to integrate new objects into scenes or blend multiple photos into a cohesive visual.
Image masking is also useful for selectively removing unwanted objects from an image. Rather than erasing pixels permanently, a mask provides a reversible way to hide elements while keeping them available for potential adjustments later. Additionally, masks allow for localized edits, such as adjusting brightness, contrast, or colors in specific areas without affecting the entire image.
Another common application is background manipulation. If you need to isolate a subject from its surroundings, a well-crafted image mask ensures a clean and precise extraction, making it easy to swap backgrounds or make subtle refinements to edges.
Whether editing photographs, designing graphics, or working on layered compositions, image masking offers a level of control that is essential for professional-quality results in Photopea.
Different Types of Image Masks in Photopea
There are three types of masks in Photopea; Raster Masks, Vector Masks and Clipping Masks
-
Raster Masks
Raster masks offer precise control over transparency using grayscale values, making them ideal for blending images, creating soft transitions, and selectively adjusting visibility without affecting the original pixels.
Common Use Cases:
- Blending two images together for seamless compositions
- Softening the edges of an object to create a natural transition
- Masking specific areas for selective color or brightness adjustments
How to Create a Raster Mask in Photopea
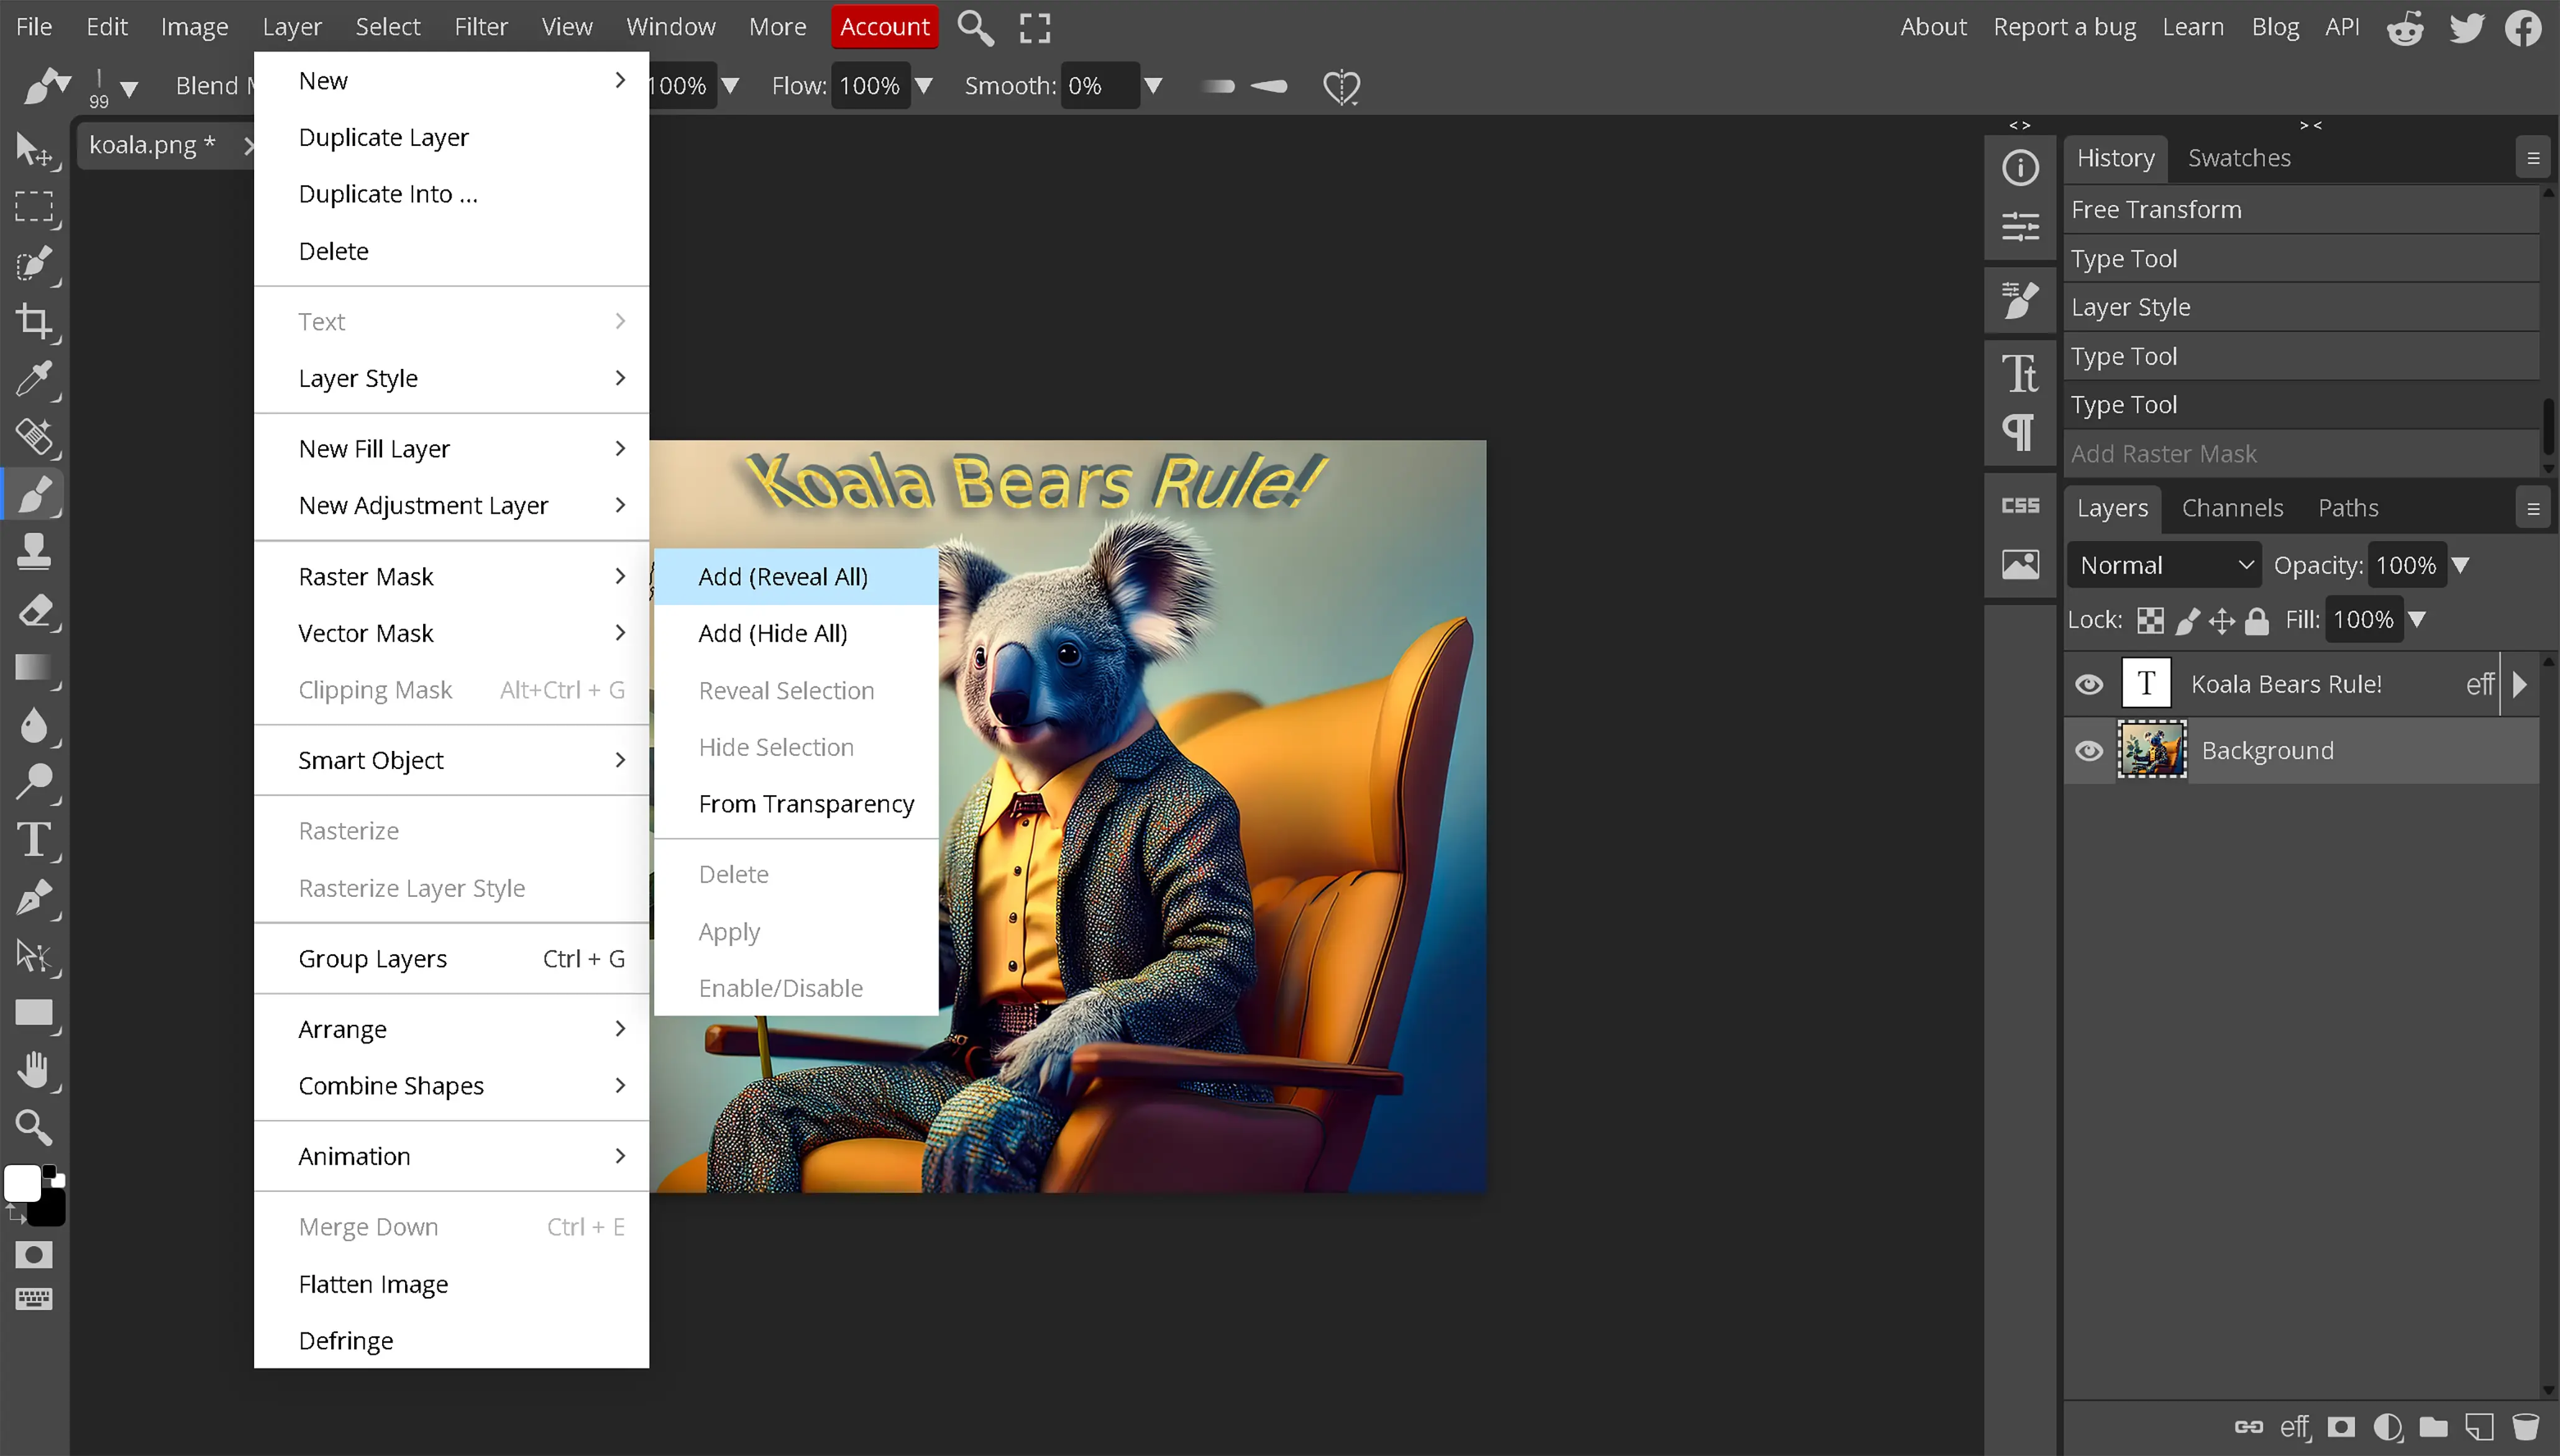
- Select the Layer: Click on the layer that needs masking in the Layers panel.
- Add the Raster Mask: Navigate to Layer > Raster Mask > Reveal All (to keep everything visible) or Hide All (to start with a blank mask).
-
Modify the Mask:
- Use the Brush Tool to paint on the mask with black to hide areas, white to reveal, and gray for partial transparency.
- Apply a Gradient for smooth blending effects.
- Use Selection Tools to define mask areas with precision.
- Refine the Mask: Adjust opacity, feather edges, or use filters for subtle refinements.
Raster masks are useful for soft, organic edits, helping images merge naturally or adjusting visibility smoothly.
-
Vector Masks
Vector masks provide precise control over visibility using mathematically defined paths rather than pixels. This method ensures sharp edges that remain clean at any resolution, making vector masks ideal for working with text, logos, and geometric shapes.
Common Use Cases:
- Masking sharp-edged elements such as text or logos to ensure clean visibility without pixelation, making image masking a valuable tool for precision edits.
- Creating clean, adjustable cutouts without losing quality, which enhances photo masking techniques for refined compositions.
- Isolating graphic elements while maintaining scalability, a key advantage of image masking in graphic design workflows.
How to Create a Vector Mask in Photopea
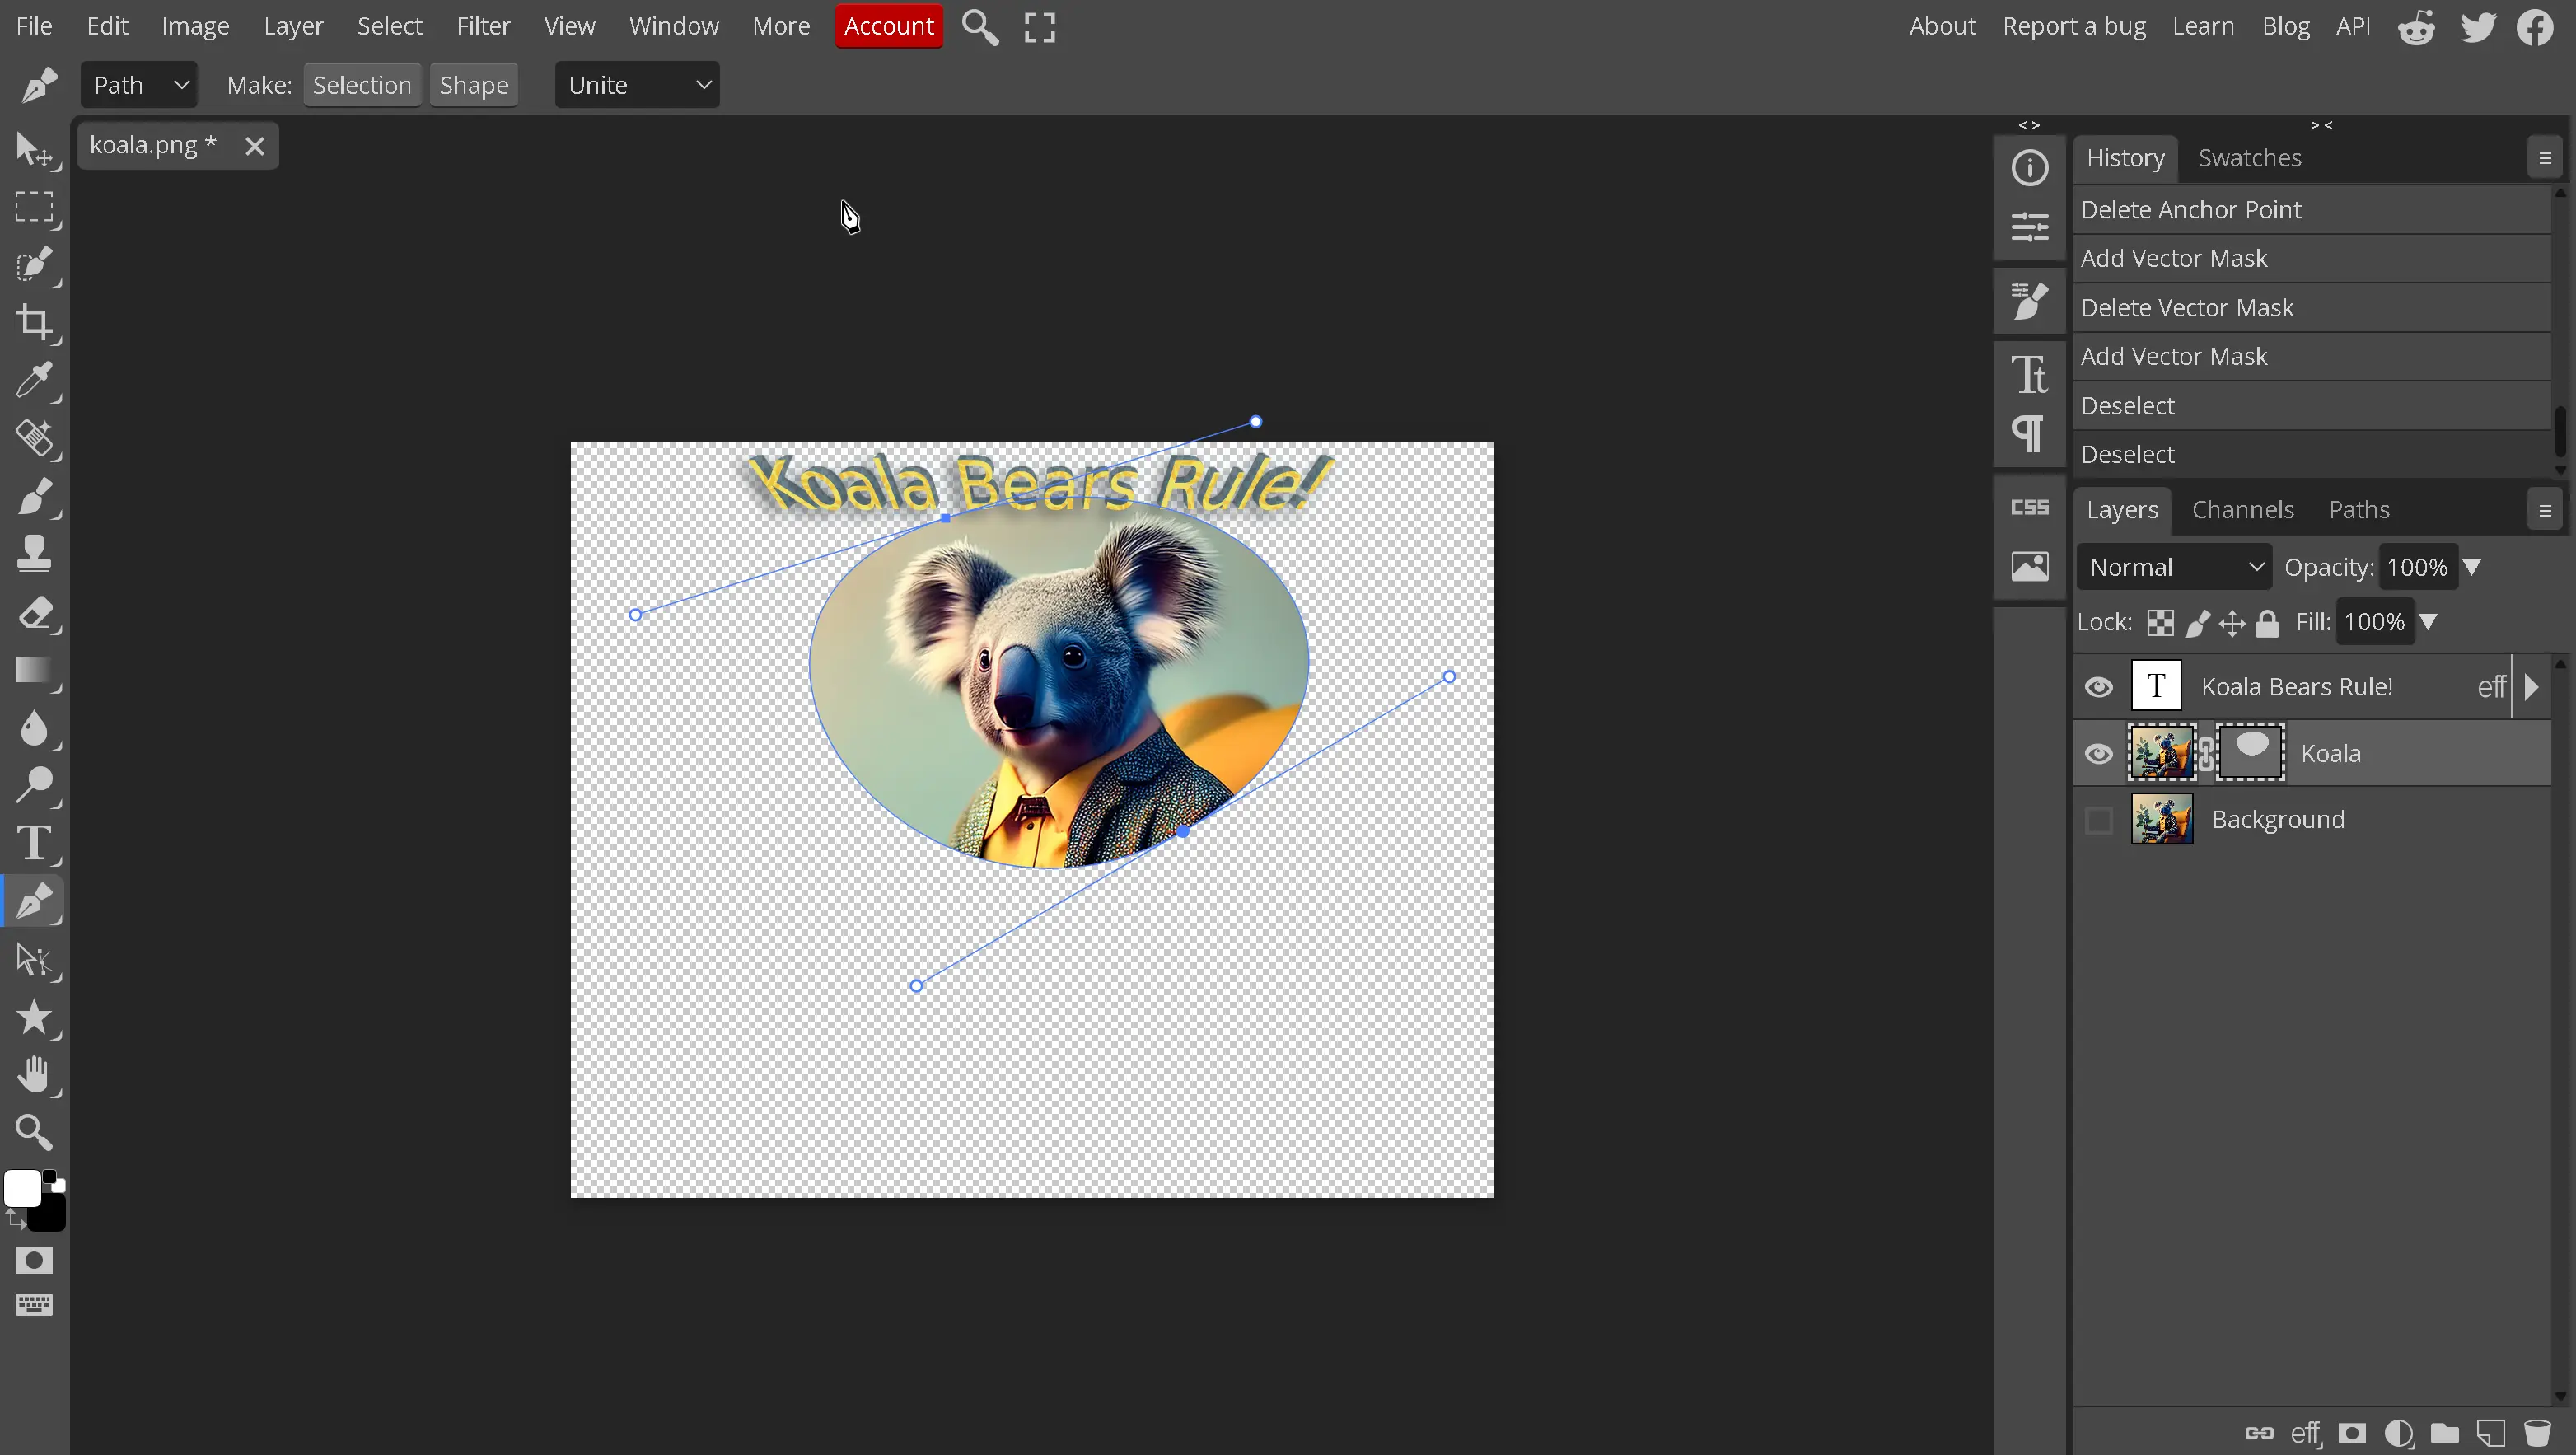
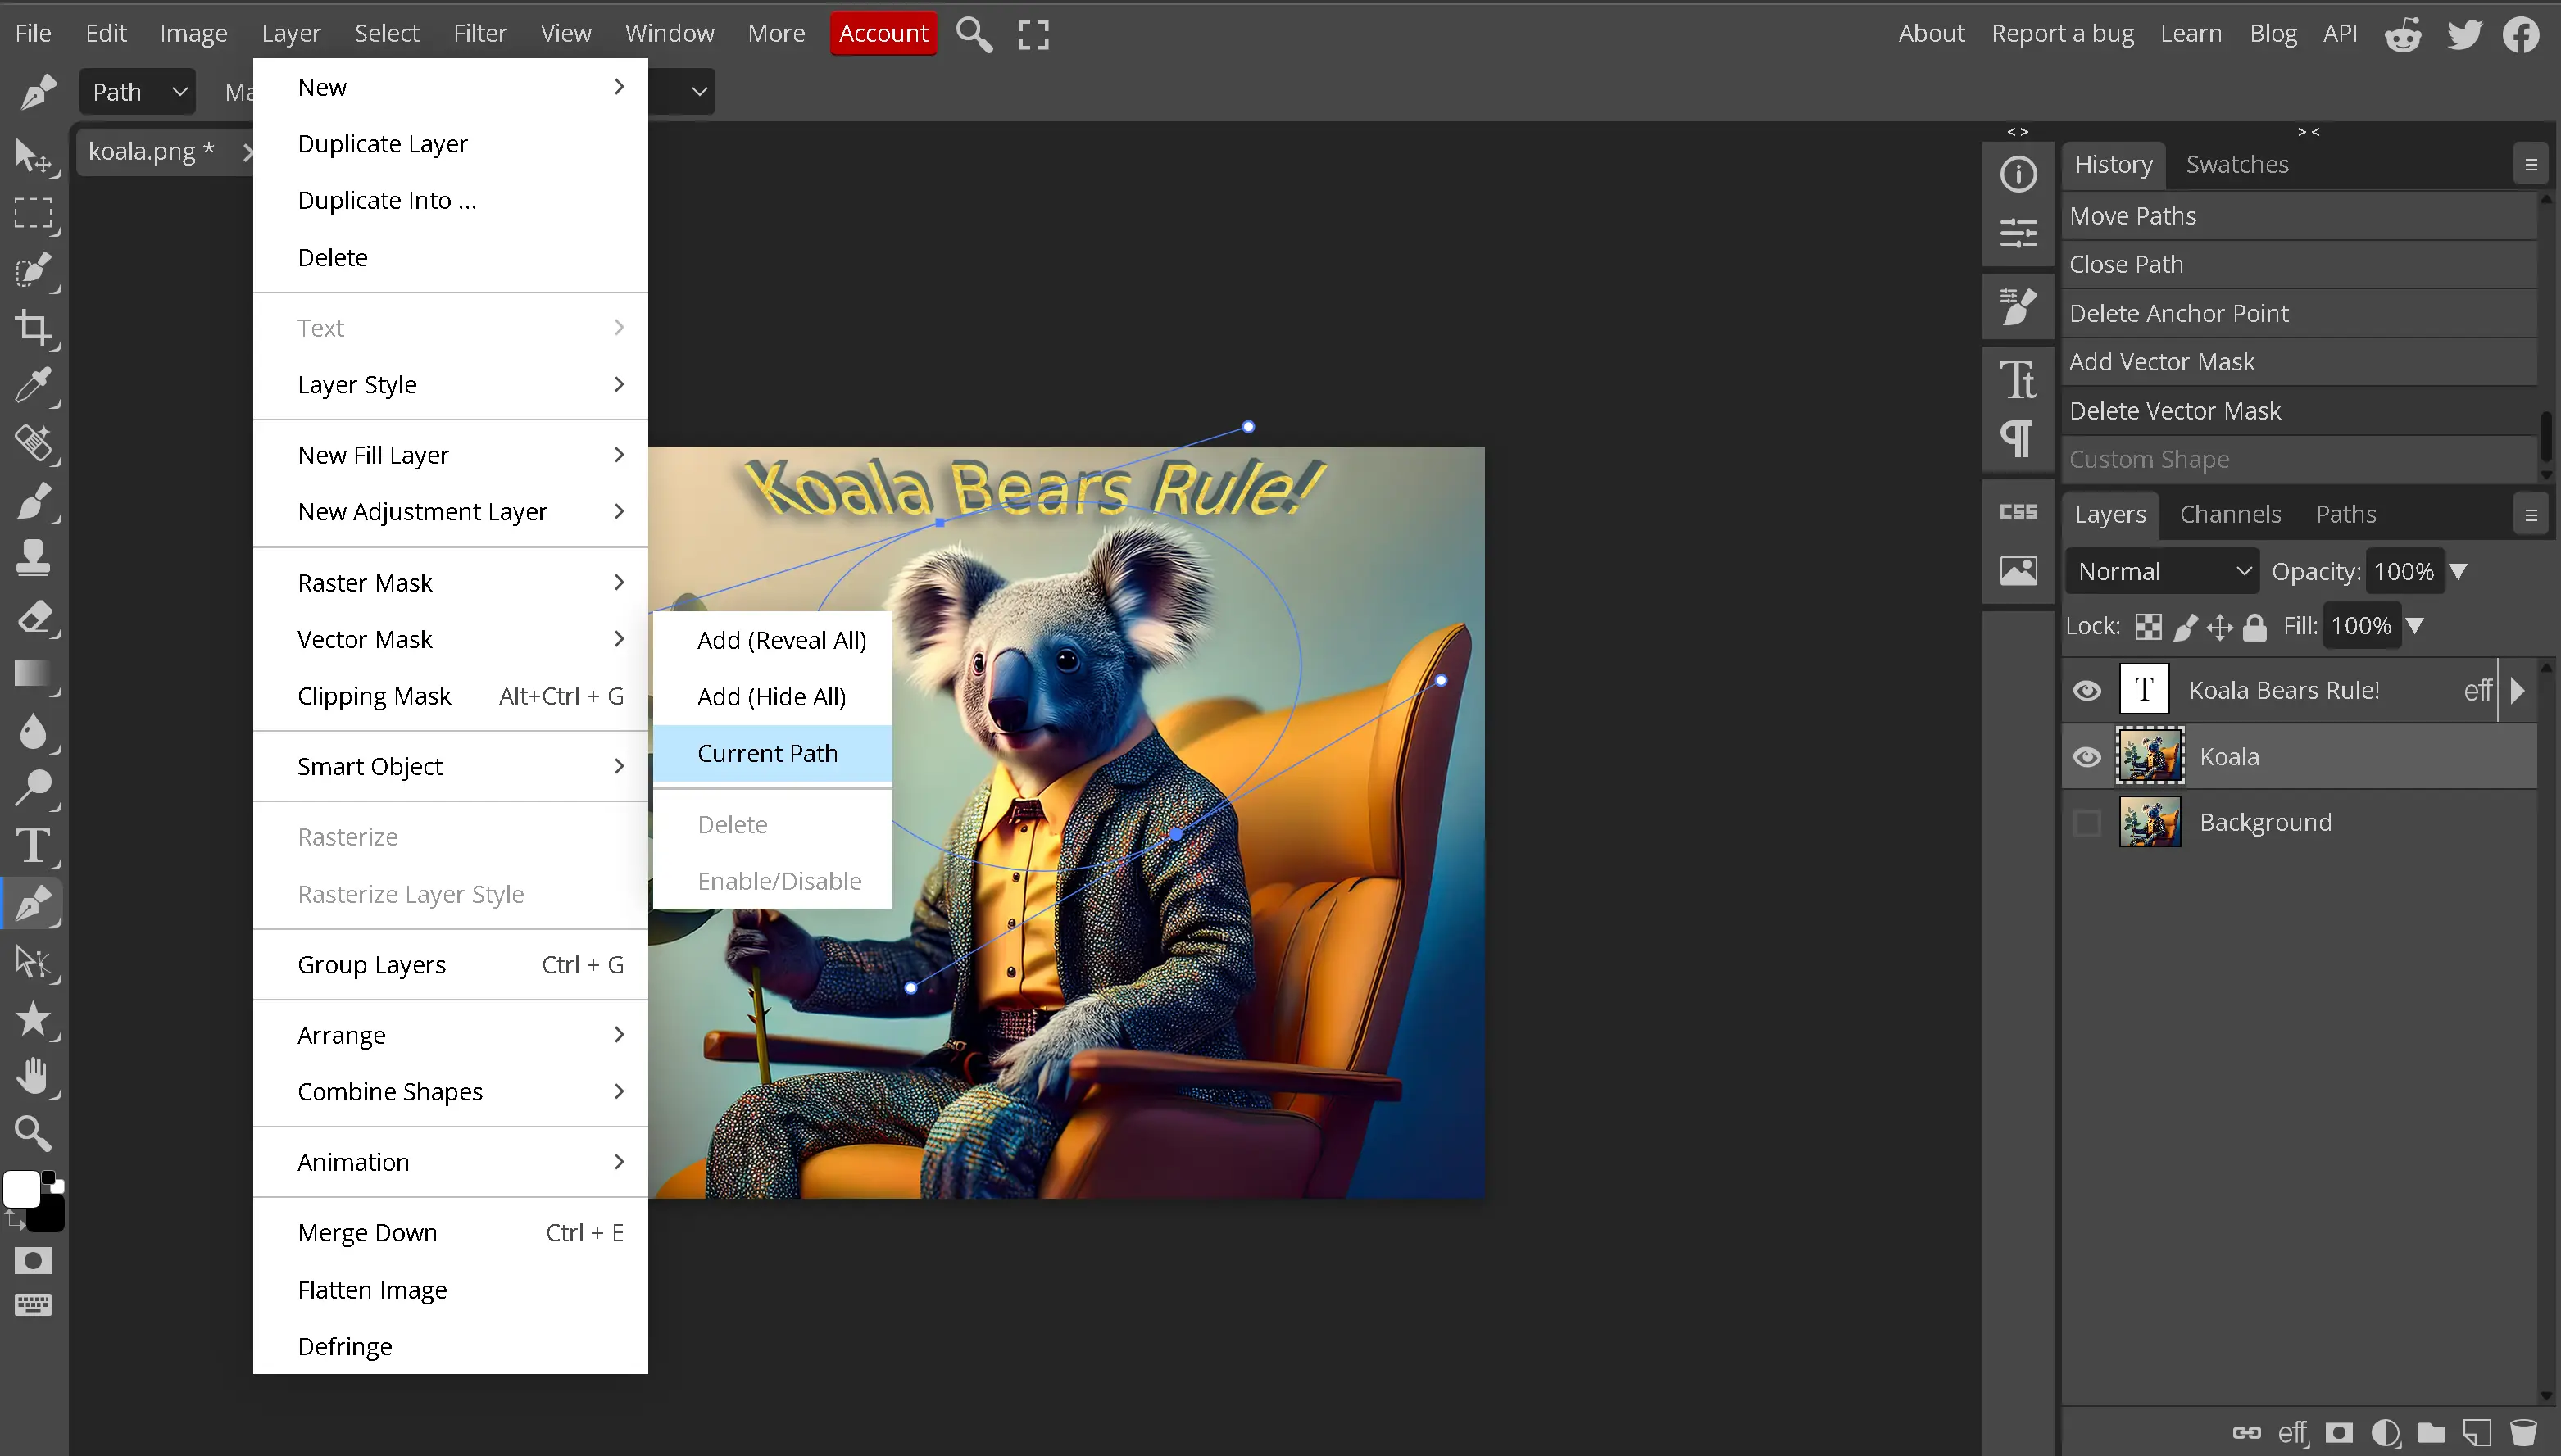
- Select the layer in the Layers panel where a vector mask is needed.
- Use the Pen Tool to create precise paths that define masked areas.
- Adjust anchor points and curves for clean edges.
- Go to Layer > Vector Mask > Custom Path to apply the mask based on the path created.
- Apply transformations or modify paths to maintain scalability without pixelation.
Troubleshooting
- If the vector mask option is grayed out, check that the selected layer is not locked or set as the background layer.
- If working with a background layer, duplicate it first to enable masking options.
- Make sure an active path exists before applying a vector mask.
Vector masks help maintain sharp edges and provide flexibility in resizing without losing clarity, making them a preferred choice for photo masking and image masking in graphic design projects.
Should I Use a Raster Mask or a Vector Mask?
Raster masks offer a more intuitive and accessible approach for image editing, making them the preferred choice for tasks that require soft transitions, feathered edges, and precise pixel-level control over transparency. These masks work well in workflows where blending different photographs or creating gradual transparency effects is essential. Since raster masks rely on grayscale values, they are easily modified using brush tools or selection methods, allowing for seamless control over visibility.
Vector masks, on the other hand, are best suited for sharp-edged graphics, text, and scalable elements where precision is required. Unlike raster masks, vector masks use paths instead of pixels, ensuring crisp edges even when scaling the design. This makes them ideal for logos, text clipping, and geometric shapes that need to maintain clean visibility across different resolutions. Since vector masks follow the principles of vector graphics, they do not suffer from pixelation or loss of sharpness when resized but do suffer from lack of detail, making them a practical option for non-photographic designs.
-
Clipping Masks
What Is a Clipping Mask?
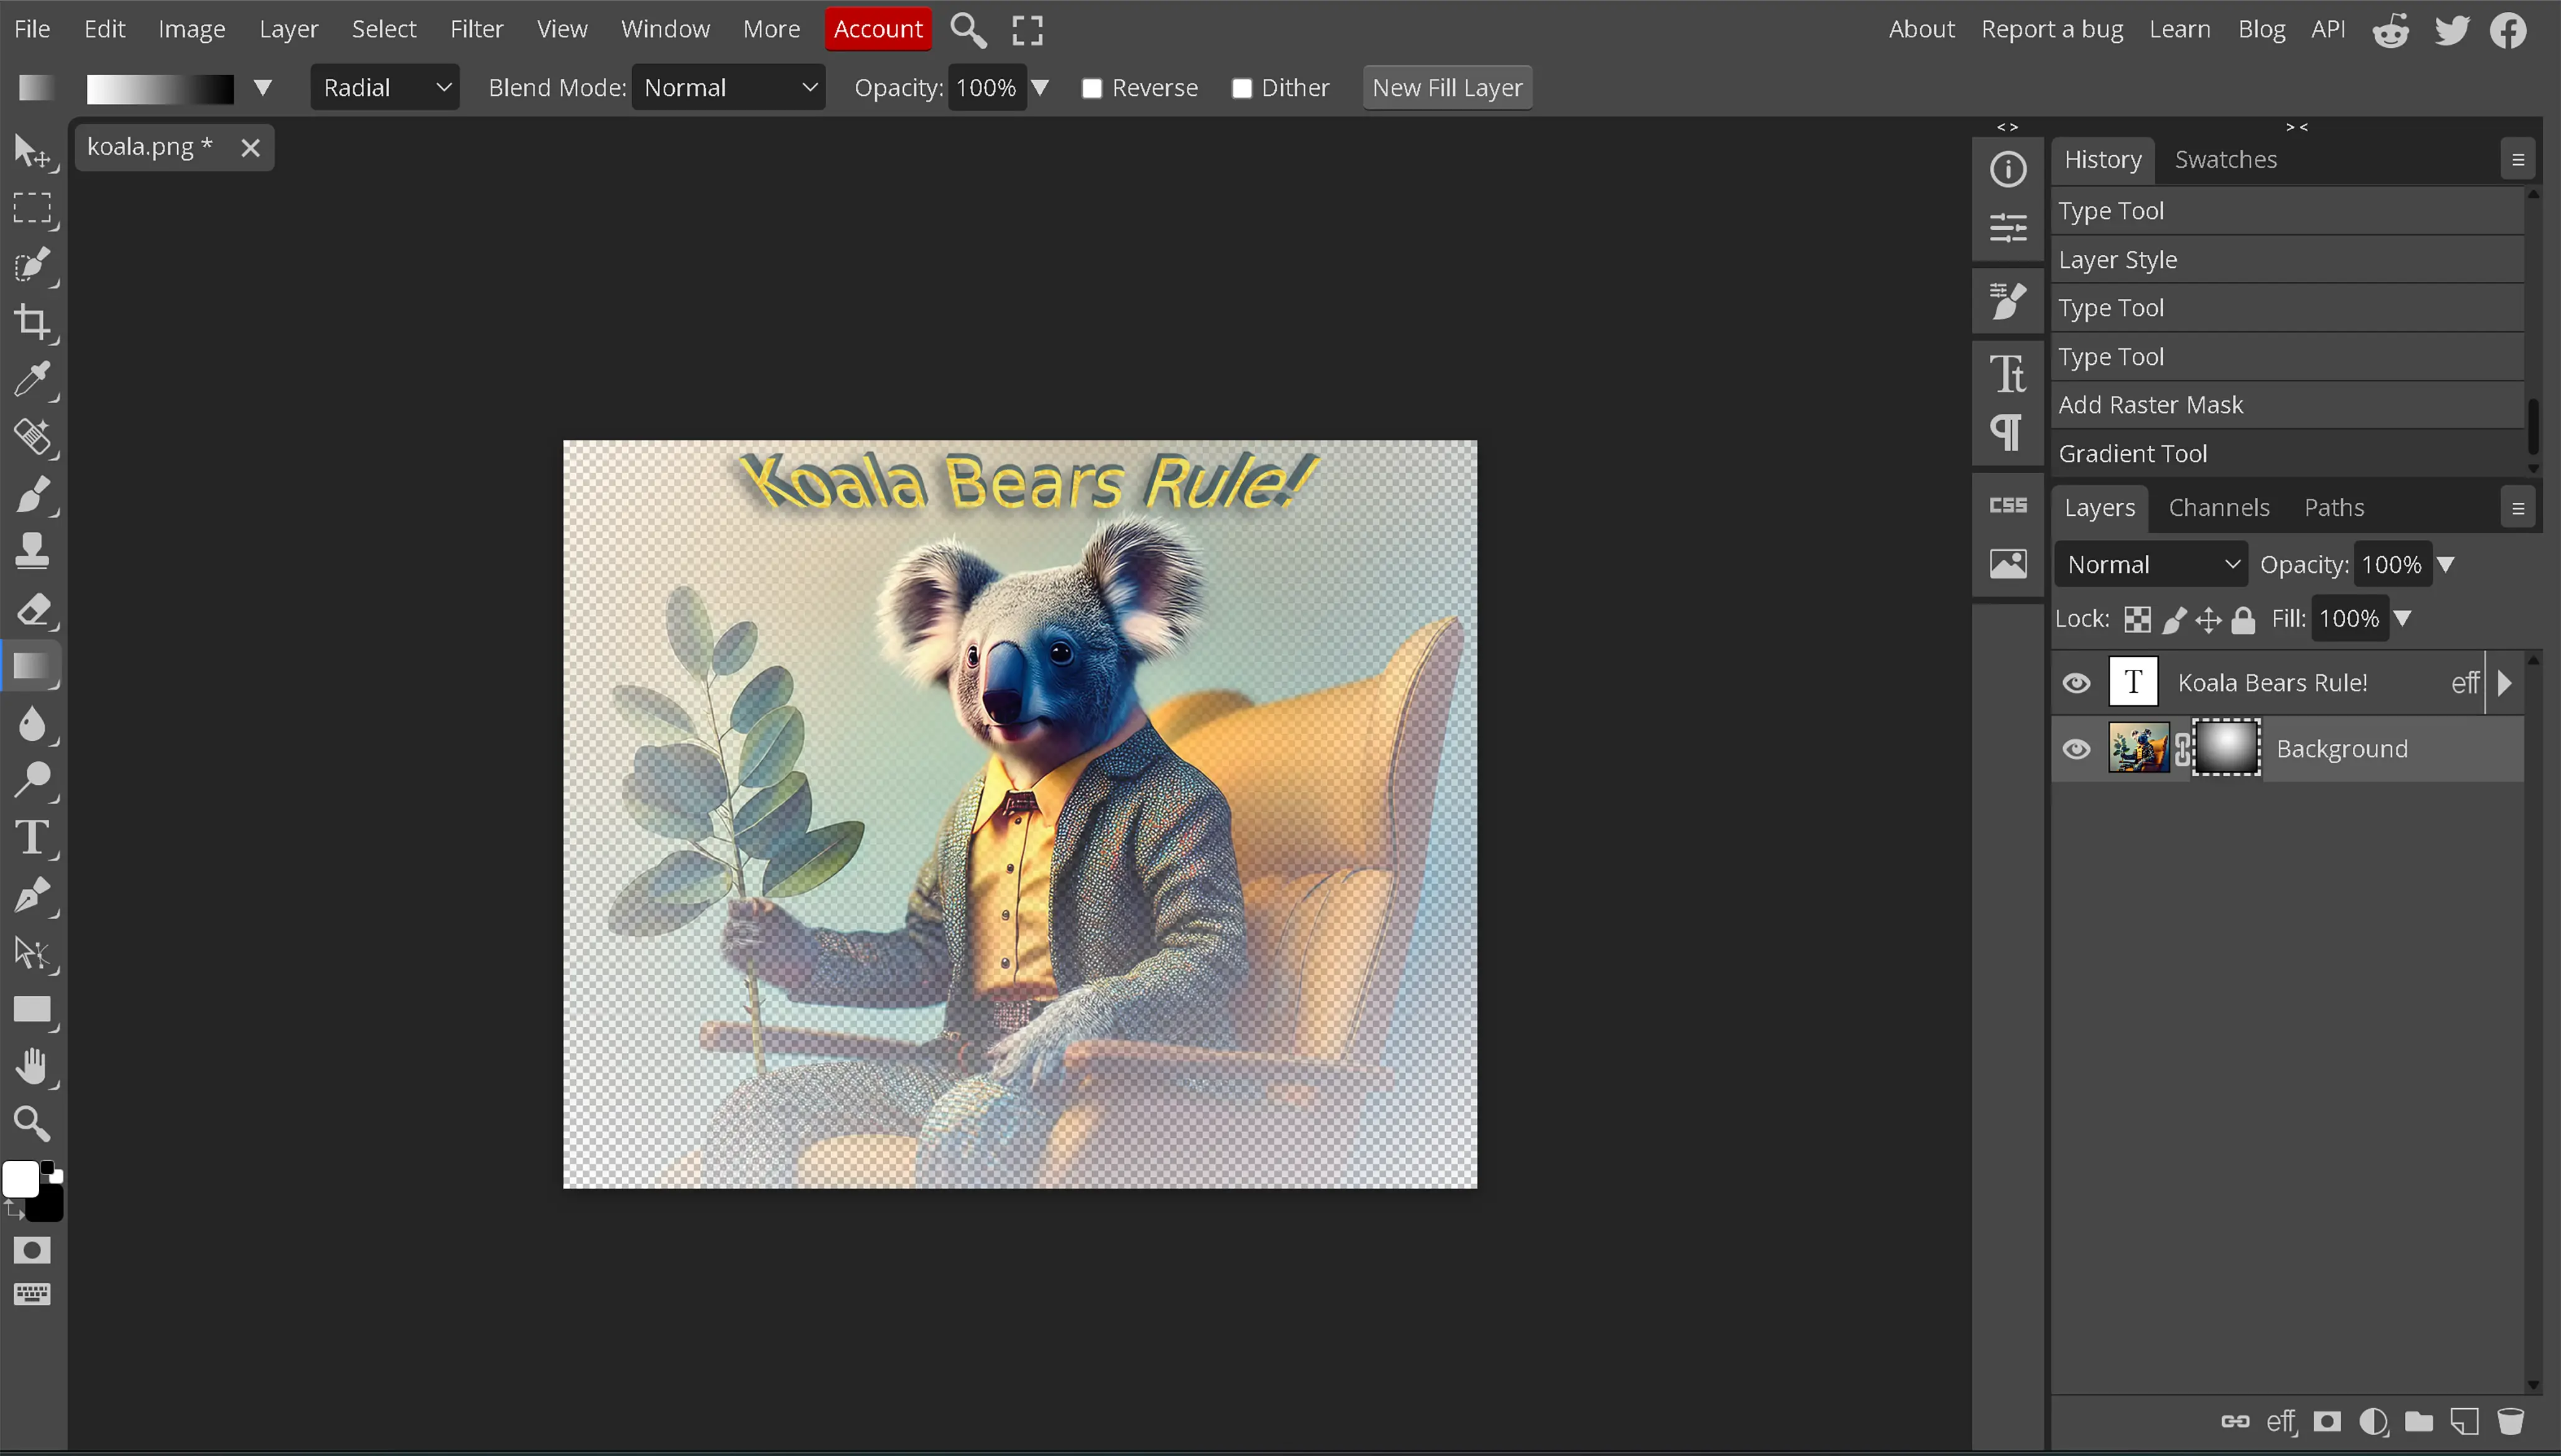
Clipping masks in Photopea let you control how one layer interacts with another by using the transparency or shape of a base layer as a boundary. Instead of simply erasing or hiding parts of an image, a clipping mask allows a layer to be visible only where the layer below it has content.
For example, imagine placing an image above a text layer. By applying a clipping mask, the image will only show within the shape of the text, creating a dynamic effect that remains adjustable. You can move the image freely within the boundaries of the text without altering its original properties, making it easy to experiment with placement and composition.
Because clipping masks are non-destructive, they provide a flexible way to define visibility without permanently modifying a layer. They're commonly used to create text-based effects, frame images within custom shapes, and apply textures or patterns to objects in a clean, controlled manner.
Why Use a Clipping Mask Instead of a Raster or Vector Mask?
While raster masks and vector masks allow selective visibility within a single layer, clipping masks provide a different kind of masking by restricting multiple layers based on a single base layer's shape. This method makes it easier to manage effects across several layers while maintaining flexibility in adjustments.
A key advantage of clipping masks is the ability to control layer visibility dynamically without requiring direct modifications to the masked layer itself. For instance, filling text with an image using a clipping mask is significantly easier than manually selecting text and applying a raster mask. Additionally, clipping masks allow for stacking multiple layers within a single boundary, making them useful for managing colors, textures, and visual effects while keeping the base layer intact.
When deciding whether to use a clipping mask instead of a raster or vector mask, consider whether the goal is controlling transparency within a single layer (raster/vector) or defining visibility based on a separate shape (clipping mask). Clipping masks simplify adjustments across multiple layers, making them ideal for text-based effects and layered designs with complex visual interactions.
Examples of Clipping Masks
- Filling text with images or gradients: A text layer serves as the base, allowing an image or gradient to fill its shape dynamically.
- Creating shaped image frames: A custom shape layer can define the edges of a clipped photograph.
- Applying textures to objects: A texture layer clipped to an object ensures seamless integration within the object's form.
- Sophisticated typographic effects: Multiple layers with different colors or patterns can be clipped to the same text layer for rich styling.
- Adding highlights and shadows: Layered lighting effects clipped to objects allow for controlled depth and dimension.
- Isolating adjustments within shapes: Clipping adjustments within a shape layer ensures selective color grading and contrast enhancements.
- Patterned elements: Design elements filled with seamless patterns using clipping masks for structured compositions.
Practice Makes Perfect
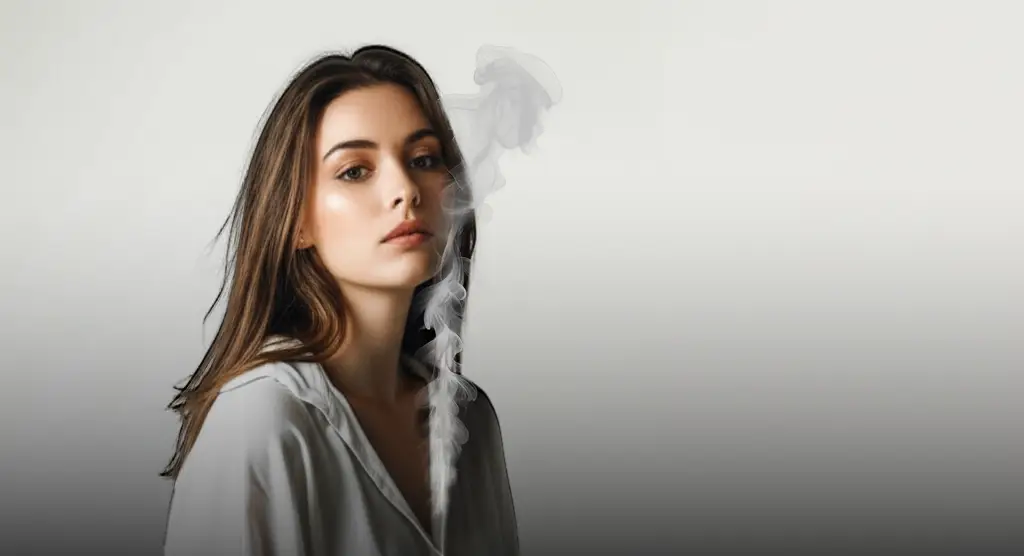
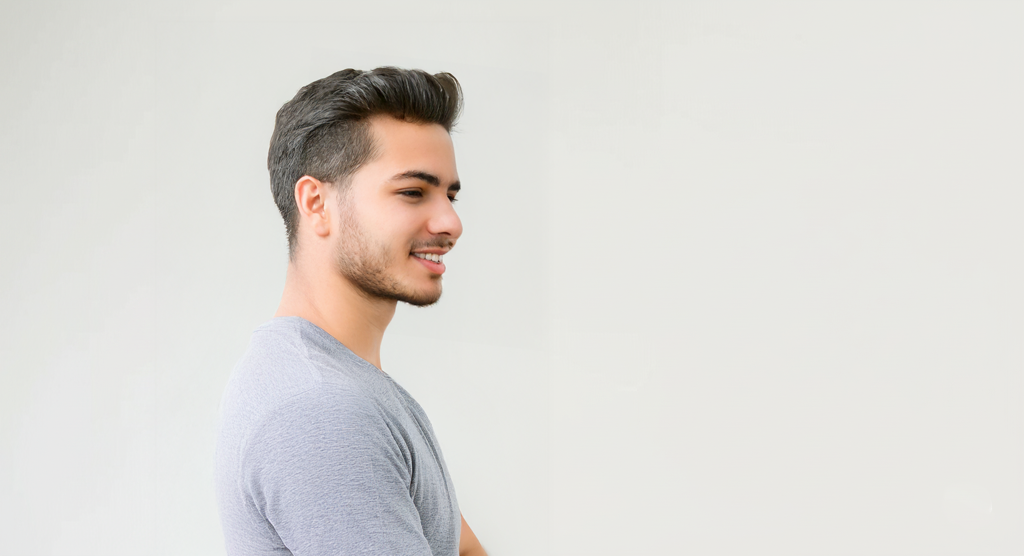
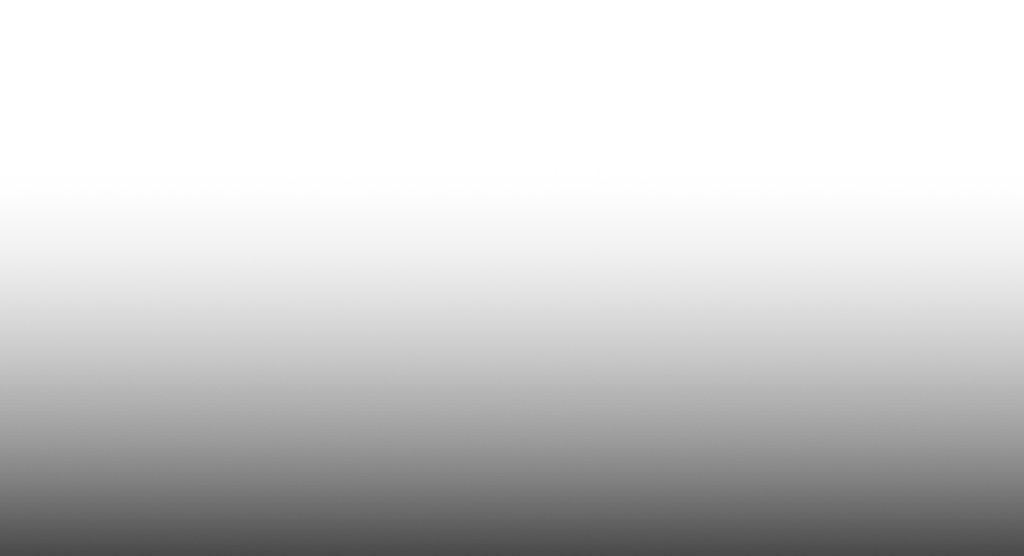
In practicing these newfound skills, here are some images. The images already have transparency and are separated out. The goal here is not to just lay the layers on each other to make the desired outcome, but to use masking techniques to make the outcome.
The final image should appear similar to:
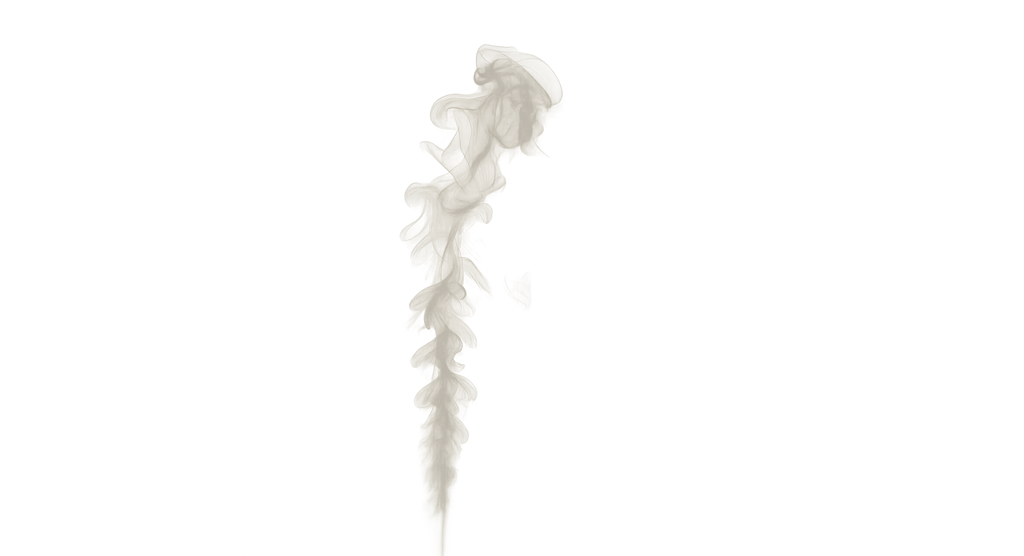
The individual images are:
WEBP FORMAT
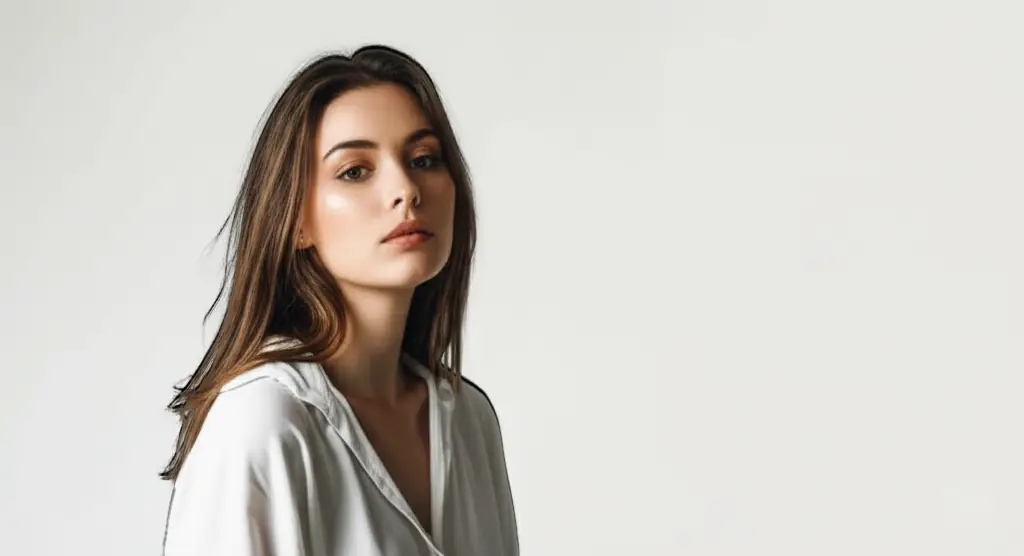

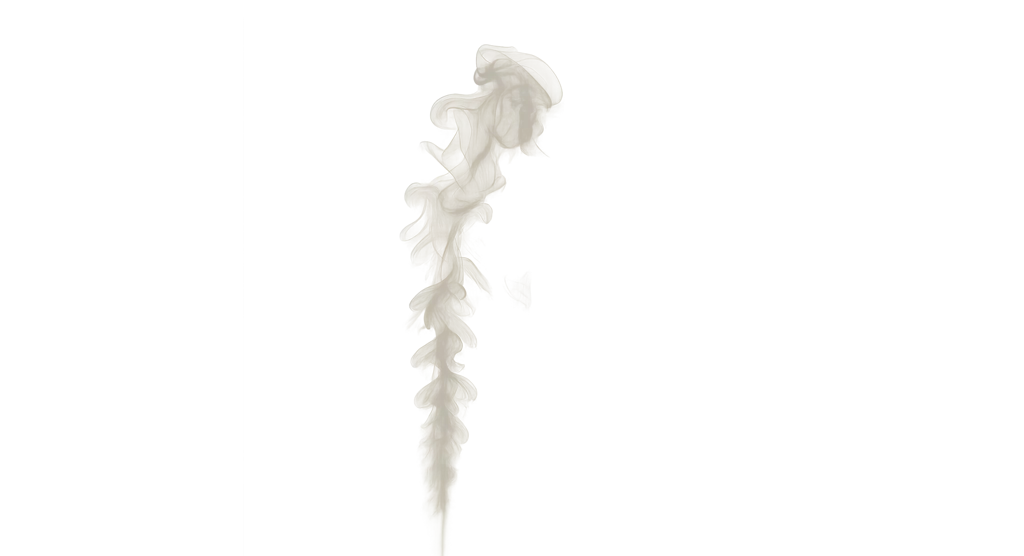

The browser may not save the transparency in the WEBP format so here is the:
PNG FORMAT

Finally, if the desire is to see how we accomplished this task, here is the PSD file.
![]()
Conclusion
Mastering photo masking and image masking techniques in Photopea allows for more precise and creative editing. Raster masks help with soft transitions and detailed blending, vector masks provide sharp edges and scalability, and clipping masks make it easier to layer effects within predefined shapes. Choosing the right image masking technique depends on the project's needs, whether maintaining clarity, blending elements seamlessly, or defining visibility dynamically. With a strong grasp of photo masking, editing becomes more efficient and adaptable, ensuring professional, clean results in any workflow.