Why Would I Want to Warp or Curve an Image?
- Creative Adjustments: Warping helps reshape objects within a curved image, whether adjusting clothing for a better fit, bending a road to improve composition, or distorting elements for artistic effects. These adjustments enhance visual storytelling and help guide the viewer's eye through the design.
- Integrating Images Into Curved Surfaces: When adding graphics to curved objects in mockups, such as placing a logo onto a curved bottle, warping ensures the curved image aligns properly with the object's shape. This technique makes the final result more realistic and professional.
- Special Effects and Artistic Expression: Warping expands creative possibilities by allowing designers to develop fluid shapes, exaggerated distortions, and motion blur effects within a curved image. These adjustments go beyond basic transformations, providing dynamic and unique visuals.
Mastering warp tools in Photopea lets you refine a curved image, fix distortions, enhance composition, and push creative boundaries, ensuring you have full control over how images interact within a design.
Why Do I Want to Warp or Curve My Text?
Curved text is generally harder to read since most languages follow a left-to-right and top-to-bottom pattern. In standard designs, straight text is preferred for clarity. However, curved text has its place in specific situations where it enhances aesthetics or aligns better with the design's purpose.

- Logos and Branding: Many circular logos incorporate curved text to frame a central graphic or create a balanced composition. This approach helps reinforce brand identity in a visually appealing way.
- Posters and Promotional Material: Curved text is sometimes used to grab attention or emphasize key information. It can follow the shape of a design element to create a more dynamic effect.
- Mockups and Product Packaging: When placing text on curved surfaces like bottles, cans, or book covers, warping ensures it wraps naturally, making the final design more realistic.
- Artistic Typography: Some designs use curved text for stylistic effects, integrating it into illustrations or using it to create a sense of movement. This approach works well for abstract compositions where readability isn't the main focus.
While curved text isn't ideal for long passages or essential information, it can be effective when used strategically. Understanding how to apply and control curved text in Photopea ensures it supports the overall design rather than interfering with readability.
What Is Spherize?
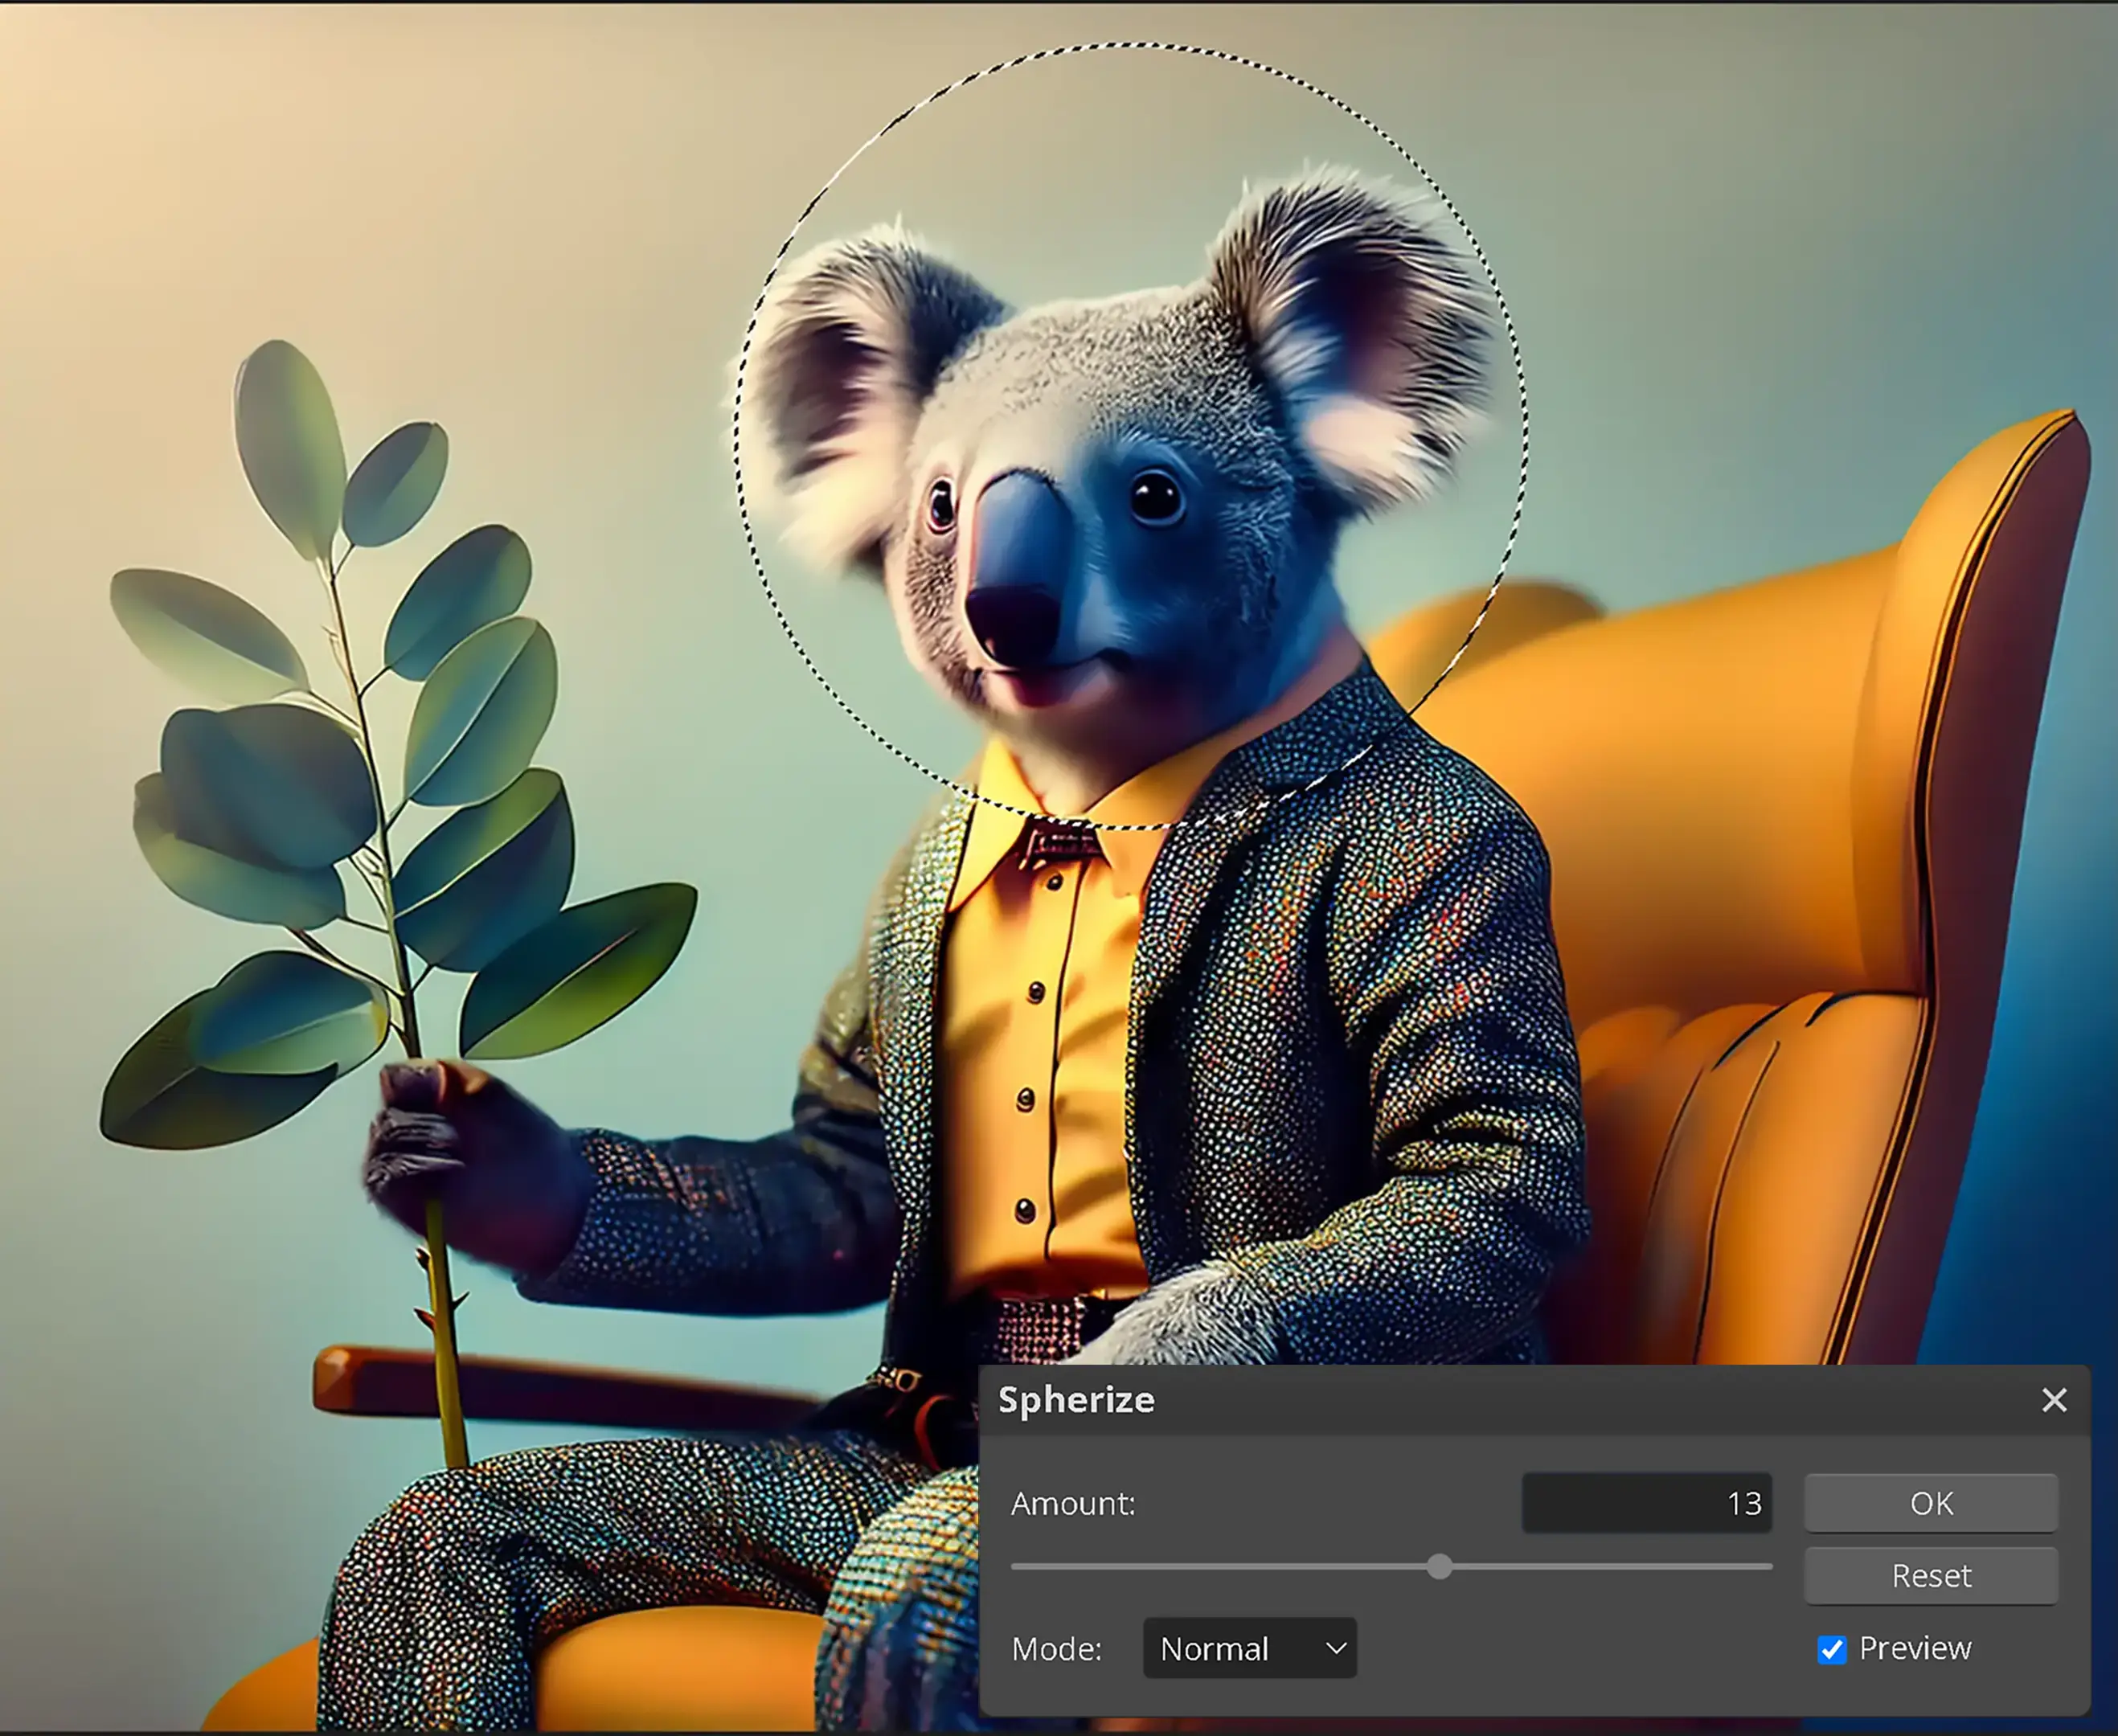
Spherize is a distortion filter in Photopea found under the Filter > Distort > Spherize menu. It reshapes an image by wrapping it onto a spherical surface, creating a bulging or concave effect.
- Positive Values: Applying a positive Spherize effect pushes the image outward, simulating the look of a convex lens or wrapping it around the outside of a sphere.
- Negative Values: Using a negative value pulls the image inward, creating a concave distortion, making it look like the image is being compressed into a spherical shape.
- Localized or Full Application: The effect can be applied to the entire image or a selected portion. When used on a selection, the distortion is most pronounced at the center of the selection and gradually fades toward the edges.
- Creative and Practical Uses: Spherize can be used for subtle image corrections, such as adjusting lens distortions, or for dramatic effects like creating rounded objects, mimicking fisheye perspectives, or experimenting with abstract visuals.
This tool offers a quick way to achieve curved distortions that simulate roundness and depth in an image while maintaining smooth transitions.

How Do I Use Spherize?
- Select the layer or area for distortion. If only a specific portion of the curve image needs to be affected, the elliptical or rectangular selection tool can be used. The Object Selection tool may also provide better precision, but it is important to know that the edge of the selected area is the limitation for the spherize filter to curve an image.
- Open the Spherize tool by navigating to Filter > Distort > Spherize from the top menu. This opens the settings panel for adjusting the curve for image distortion.
- Adjust the Amount slider to control the intensity of the distortion. Positive values expand outward, creating a convex effect, while negative values pull inward for a concave appearance. Using controlled adjustments ensures the curved image maintains its intended shape without excessive warping.
- Choose the mode from Normal, Horizontal Only, or Vertical Only. Normal affects the entire selection, while Horizontal and Vertical apply distortion in a single direction. Selecting the right mode helps refine how the curve image interacts with the distortion.
- Preview the effect and apply the changes. The preview window allows adjustments before confirming. Once satisfied, clicking OK applies the effect. Additional transformations or masking techniques can refine the curved image further for a polished result.
Using Spherize provides smooth, rounded distortions that enhance depth and realism while ensuring controlled modifications to specific areas of the curved image.
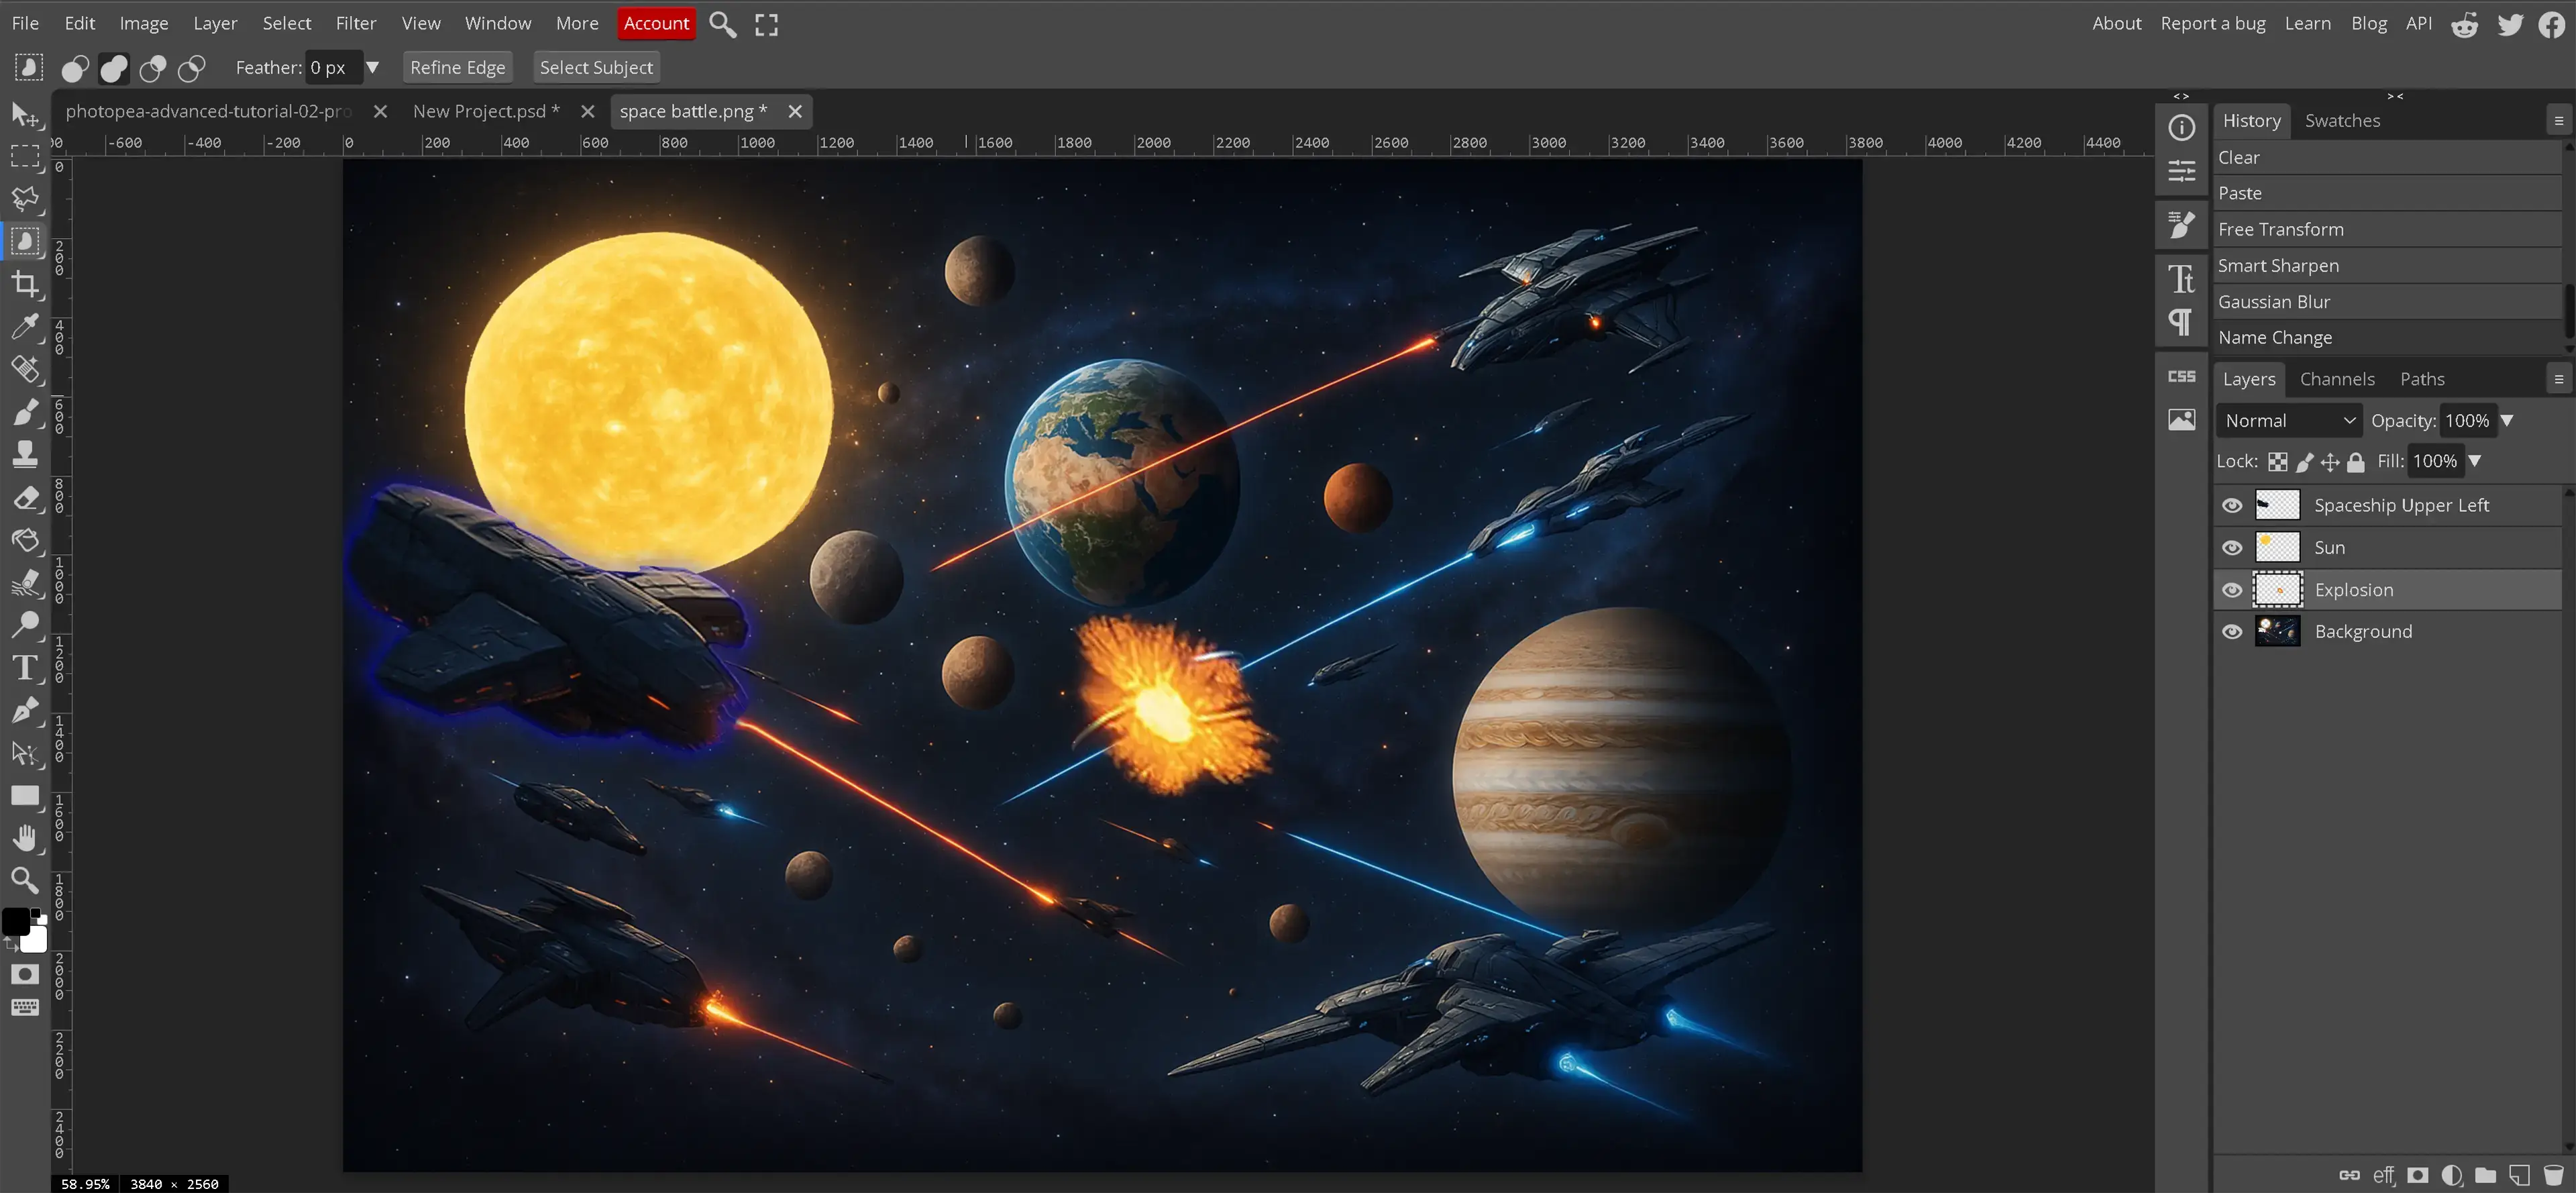
What Is Warp?

Warp is a transformation tool in Photopea that allows for precise distortion of an image or text by bending, twisting, or reshaping elements without losing quality. Unlike basic scaling or rotation, warp provides full control over how parts of a curve image stretch and flow.
- Customizable mesh control applies a grid overlay to the selected layer, enabling adjustments at specific points to create smooth, organic distortions in a curved image.
- Preset warp shapes include predefined effects such as Arc, Flag, Wave, and Bulge, making it easier to apply specific styles to a curved image or text.
- Freeform warping allows nodes along the warp grid to be dragged individually, offering precise manual distortions tailored to a curved image or custom shape.
- Text warping integrates typography naturally into designs by curving or distorting letters to follow the shape of a curved image or surface.
- Non-destructive editing ensures warp transformations remain adjustable through the layer properties, allowing refinements without permanently altering the original image or text.
Warp is an essential tool for manipulating shapes, integrating text into curved surfaces, and creating unique distortions that enhance a curve image's visual appeal.
There are 15 possible selections inside the Warp tool and 16 if you include the None selection. Each selection has 3 different options including:
Bend:
Horizontal Distortion:
Vertical Distortion:
Each of the options has a slider to go from -100% to +100%
How Do I Use Warp to Curve an Image?


- Select the layer or area where the curve image effect will be applied. Using the rectangular, elliptical or object selection tool can help target specific portions of the curve image. Feathering the selection ensures a smooth transition between warped and untouched areas.
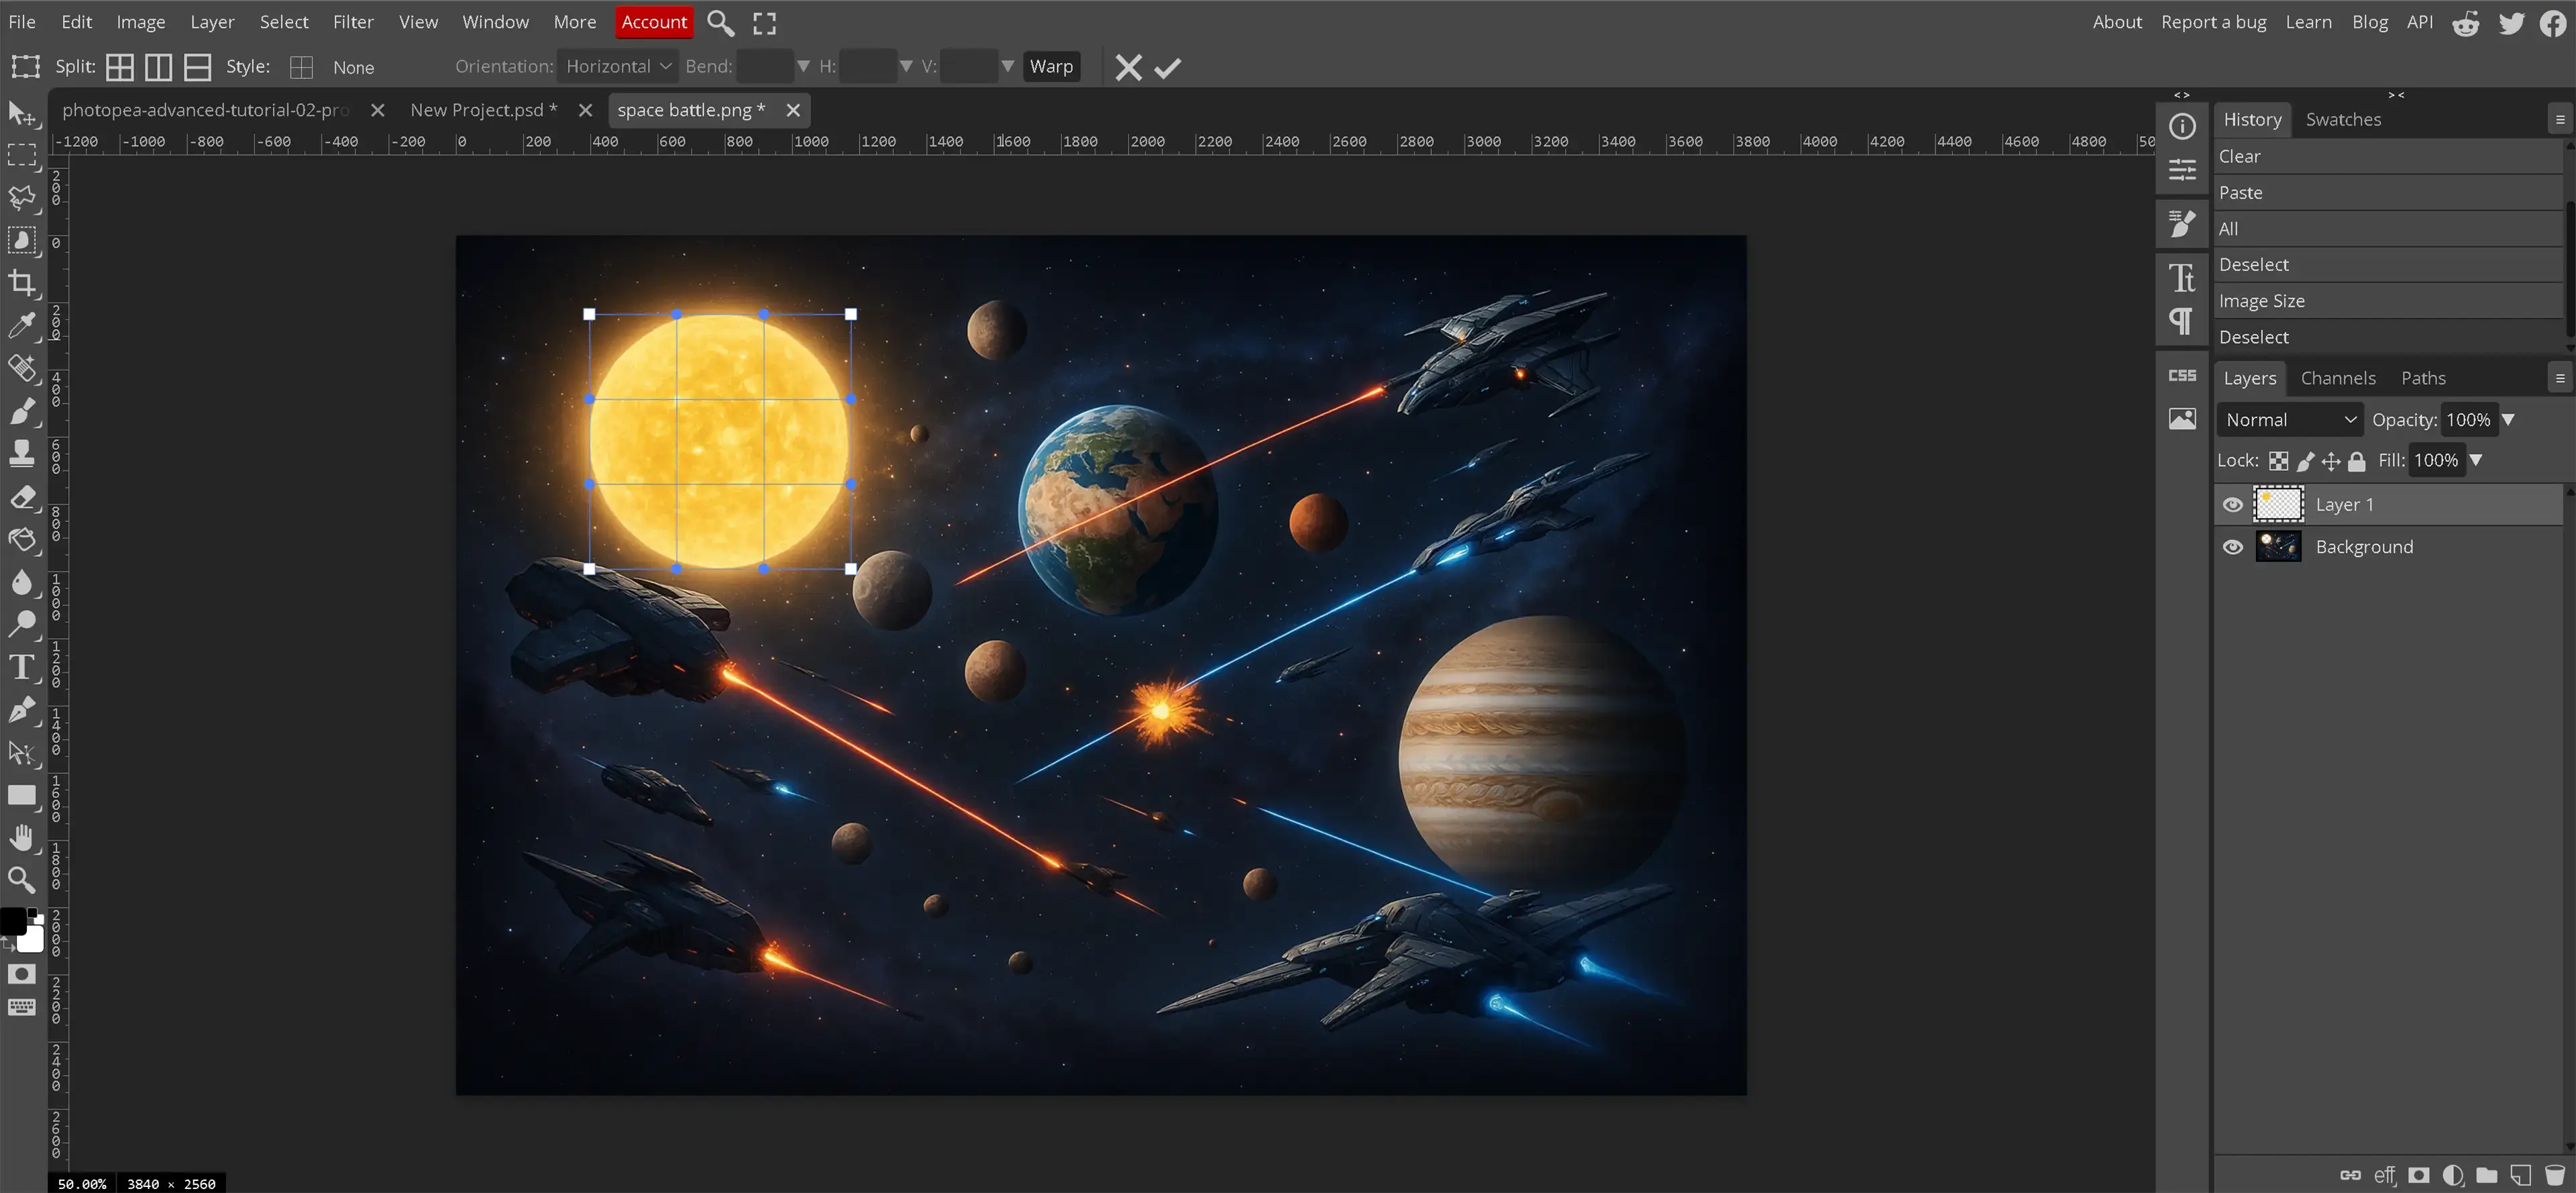
- Open the Warp transformation by navigating to Edit > Transform > Warp from the top menu. This opens the warp grid, allowing precise adjustments to the curve image. Do not confuse this with Image > Transform.
- Adjust the control points on the warp grid. Dragging these points reshapes the curve image, bending or twisting it as needed. The handles along the edges refine how the distortion applies to specific areas.
- Use preset Warp styles for quick modifications. Options such as Arc, Bulge, and Flag provide predefined distortions that can be adjusted further to fine-tune the curve image.
- Preview and apply the warp effect. The preview window allows for final adjustments before confirming. Clicking OK applies the transformation, with additional refinements possible through layer masks or blending techniques.
Warp provides precise control for reshaping a curve image while maintaining natural distortions that enhance depth and fluidity in designs.
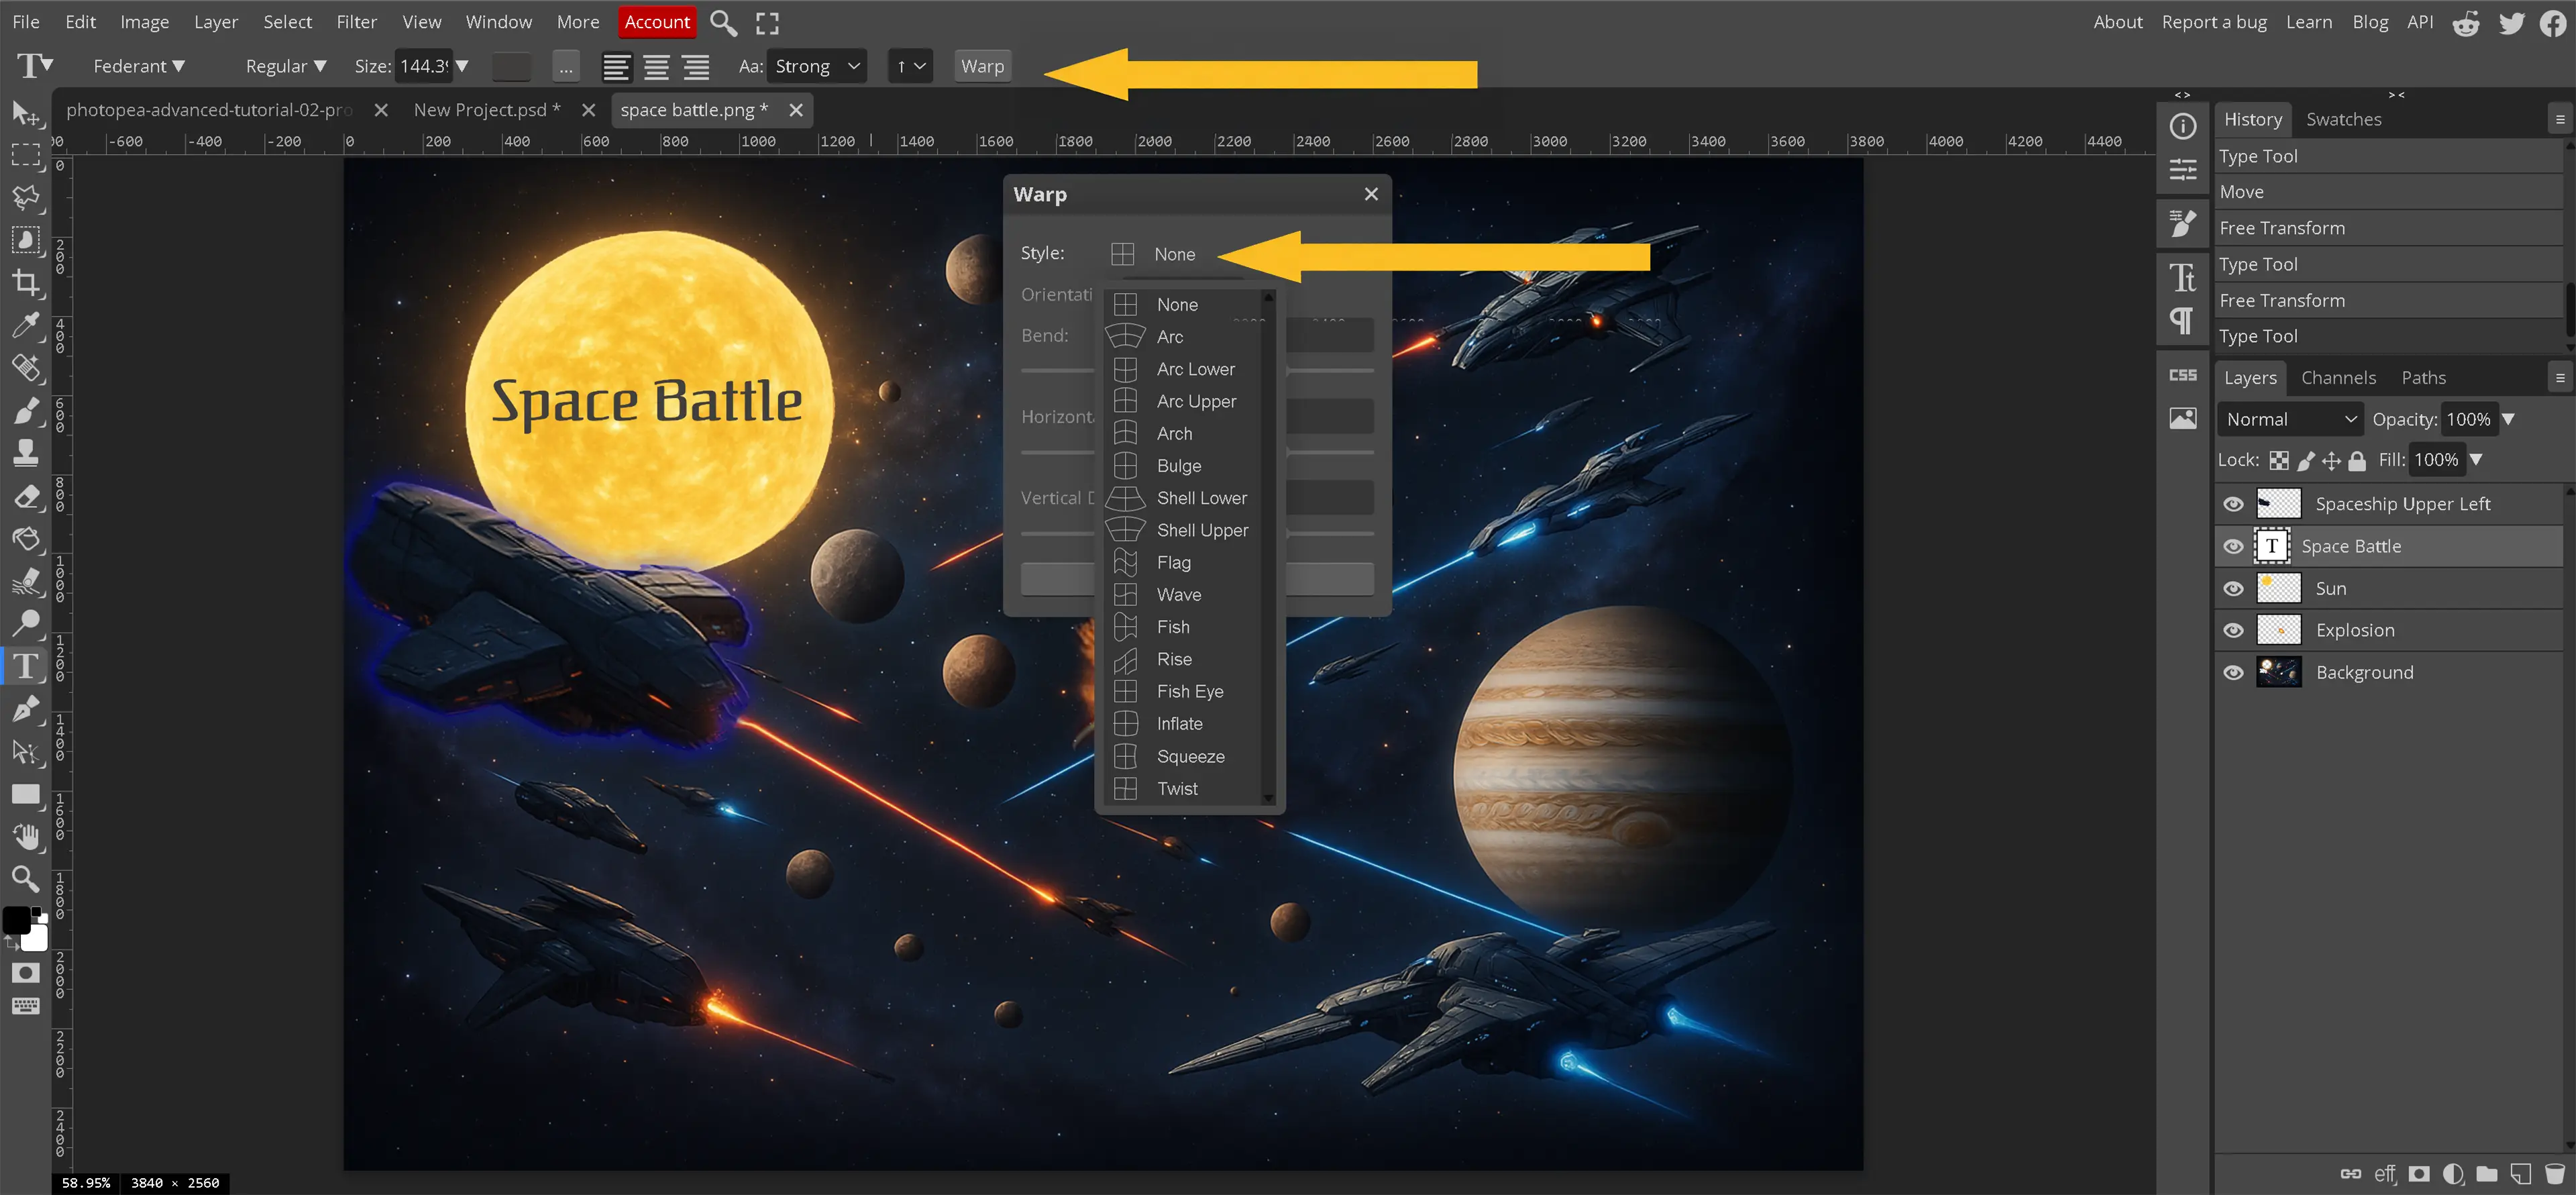

- None: Keeps text in its original form with no distortion. Useful for standard typography.
- Arc: Bends text into a smooth curve, often used for circular labels or banners.
- Arc Lower: Curves text downward, ideal for designing logos or badges with a bottom-heavy arc.
- Arc Upper: Curves text upward, commonly applied to arched nameplates or decorative titles.
- Arch: Creates a more dramatic arch effect, great for stylized text in posters or retro designs.
- Bulge: Expands the center of the text outward, perfect for exaggerated effects in advertisements or playful typography.
- Shell Lower: Compresses the bottom portion inward while keeping the top expanded, useful for dynamic branding elements.
- Shell Upper: Opposite of Shell Lower, pulling the top inward while expanding the bottom, often used in packaging designs.
- Flag: Creates a wave-like motion, mimicking movement. Frequently used for banners, sale signs, or text that appears windblown.
- Wave: Repeats a flowing motion across the text, ideal for artistic distortions or themed graphics with fluid movement.
- Fish: Expands the center outward while narrowing the edges, used for dynamic headings or attention-grabbing effects.
- Rise: Elevates the middle portion of the text while the edges taper downward, often applied in badge designs or decorative titles.
- Fish Eye: Produces an extreme bulging effect, simulating a fisheye lens. Useful for surreal or exaggerated visual effects.
- Inflate: Expands the entire text outward, great for playful distortions or emphasis in promotional designs.
- Squeeze: Compresses the sides while keeping the middle expanded, used for tightening text to fit narrow spaces.
- Twist: Rotates portions of the text, creating a spiral-like effect. Useful for artistic typography or surreal compositions.
Each of these warp styles provides unique distortions that enhance the design while maintaining readability and artistic flow.
Conclusion
Photopea's warp and distortion tools open up a world of possibilities for shaping text and images in creative ways. Whether it's bending text to follow a curve, adding depth to an image, or creating a dynamic effect, these features help designs feel more fluid and expressive.
By mastering techniques like Spherize, Wave, and Warp, editing becomes less about rigid adjustments and more about shaping visuals to match a creative vision. Whether tweaking typography for a logo or warping an image to fit a curved layout, these tools provide control while keeping edits smooth and natural.
Experimenting with different warp styles can lead to fresh design ideas and refined workflows. The key is to balance distortion with clarity, ensuring that adjustments enhance the composition without overwhelming it. With the right approach, curved images and text will fit seamlessly into any project.