Why Use Sharpen?
The sharpen image tool enhances edge contrast to bring out visual detail within a digital photo. This tool is used when a photo lacks crispness or when fine textures and outlines need to stand out. A blurry or soft appearance can happen during editing, such as resizing or compressing, or may be the result of slight focus issues in the original photo. Sharpening is a corrective step designed to improve the clarity of those areas without altering the entire image.
Applying the sharpen tool effectively involves targeting specific areas rather than the entire image. For example, enhancing the sharpness of a subject's eyes or the texture of a product can draw attention to these features without affecting smoother regions like skin or sky. The aim is to highlight essential details without introducing harsh edges, visual noise, or an unnatural look. Overuse or indiscriminate application of sharpening can lead to undesirable artifacts, diminishing overall image quality.
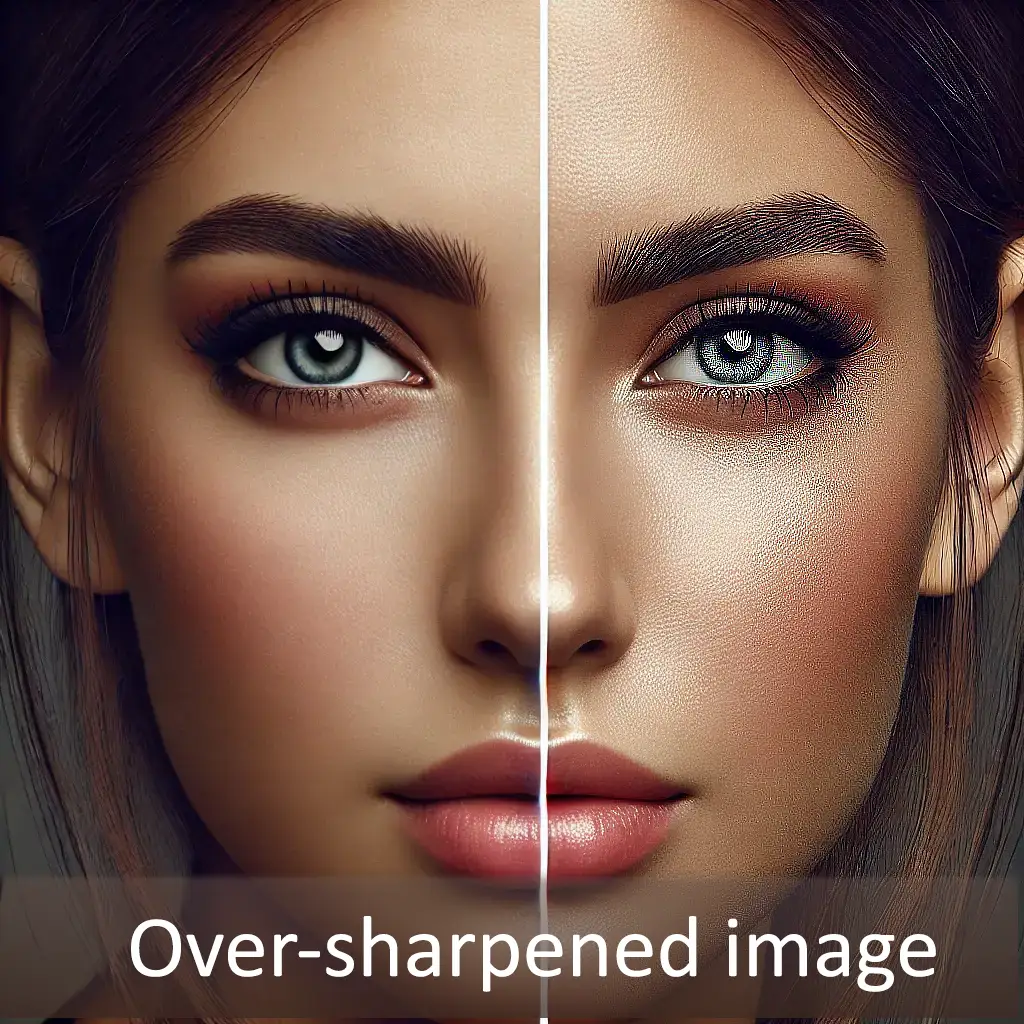
An image that has been properly sharpened will have enhanced details while maintaining its natural appearance. The sharpening effect should be supportive, not distracting.
In Photopea, it's best to apply sharpening after completing resizing and composition adjustments. Utilizing the sharpen image tool in conjunction with masking techniques allows for precise control over which areas are enhanced. This approach ensures that sharpening serves both technical correction and creative enhancement, improving visual impact where it's most needed.
When to Use the Sharpen Tool
The sharpen tool in Photopea is used to bring out details in parts of an image that appear slightly soft or lacking in definition. It is most useful when enhancing areas that need more visual clarity, such as facial features, product textures, or small objects that are not as crisp as they should be. Unlike global filters, this tool allows the sharpening effect to be applied manually with a brush, giving precise control over what areas are affected.
Sharpening is commonly applied after resizing or cropping. These changes can reduce image clarity, especially along edges and in textured areas. The sharpen tool can help restore some of that lost detail. For example, adjusting a portrait for web or print use may require sharpening along the eyes, eyebrows, and hairline to restore a sense of focus and draw attention to those features.
This tool is also helpful in images that appear slightly out of focus. While it cannot correct severe focus issues, it can improve the appearance of minor softness. When applied carefully to areas like textures, logos, or surfaces with patterns, the result can look more defined and visually balanced. Using a soft brush with a strength setting around 15 to 20 often works well for this kind of targeted enhancement.
Another appropriate use for the sharpen tool is to help one part of an image stand out. If the subject blends too much into the background, selective sharpening can add a slight visual contrast between them. This helps guide the viewer's attention without needing to make drastic changes elsewhere in the composition. The sharpen tool is most effective when used gradually and sparingly, with careful attention to edge quality.
Why Use Blur?
The blur tool in Photopea is designed to soften specific parts of a photo without affecting the entire image. It helps reduce sharp or distracting edges and is most often used to improve the way different parts of an image blend together. Unlike filter effects that apply evenly across a layer, the blur tool allows manual control with a brush for precise adjustments.
This tool is often used in portrait or subject-based editing. When hard lines appear along the edge of a person's hair or shoulders, the image can look unnatural. Applying the blur tool lightly along these areas helps create smoother transitions between the subject and the background. This step improves the overall appearance of the photo by reducing unwanted harshness.
The blur tool is also effective for removing small visual distractions that take attention away from the main subject. Overly sharp areas in the background, such as distant trees, text, or pattern lines, can be softened just enough to reduce their impact. Since the tool affects only the areas where it is applied, the rest of the image remains unchanged.
It also plays a role in softening texture where needed. In some cases, objects like fabric, walls, or even skin may appear overly detailed or noisy. Using a soft brush with low strength allows for a smoother result while preserving the image's natural shape. The key to using the blur tool well is to apply it gradually and only where needed.
When to Use the Blur Tool
The blur tool is useful when a specific part of an image appears too sharp or distracts from the overall composition. It can soften those areas without changing the rest of the photo. This makes it ideal for the later stages of editing, when only a few small adjustments are needed to improve the final result.
This tool is especially helpful after placing a subject onto a new background. The outline around the subject's hair, shoulders, or clothing may look overly sharp or unnatural. In these cases, the blur tool set to a low strength, such as 13, can be applied with a soft brush to gently smooth the edges. This helps the subject appear more naturally blended into the scene.
The blur tool is also effective for adjusting areas that look out of place due to unmatched sharpness. For example, when combining images from different sources, one part may look crisper than the rest. Applying a light blur to the sharper areas can bring consistency to the entire image and make it feel more unified.
In layout and design work, graphic shapes, text, or elements that have been resized may sometimes appear too harsh against the background. A few strokes with the blur tool can reduce this sharpness and allow those elements to sit more naturally within the composition.
Different Types of Blurs
Photopea offers a variety of blur filters, each designed for a specific editing purpose. These blur effects can be used to reduce background distractions, create visual focus, or mimic camera techniques like motion or depth of field. The example image below shows six commonly used blur filters, each applied to the same subject for comparison.
To recreate these effects in Photopea, the process involves more than simply opening the Blur menu. Each variation was created by duplicating the original layer, selecting only the background using the Lasso Tool, and applying the desired blur filter to that area. While a layer mask was not needed for this demonstration, it is strongly recommended to maintain better control over edge blending and to allow future adjustments.
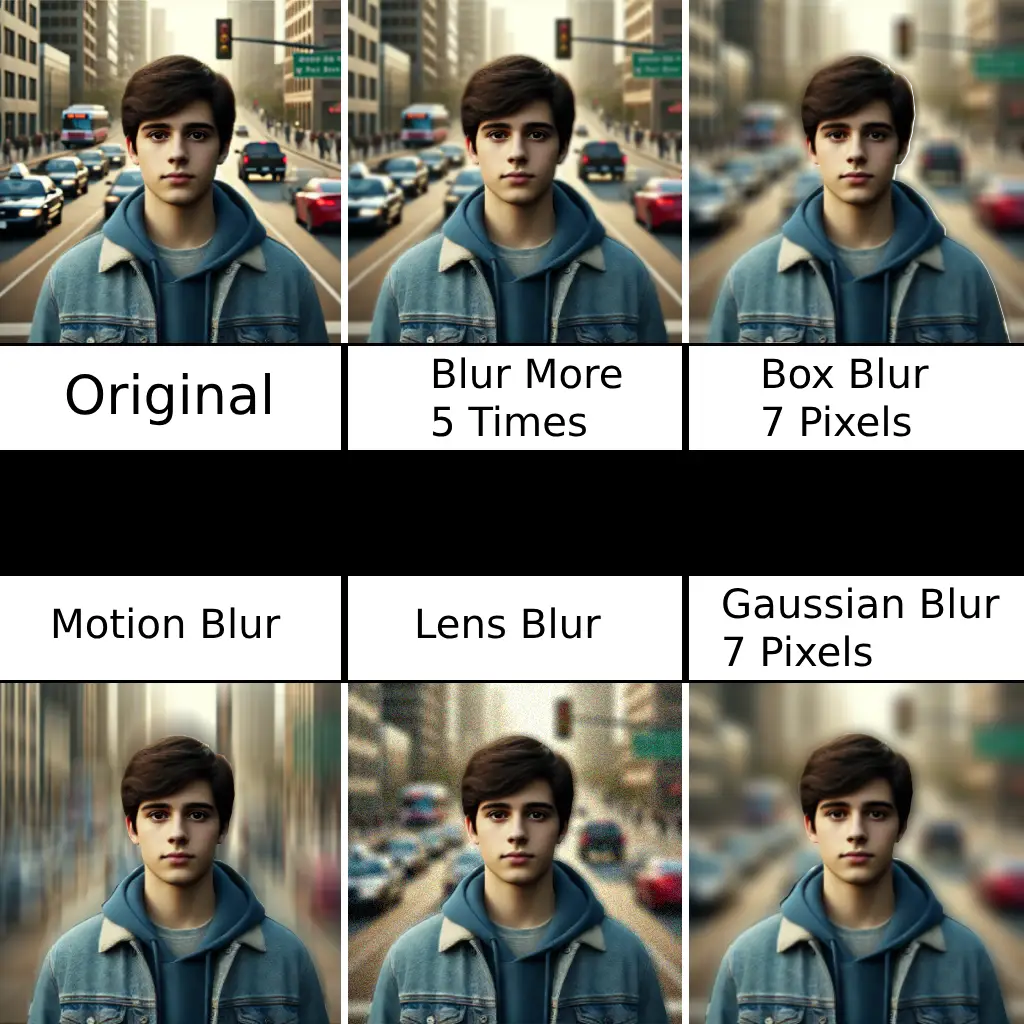

- The Original image (top-left) is untouched and serves as a reference.
- Blur More (5 Times) (top-center) was created by applying the Blur More filter repeatedly. Each pass increases the softening and can be useful when a quick ambient reduction is needed.
- Box Blur (7 Pixels)(top-right) averages color values within a square area. It produces a more uniform, artificial look that works best in stylized or flattened compositions.
- Motion Blur (bottom-left) was set to 90 degrees and 58 pixels. This effect gives the illusion of movement in a specific direction and is commonly used to suggest speed or action.
- Lens Blur (bottom-center) simulates the depth of field created by a camera lens. In this example, no depth map was used. Settings included a focal distance of 0, a radius of 30, an angle of 64, brightness at 0, threshold at 88, and noise at 10. The shape was set to square with uniform distribution.
- Gaussian Blur (7 Pixels)(bottom-right) is often used for background softening, shadow smoothing, and general atmospheric effects. It provides a natural, gradual fade from sharp to soft.
Additional blur filters in Photopea include the following:
- Blur applies a gentle softening across the selected area. It is ideal for minor adjustments or surface smoothing without noticeably changing the image.
- Average Blur replaces each pixel with the average color of surrounding pixels. It creates a flat, abstract appearance and is typically used for color blending rather than photographic edits.
- Radial Blur produces either a spin or zoom blur effect, radiating from a central point. It is mostly used in creative or motion-based compositions to draw focus or add movement.
- Surface Blur targets areas of similar color while preserving edges. It is useful for reducing visual noise or smoothing skin without affecting outlines. It performs best with low threshold values and is often used in portrait retouching.
Each blur option serves a specific purpose. Selecting the right one depends on the type of image being edited and the visual result intended. When applied to a duplicated layer and paired with selection or masking tools, these blur filters allow for flexible, non-destructive editing that blends naturally into the composition.
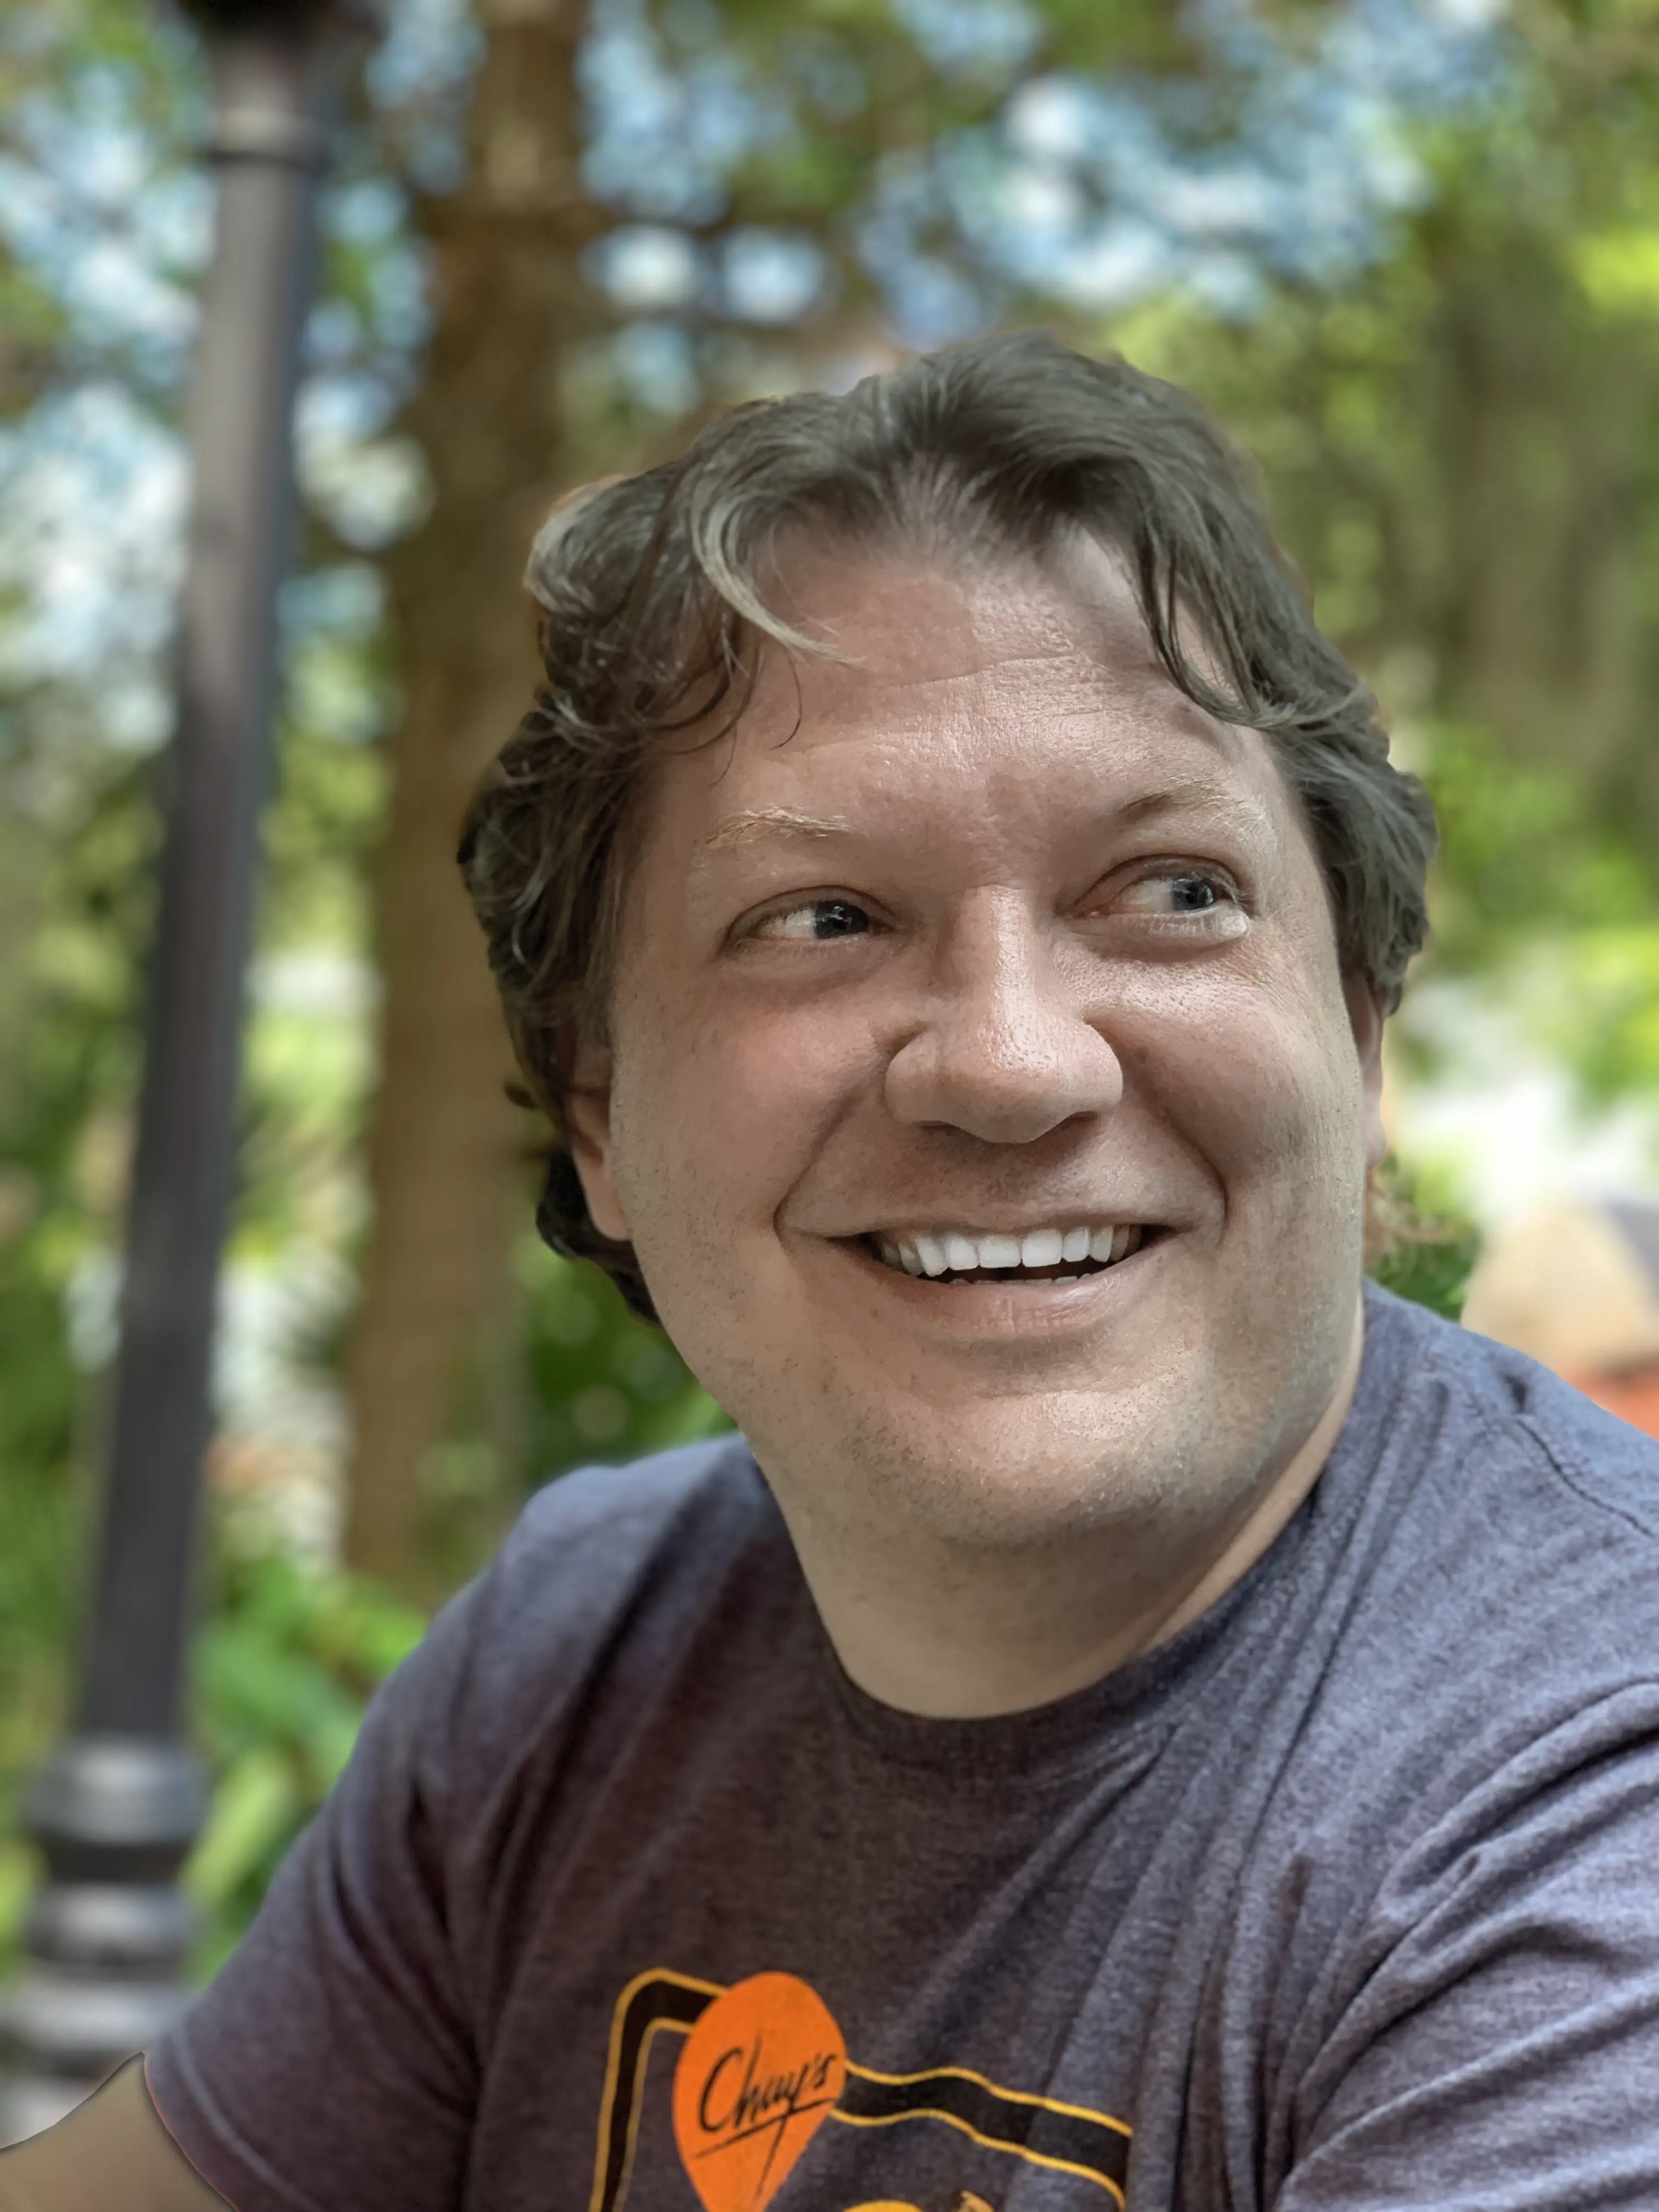
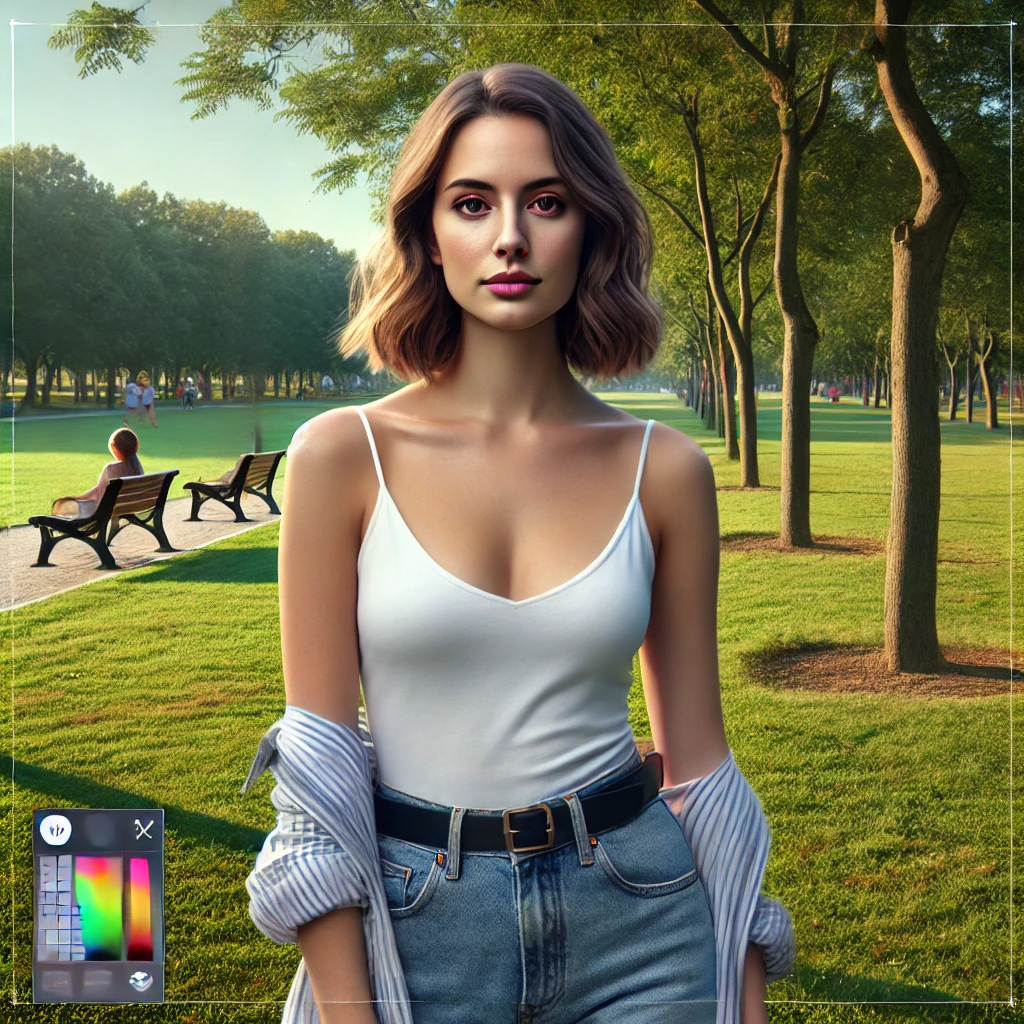
Here is a practice images.
Blur the background in this image.
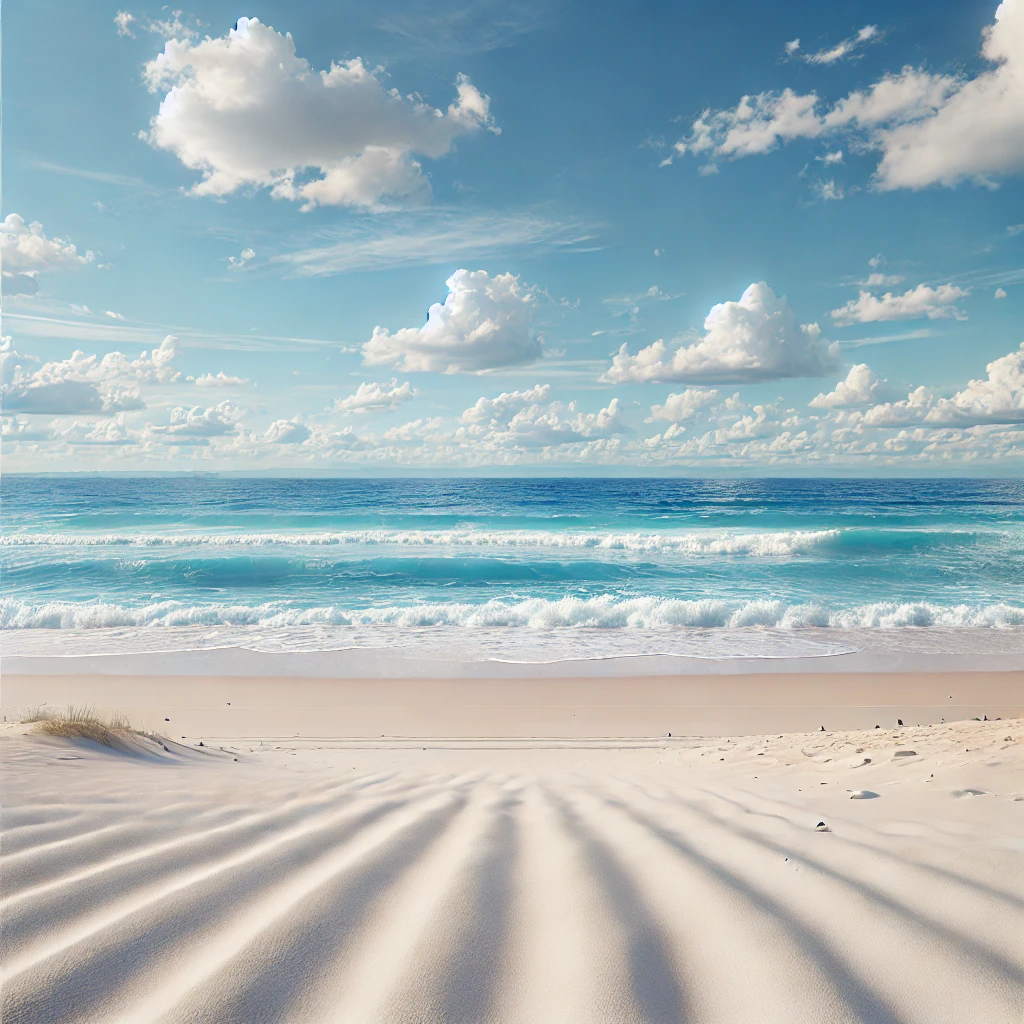
Here is an AI generated image and a very sloppy cutout of that image.
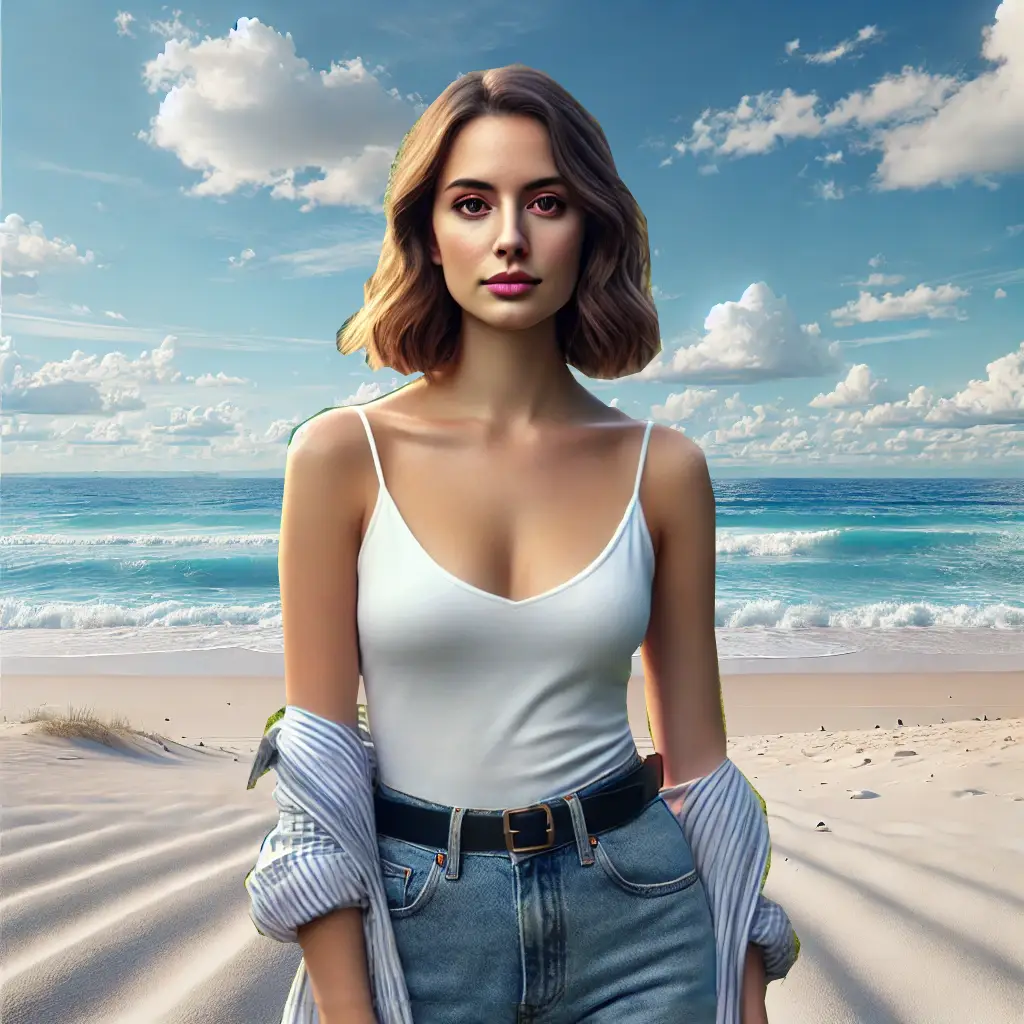
Blur the edges of this image so it doesn't appear so sloppy.
ADVANCED TIP
Sharpening an Image with Blur
Although it may seem counterintuitive, certain types of blur can be used to sharpen an image. This method works by creating contrast between soft and sharp areas, which can improve the perception of clarity. The technique typically involves duplicating a layer, applying a blur filter to the duplicate, and then blending it back with the original image using specific layer modes and adjustments.
In Photopea, the process begins by duplicating the image layer that needs sharpening. A Gaussian Blur is applied to the duplicate using a moderate setting, often between 2 and 5 pixels. The blurred version is then set to a blend mode such as "Overlay," "Soft Light," or "Hard Light." These blending modes interact with the base layer to enhance contrast along edges, producing a sharpened appearance without traditional sharpening artifacts.
Once the blend mode is applied, the layer's opacity is reduced until the result appears balanced. Further refinement can be made using a layer mask to restrict the sharpening to certain areas. This approach works well for enhancing portraits, fabric textures, and surface details where clarity is needed but traditional sharpening may produce unwanted halos or harsh transitions.
This technique is not a direct replacement for dedicated sharpening tools, but it offers a controlled alternative that can yield more natural results. Because the sharpening effect is produced by contrast rather than edge definition alone, it can be applied gently and still produce visible improvement. This method is especially helpful when working with lower-resolution images or when a softer look is preferred.
Tutorial Conclusion
The blur tool and the sharpen tool are both important for effective image editing. Each serves a different purpose, but both are capable of improving clarity, reducing distractions, or adding focus to key areas of a photo. When used with care, they help guide the viewer's attention and contribute to a more balanced composition.
Knowing how and when to use each tool makes a significant difference in the quality of the final image. Blur filters such as Gaussian, Motion, and Lens blur all create different effects, and selecting the right one depends on the editing goal. Similarly, sharpening can be done with direct brushwork or through contrast-based methods using duplicated layers and blend modes.
Working with duplicate layers or selections is recommended to maintain full control during editing. This allows changes to be applied without damaging the original content. Masks can also be used to fine-tune where the adjustments appear and to preserve clean edges.
As with any editing tool, subtlety often leads to better results. Both blur and sharpen tools should be applied gradually and with purpose. When handled carefully, they add refinement to an image without overwhelming it, helping to produce clean, professional-quality work.